by bassybeats | Oct 28, 2023 | Retro Gaming
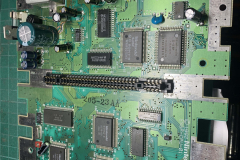
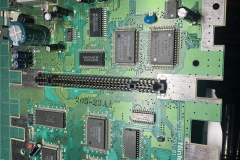
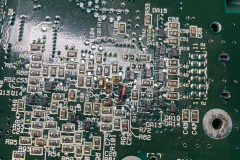
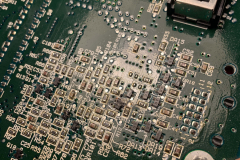
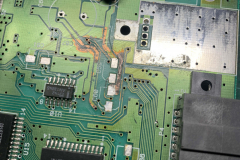
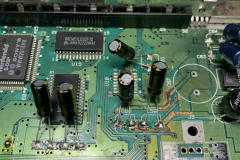
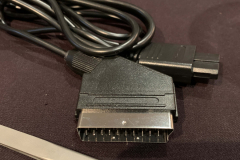
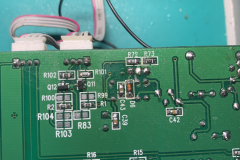
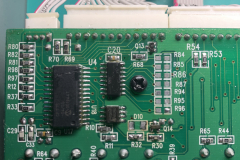
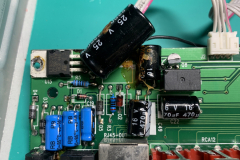
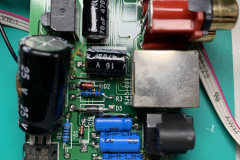
This is round 2 for the SNES. It has had a re-cap in the past but some of the leaky cap juice was missed and continued to corrode away traces. This was found out while trying to get a SNES scart cable working.
Fixing capacitor leakage
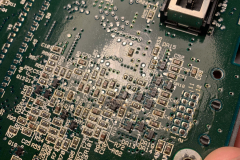
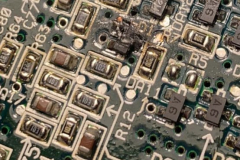
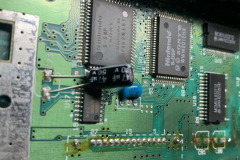
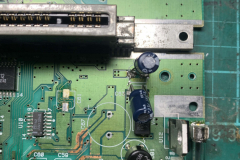
First step was neutralising the corrosion where the caps were and then it was finding the shorts. Turns out the leakage had gone through some via’s and blown out a diode on the underside. It was just a jellybean diode and was a quick fix once I found a replacement. I opted for a hacked in through hole part to get it working since the pads were eaten away.
Modding a Scart cable for PAL
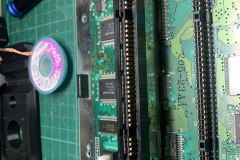
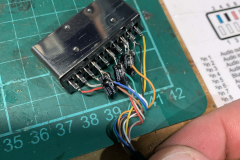
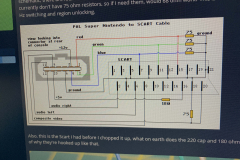
It seems that every single Scart cable for the SNES you can buy is for NTSC, which means if you want it to work on a PAL system you are going to have to modify it. The symptoms that it is the wrong cable will be extremely dark video output. Its a matter of removing the the capacitors on the RGBS lines and replacing them with 75ohm resistors to work with a PAL setup.
by bassybeats | Oct 28, 2023 | Retro Gaming
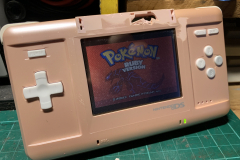
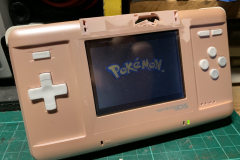
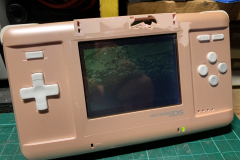
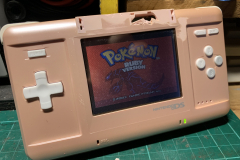
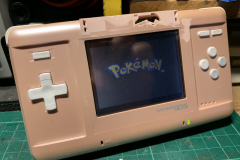
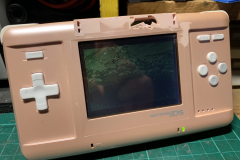
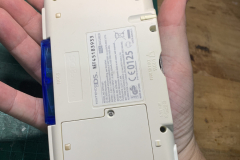
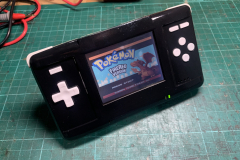
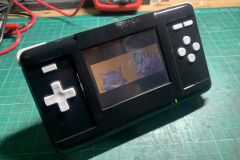
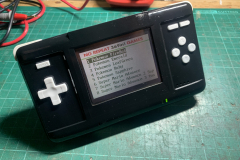
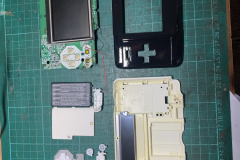
All this started from watching the Macho Nacho video about making a Gameboy Macro using a faulty Nintendo DS or DS XL.
Doing the mod
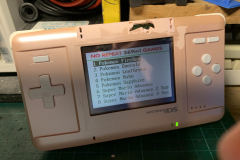
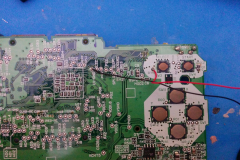
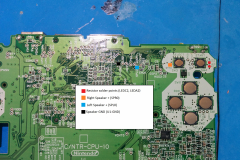
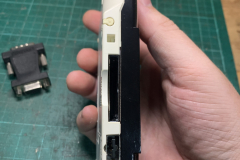
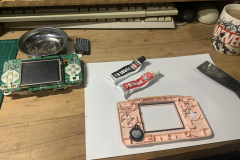
As referenced in the youtube video I just followed the guide here on gameboymacro.com. All you need is a couple of 330 ohm resistors and some wire to move the speaker.
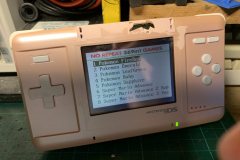
The only issue I ran into was I had to swap the ‘main screen’ option from the top screen to the bottom screen through the menus.
Fixing the case
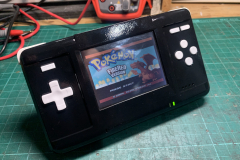
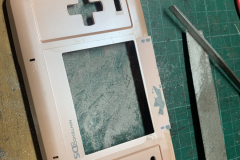
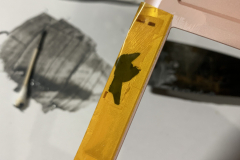
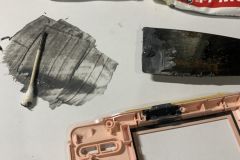
To make everything a bit nicer I removed the top case entirely and used JB Weld to fill in the holes left over and the cracked casing. Because it was cracked and filled in I had to paint it anyway so I went with a gloss black paint for something a bit different.
by bassybeats | Oct 28, 2023 | Retro Gaming
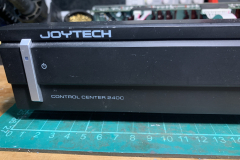
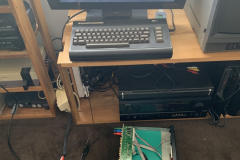
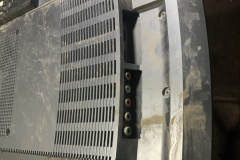
After a powercut / surge this Joytech component switcher decided to died along the the OG Xbox that was plugged into it.
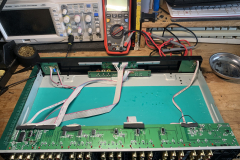
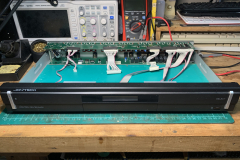
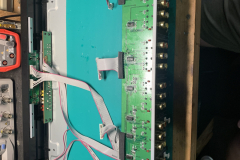
Stripdown of the unit
Stripping down the unit was fairly straight forward. Everything looked fine and there was no immediate problem visually. The investigation started with caps, voltages and finding shorts, none of which seemed to be an issue.
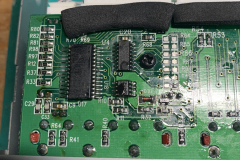
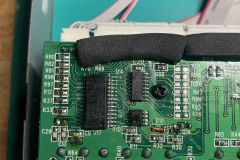
Faulty chips and testing
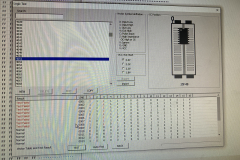
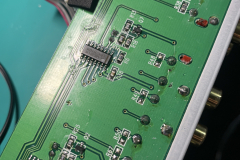
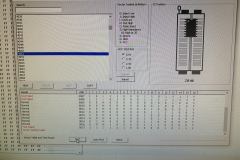
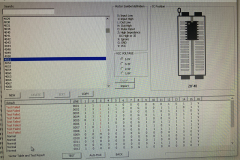
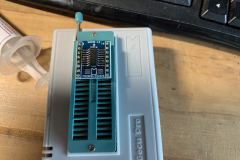
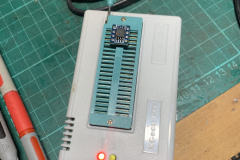
After running out of ideas I decided to remove some of the logic chips and test them in the TL866 programmer. Turns out all the CD4051 chips were all internally shorted. Swapped some new chips on to the board and everything was back to normal. A fairly easy fix one I found the issue.
by bassybeats | Oct 28, 2023 | Retro Gaming
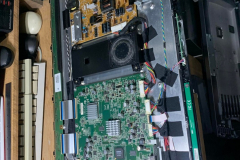
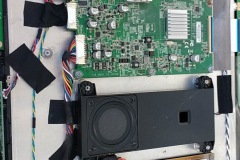
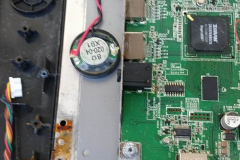
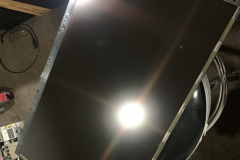
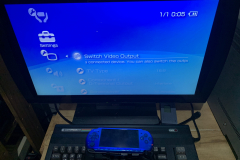
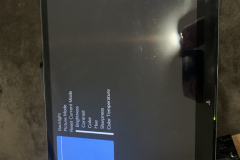
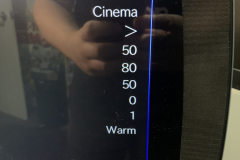
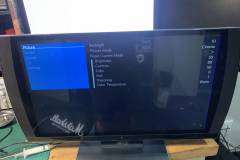
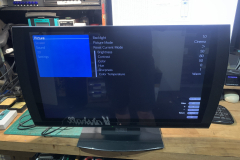
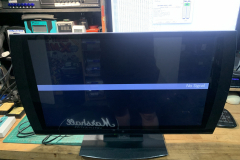
I was offered a deal, get some PS3 3DTV’s working by reflashing the firmware and I get to keep one of them. The downside was that just before I was going to pick them up most of them got stuck in flood waters.
Starting condition
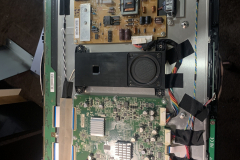
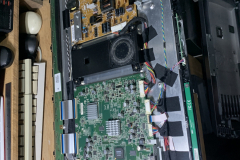
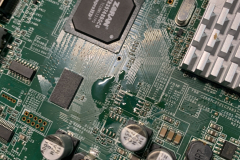
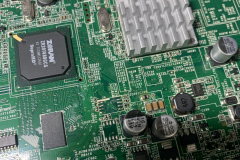
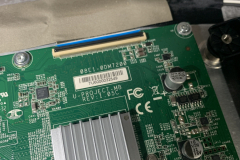
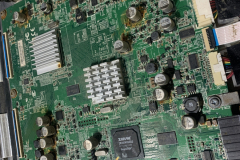
The first 2 I picked up were before the flood damage, the rest sadly were very much worse for wear. Some were only good for parts. There was still a lot of water in them and alot of corrosion.
Repair Work
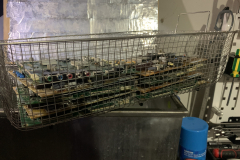
most of the PCB’s got put through the Ultrasonic cleaner, resoldered some parts and disassembled the LCD panels to get the mould out between the layers.
Programming
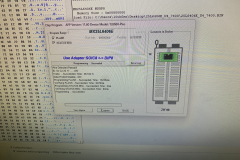
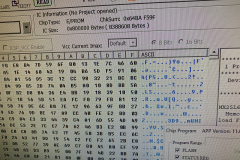
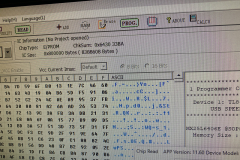
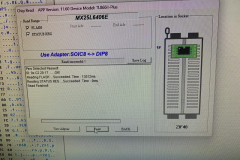
When it came to programming, I followed this guide from DBWBP.com to reprogram the chips. All these units were the 7400 model. I used hot air to reprogram the chips as it was easier, but you could possibly use one of those clip on bios programmers. I used a TL866 to do the programming and I dumped the corrupted files off the chips before flashing the new firmware on them just to be safe. Then it was just a matter of resoldering them back on.
Up and Running
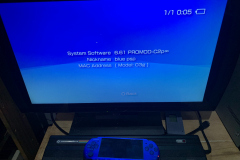
After reassembling the TV’s it was just a matter of powering them up and testing them out. Some didn’t power on due to the water damage but I think I ended up with about 4/8 units working at the end of the repair session.
by bassybeats | Oct 28, 2023 | Others, Wood Working
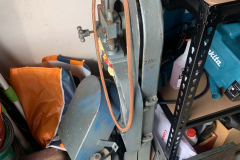
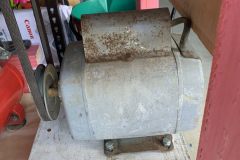
This bandsaw came from my grandads shed. Was completely falling apart and always tripped the breakers in the house. After 3yrs sitting in my sisters garage it was time to bring it back to life and put it back into service.
Starting Condition
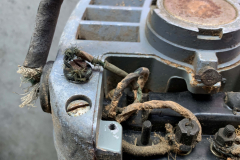
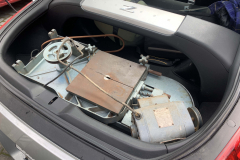
The starting condition was fairly rough, everything had a layer of rust, sawdust or grime on it. The first step was to break it down into its parts, clean it all and remove all the old bad wiring and grease. The old base was wooden and full of bora holes ( kinda like termites ). The whole thing got chopped up for firewood as I wasn’t going to be using it and it wouldn’t find in the car.
New Base
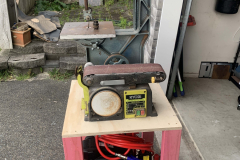
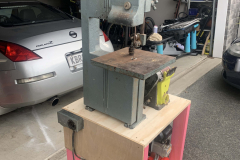
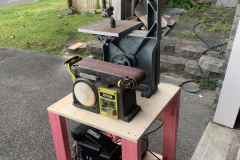
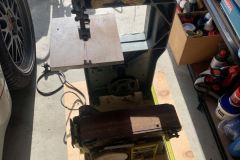
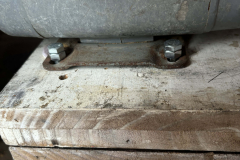
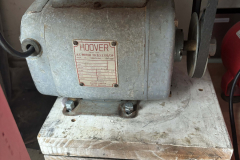
I knew I wanted the new base to be stronger and house more than just the bandsaw. I figured out that a 1200mm x 600mm x 18mm sheet of plywood would be perfectly sized to hold the bandsaw, belt sander and keep my small air compressor underneath, the only catch was that the motor had to be flipped / reversed for it to fit. The fasten everything together I opted to T-Nuts and bolts as this also made it easier to disassemble and maintain.
I originally went with 2x swivel wheels and 2x lockable straight wheels but immediately realised it was a nightmare to move around so I went for 4x lockable swivel wheels instead.
Full Rewire
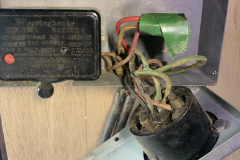
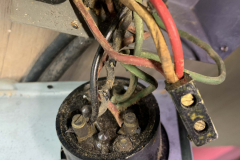
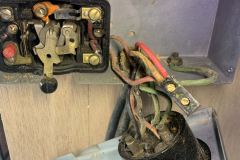
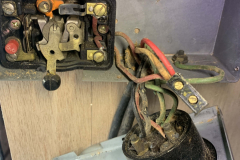
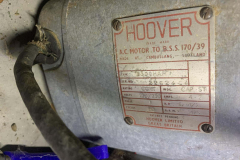
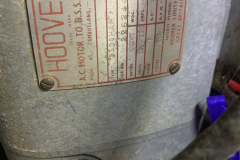
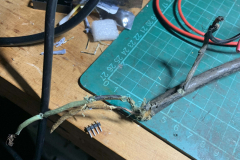
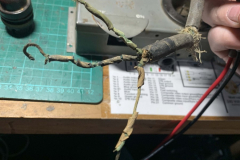
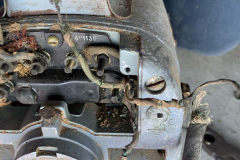
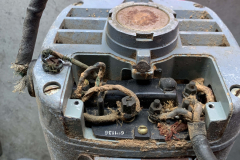
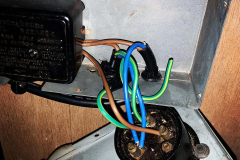
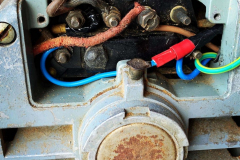
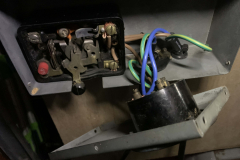
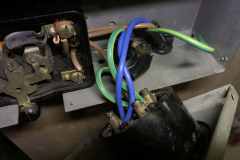
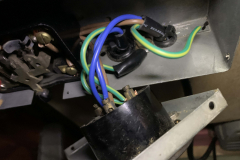
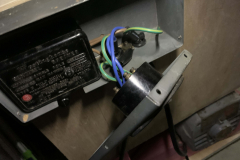
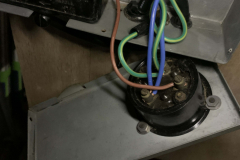
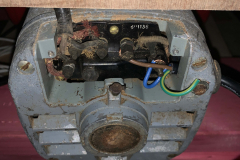
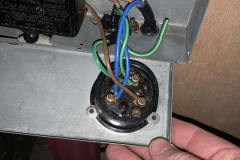
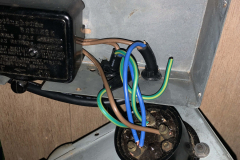
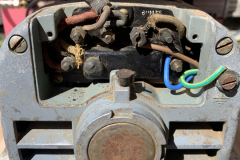
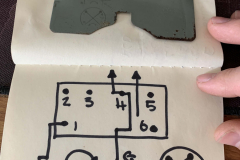
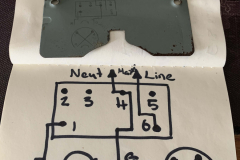
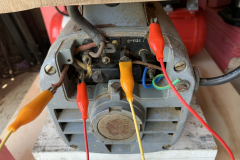
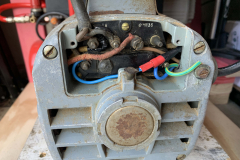
This was probably the hardest part of the whole project. To replace the wiring I ended up sacrificing old server power cables as they were long enough and heavy enough gauge. Wiring it was tricky but I eventually found that the wiring diagram was printed on the inside of the motor plate.
That wiring diagram also showed how to reverse wire it so the motor spun in the opposite direction which was great as I couldn’t find anything on the internet about this motor. As you can tell, the old wiring was frayed and corroded and in poor condition so it wasn’t a surprise that it use to blow all the fuses in the house.
New Blade
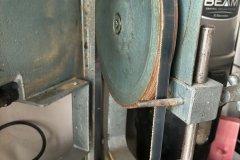
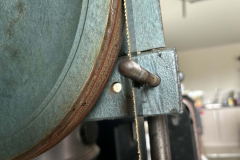
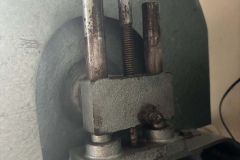
Getting a blade for this thing was much harder than expected. It turns out modern bandsaws use different blade sizes. The bandsaw has a fair amount of adjustment in it so I got the closest blade size of hardwood/soft metal I could find and made it fit.
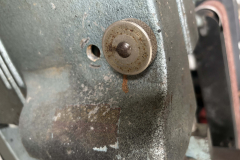
I had to remove the spring in the top adjuster to allow it to lower enough and I had to relocate and drill a new mounting hole for the front cover bolt. Now this thing cuts like butter, I just need to adjust some of the tension to remove some of the vibration.




Recent Comments