by bassybeats | Jul 24, 2022 | Computing
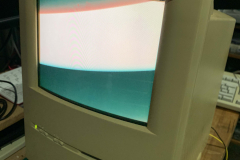
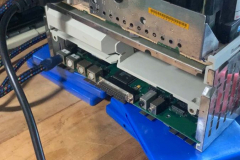
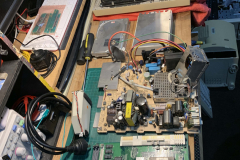
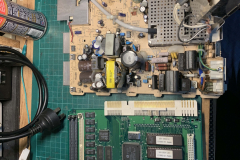
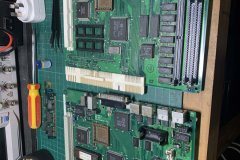
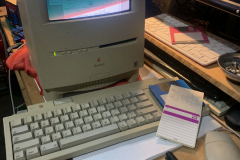
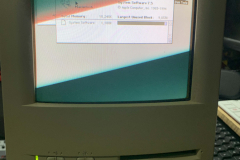
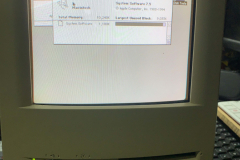
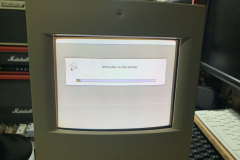
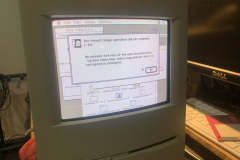
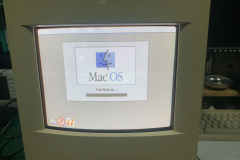
The coolest and yet slowest Mac of them all, the Color Classic. I had been after one of these for a while and then a friend was offering up a non working, but cosmetically good condition unit. I was told it had been attempted to be recapped but it did not come back to life. The only life it gave was it powered on and gave a white screen.
White screen and ‘Chimes of Death’
The first place to start is always power. When I was firing it up, the machine would power on from just the main power switch, NOT from the keyboard like it was supposed to. This was the first issue. After some DeOxit and reseating I finally got the machine to show some life and it started giving me the ‘chimes of death’ which are like the mac boot sounds but a very sad version of it. Basically telling me that it didn’t want to start.
I found out after testing with another Color Classic I had for reference that the keyboard I had, had a bad ADB cable, I swapped out the ADB cable for an S-Video cable as it is the same wiring, this didn’t fix any of my issues but at least gave me a known good keyboard.
Fault finding
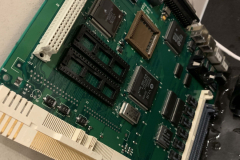
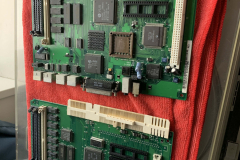
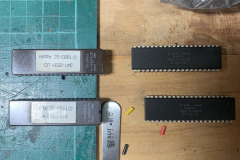
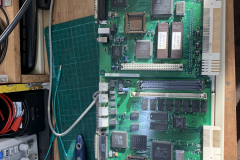
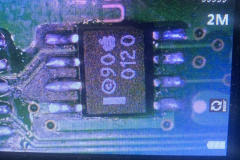
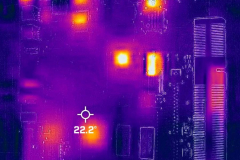
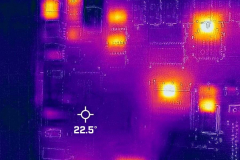
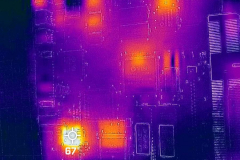
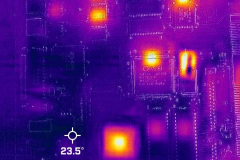
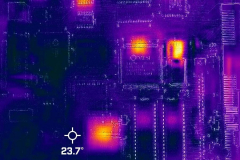
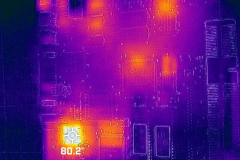
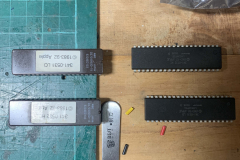
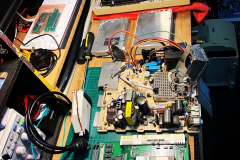
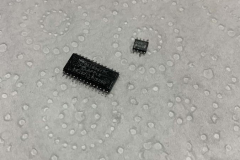
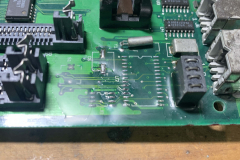
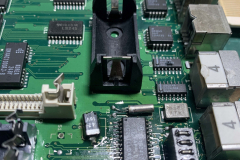
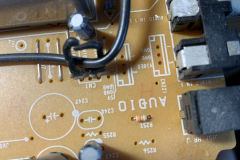
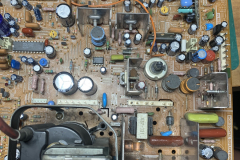
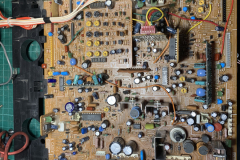
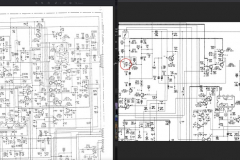
This part took a long time to do, referencing two different boards, fixing ripped traces, reflowing the new caps and even using my Flir Thermal camera to see what was getting hot, if anything. I cleaned the board multiple times and reflowed a bunch of parts and tested a huge amount of parts. Everything was pointing to power and U7/U8. The ADB power key should pull two pins low, which wasn’t right as the pins were always low on this board so something was shorting it to ground. I replaced caps, resistors removed ADB ports and everything else. In the end I decided it had to be one of those 2 proprietary chips. So, I had to sit on it and wait for a parts to turn up or a modern way to replace those parts.
Getting a donor board for parts
Luckily for me, the same person I got the machine off also found another mainboard, which had ripped traces, missings caps and missing chips. BUT it had U7 and U8 still in tact. Stupidly I should have done one chip at a time but I did both and the machine fired into life! The short on the ADB port was gone, so all I know is that it was either U7 or U8, I am fairly certain it was U7 though.
Working unit and installing a SCSI2SD
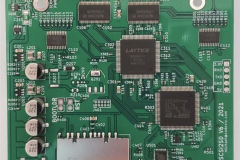
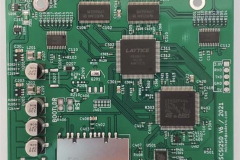
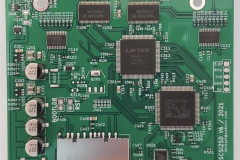
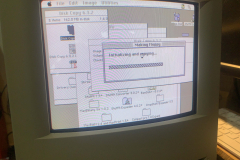
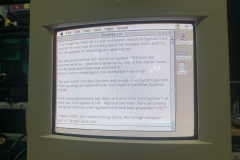
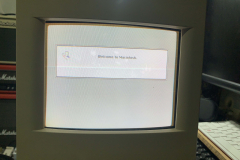
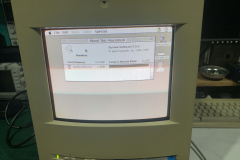
Once I had all the hard parts done it was just a matter of getting an actual OS on it. As per usual the SCSI drive was totally dead, but I had recently picked up a SCSI2SD V6 for this build and in it went. Getting the image made up was a bit of a pain and I ended up creating it in Basilisk II and flashing it to the SD card. A little while later I ordered an SD card Extension so I could access it from the rear port on the machine so swap in and out easily for further tinkering.
by bassybeats | Jul 24, 2022 | Retro Gaming
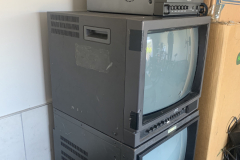
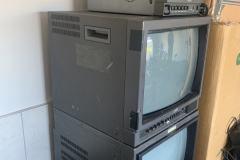
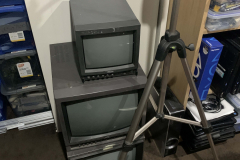
Another $50 grab, except this time it was 2x JVC PVM’s and a little 9″ Pelco PVM. All in unknown condition. Other than I was told the RGB one turned on but the colours were all awful and probably needed a recap.
So, whats wrong with it?
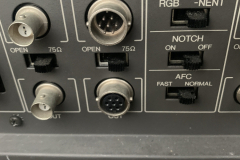
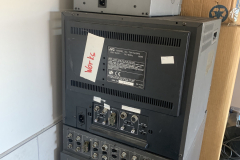
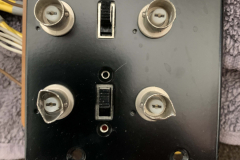
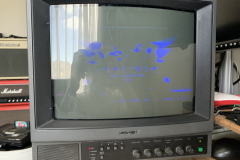
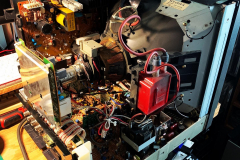
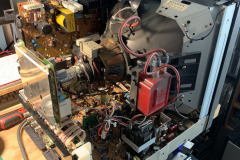
The first few things I noticed was that externally the unit had a rough life, scratched up and engraved with two of the rear BNC connectors bent in. Other than that, it looked okay. Once I dug into it is was clear this thing had ALOT of hours on it, no burn in but everything was covered in black soot. So the first step was to strip the whole thing down and clean everything in the sink with soapy water and leave it for a week before re-assembling everything.
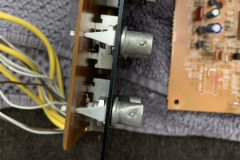
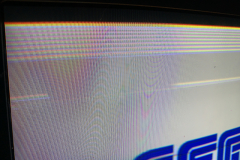
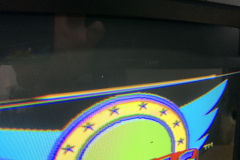
Thankfully, the strange tearing at the top of the screen went away after cleaning everything and reassembling and I replaced the BNC connectors with new ones while it was all apart.
Colour bar calibration
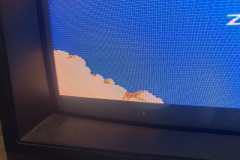
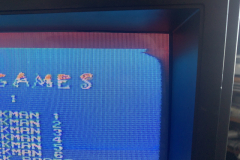
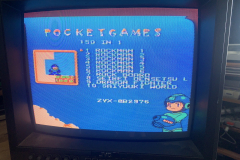
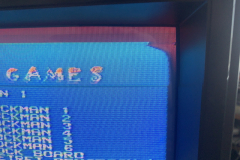
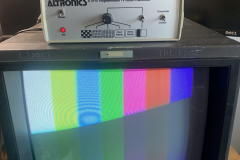
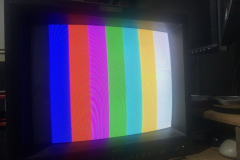
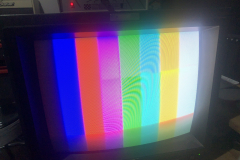
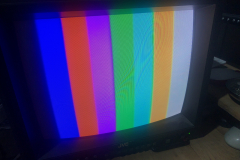
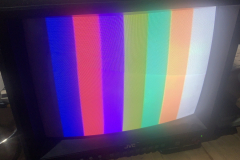
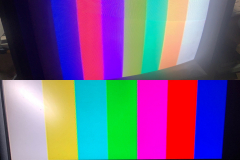
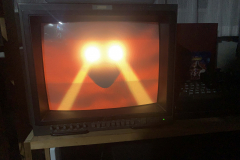
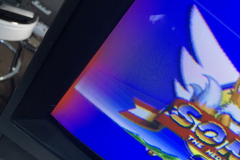
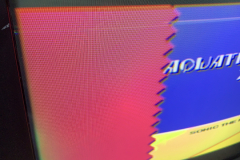
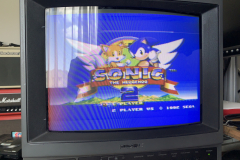
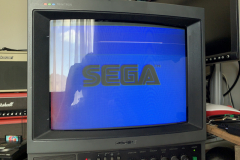
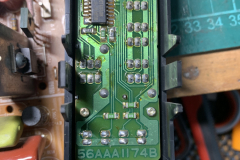
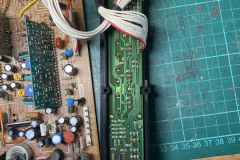
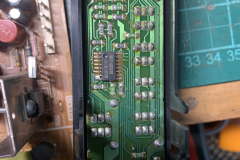
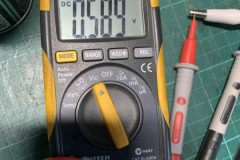
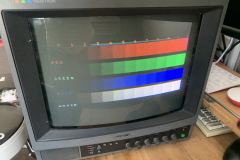
Now to get to that strange colour issue. At first I thought it was bad caps but after dialing in the colour bar test it was clear that the drives for the guns were bad, the micro trim pots up front had been messed with and it just needed a really good calibration. So I started by centering all the front adjustments, both the trim pots and the main controls. Then I brought up a solid white picture on the tester and adjusted all the gun drives until I got as white of a picture as I could. Once I had done that I brought up the colour bars again and used my LCD with the same image as reference to match them as close as possible.
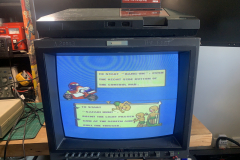
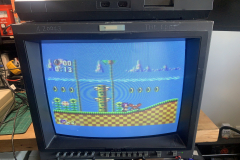
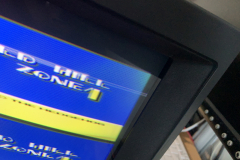
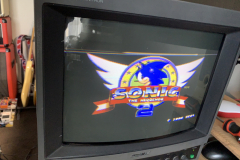
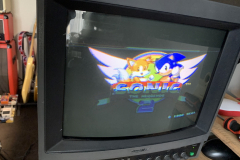
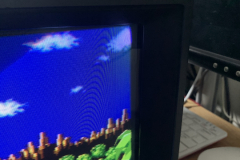
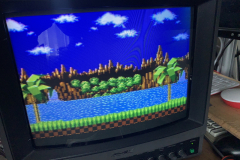
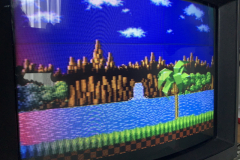
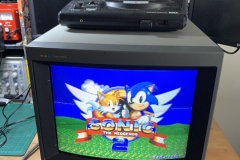
After that, it was just a matter of playing some familiar content and adjusting up front to get it how I would expect it to look, Sonic 2 being the best for it.
Looking good
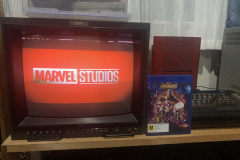
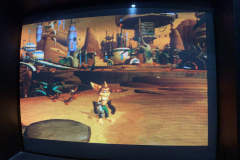
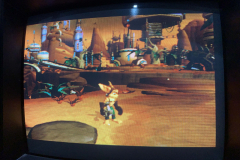
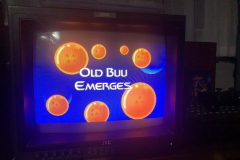
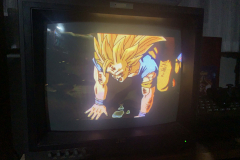
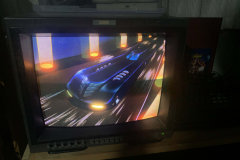
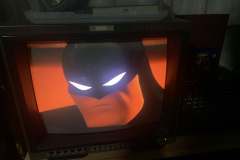
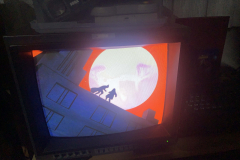
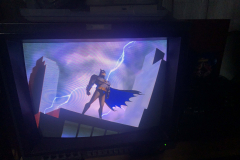
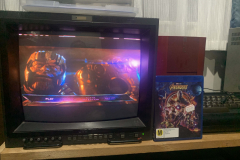
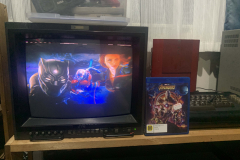
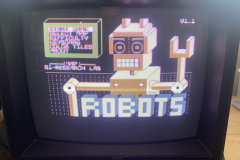
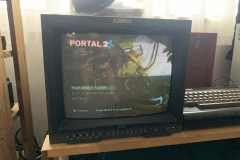
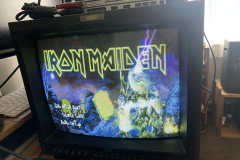
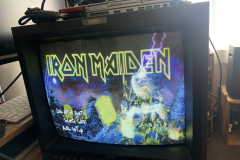
I then put it through its paces over Component with some Batman The Animated Series, Dragonball Z, Iron Maiden DVD’s, Rachet and Clank and Portal 2. This thing is starting to look great. It still has a slight red tint I need to dial out of it but I kind of need two people as it is all manual controls and it is hard to adjust at the back and look at the front.
by bassybeats | Jul 24, 2022 | Retro Gaming
Another great score with the Sony 1440QM PVM. A 14″ Scart/RGB CRT that is perfect for gaming, only problem is its a little bit unwell.
Assessing the Condition
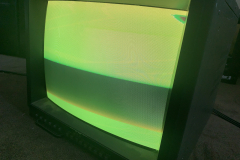
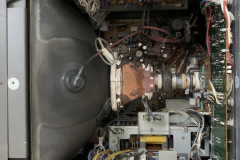
For a $50 pickup its in better condition than I was expecting, It did not power on at first but I was told that it was disassembled and it was attempted to be ‘recapped’ to fix a different issue. Upon opening it up the no power issue was attributed to a connector not being plugged in ( the red ribbon cable going to the front panel ). Once plugged back in, the unit fired into life, albeit with the symptoms I was told it had which was a deflection collapse at the top and purity issues.
Diagnosis
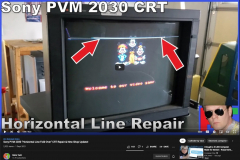
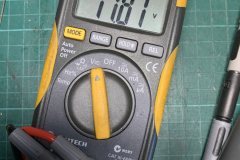
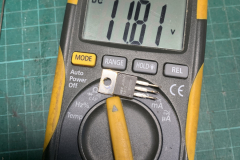
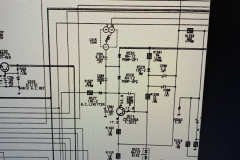
Somehow, I made it worse. By disassembling and reassembling the unit I managed to kill the front panel. Somehow I killed the 12V regulator that was going to it, so after swapping the 7812 regulator I was back to where I was the first time around. While I had it apart I did some checking and testing and couldn’t see anything apparently wrong. After a lot of googling I found the same issue I was having, but in a different model. The issue is called “Horizontal Line Fold-Over” and it caused by, you guess it, bad caps. The caps weren’t the same in my unit but I could at least match up the areas on the main boards and start there.
Recapping
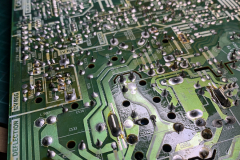
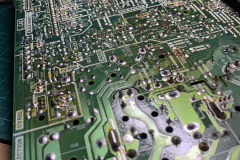
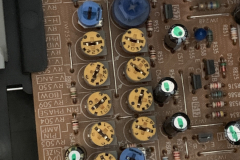
I decided, while I had the whole thing apart that I would recap the entire vertical deflection section ( the problem area ). I had all but two in stock and tested them as I pulled them out. A lot of the high voltage caps were toast, caused by sitting next to very hot resistors and transistors. Once I had done the recap, I reassembled the unit and put fresh grease around the anode cap.
Calibration
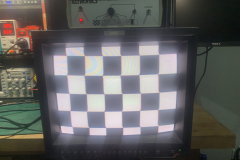
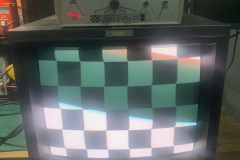
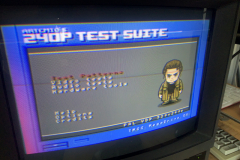
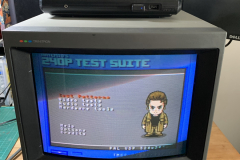
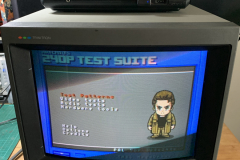
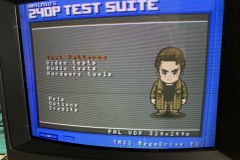
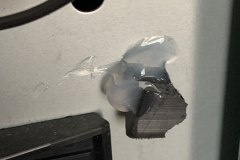
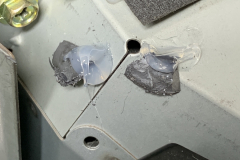
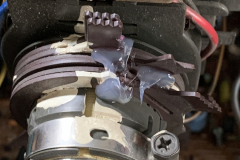
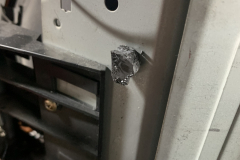
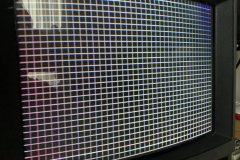
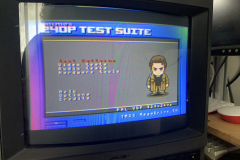
Now that the vertical lines were all gone it was time to calibrate the display. The purity issues were temporarily fixed with some permanent magnets siliconed onto the frame until I can find some purity magnet strips. As for the rest, I just spent an hour or so with the Mega Drive 240p Test Suite and adjusted all the trim pots ( no on screen display in this thing! ) and then carefully adjusted the convergence rings until it I got it as close as I could by eye. Someone else with more experience could get it better but its 100 times better than where I started from.
Working, finally
Lots of calibration later and the unit is finally in working and usable condition. There is still a bit of work to do, namely the purity strips and the finding a Sony badge for the front. All in all, not a bad score for $50!
by bassybeats | Jul 24, 2022 | Computing
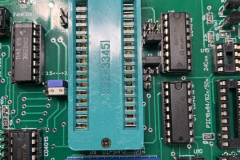
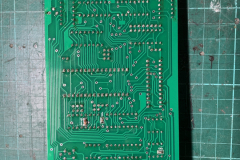
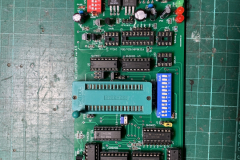
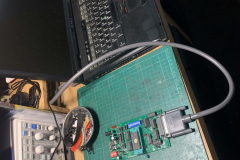
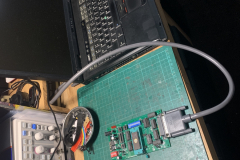
This Willem Eprom Programmer V4.5 build should have been an easy one but it turns out, when you have the wrong parts without knowing it, it turns into a much harder job.
Building the unit
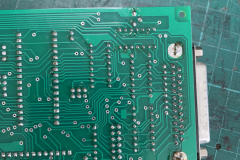
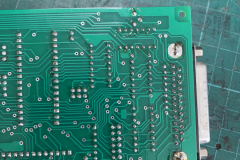
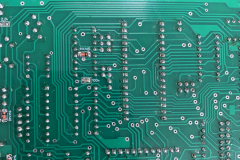
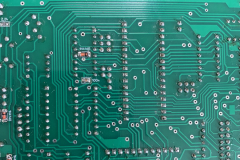
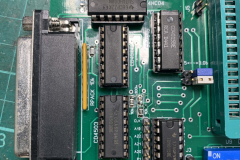
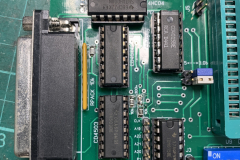
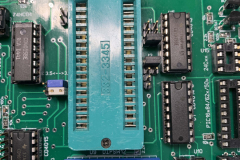
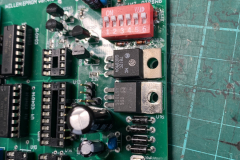
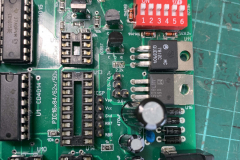
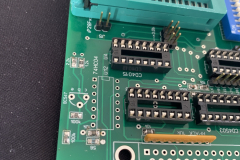
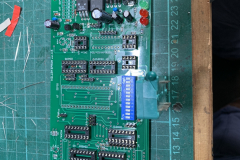
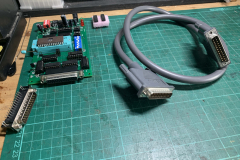
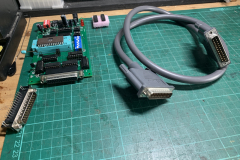
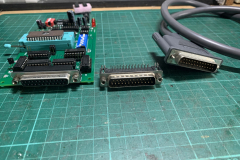
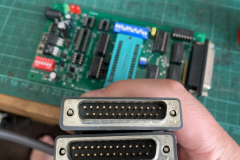
Most of this build was fairly straight forward other than I had to swap the ZIFF socket out as it was cracked right through the middle. Some of the parts were not easy to find and I had to get them through a friend from mouser like the CD4503 and the CD4015’s.
The never ending Parallel Cable fun
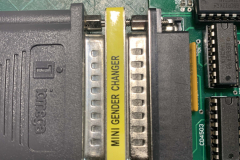
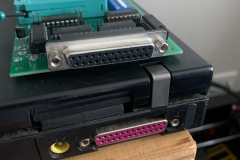
My choice to use a parallel/db25 extension cable would come back to haunt me. I tried using a gender changer adapter to get it to work but no matter what I did, it would just not detect it on the PC. I soon found out that the ‘Parallel extension’ cable I had purchased was actually a DB25 serial cable and not all the pins were actually wired. Once I had desoldered the connector, put on a female DB25 connector on the board and used a different fully wired cable, the device sprang into life!. So a word of warning, make sure the cables have all pins wired up.
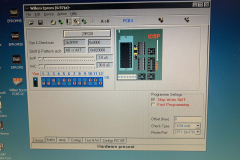
Another thing to check, is that you need to use the right version of the software. For the V4.5 board, I used the 0.97ja.
by bassybeats | Jul 24, 2022 | Computing
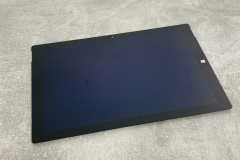
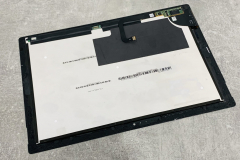
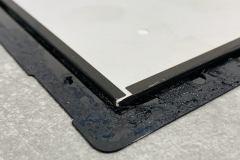
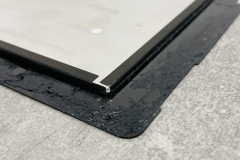
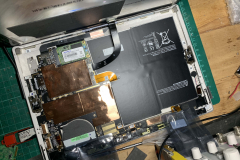
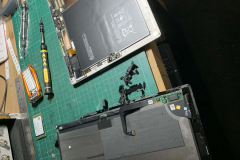
This was an odd pickup where the machine had a cracked screen AND a dead SSD, so the only way to replace the SSD was to also replace the screen. Which I found out was not a very fun job.
Ordering the screen
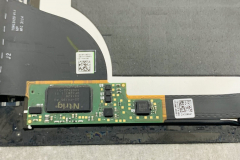
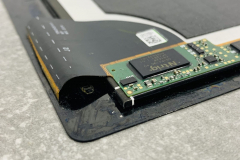
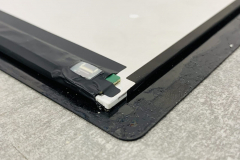
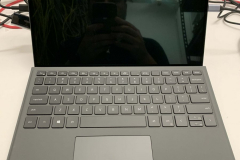
I scored a new to me screen on Trademe for $10 and when it arrived it was apparent that the touch screen ribbon cable had been severed during the removal process by the previous owner. So I ended up removing the touch screen module and just turning this Surface Pro 3 into a regular tablet.
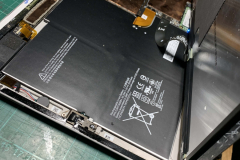
The Guts
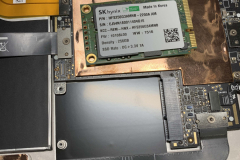
The Surface Pro 3 uses an annoying mSATA m.2 drive which are far less common in 2021 So I had to troll trademe and marketplace to find something. I scored a $25 64gb drive that was smaller than the stock one but would at least get this machine back into a working state.
Installing the OS
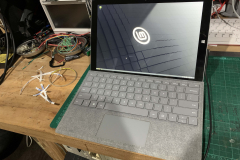
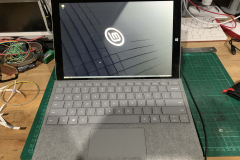
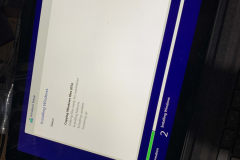
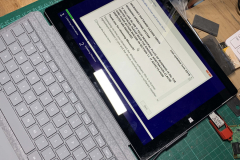
For whatever reason, Windows 10 was just extremely slow on this machine. I’m not sure if its an issue with the new SSD or what but it was fine with Linux so I just stuck with that. Linux Mint was, as usual the OS of choice.














Recent Comments