by bassybeats | Dec 31, 2023 | Computing, Retro Gaming
I have always wanted to build a very high end Batocera emulation rig that can run everything from an Atari 2600/C64 all the way to up a Playstation 3. This is what I came up with.
Case and main parts
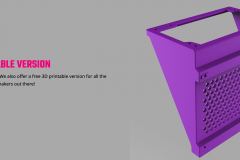
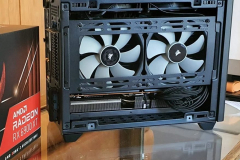
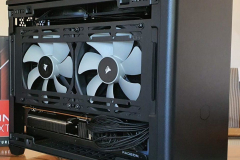
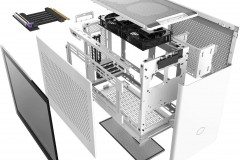
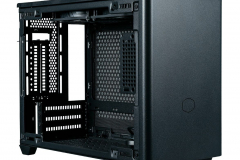
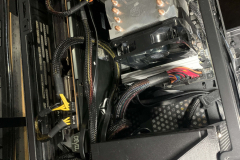
The whole build is based around the NR200P, a nice SFF ITX case that still has provisions to fit a lot of full size parts, even some mATX motherboards. The only mod I had to do was print and download the STL from Cooler Master to use an ATX power supply instead of an SFX one.
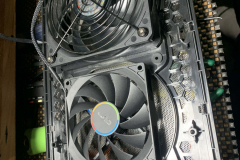
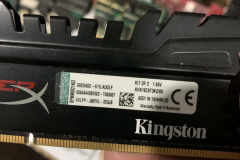
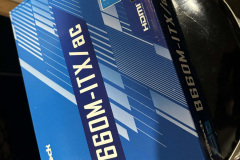
The motherboard is an ASRock B660m-ITX/ac board, I had to buy this new unfortunately. The ram, psu, tower cooler and 6TB hdd were all parts I had sitting around from other projects.
CPU Selection
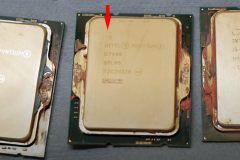
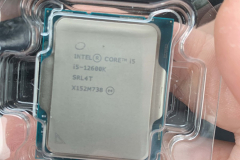
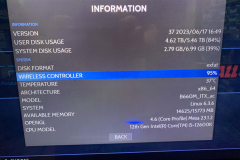
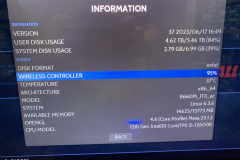
The core selection of parts was based around the best emulation of RPCS3, and the most cost effective CPU was the Intel 12600k, specifically the earlier ones that still supported AVX512 which can offer a 30-80% performance boost in RPCS3. The easiest way to know if your 12th Gen CPU has AVX512 support is reference this Toms Hardware article and look for the “Halo” logo on the chip. If it has the Square Logo, its not compatible.
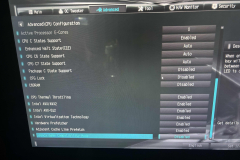
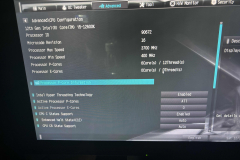
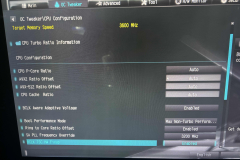
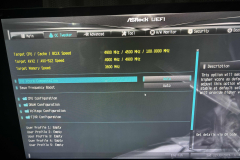
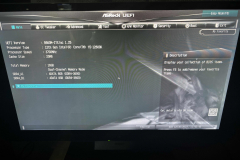
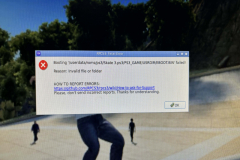
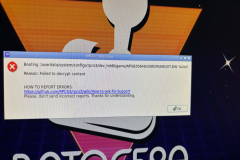
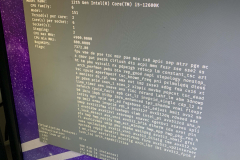
To get this working with my motherboard, I had to flash an older bios onto it, specifically version 1.25. You then have to disable the E-Cores, reboot and then the option for AVX512 is supported. Then you can look in Batocera / GeoFetch and look to see if it is in the listed CPU instrutions.
GPU Selection
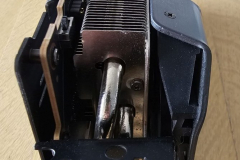
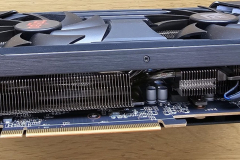
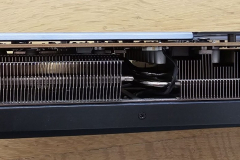
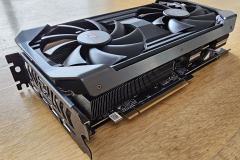
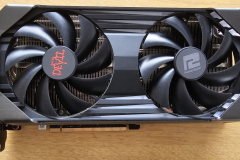
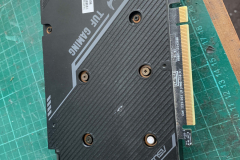
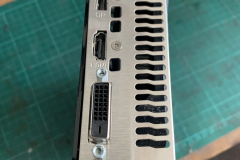
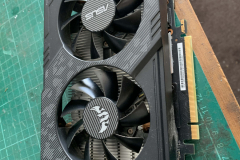
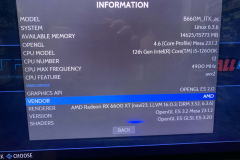
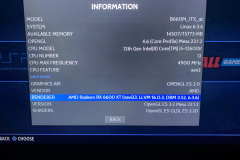
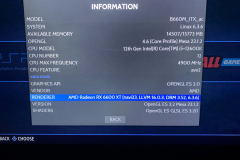
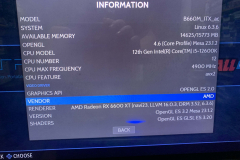
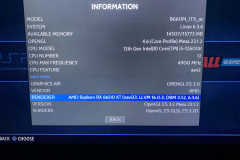
I orignally went with a Asus TUF 1660 Super as the GPU as it would be more than enough for most things but I ended up selling that and going for a Power Color RX6600XT as AMD GPU’s have better support with Linux and Linux emulators.
Systems and Configuration
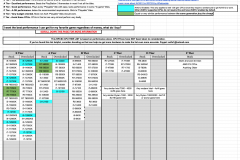
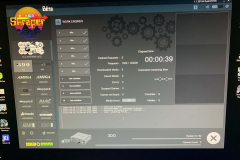
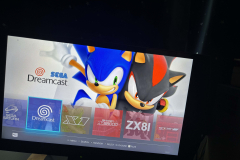
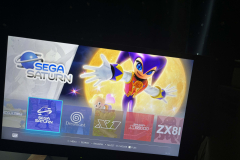
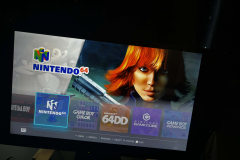
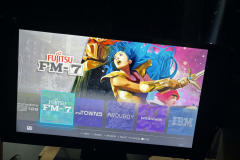
This thing does everything at maximum settings and where I could, I have set the emulator to upscale to 1080p. Below are all the emulators that are built into my rig. The only things I want to add when they are better supported is the PSVita and maybe a few Xbox 360 games. I am using a PS4 controller and Wireless keyboard as my control interfaces.
by bassybeats | Dec 30, 2023 | Others
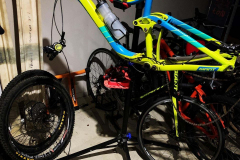
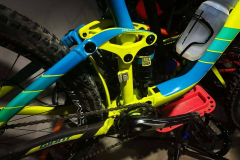
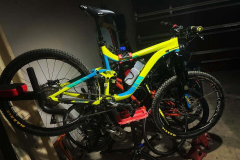
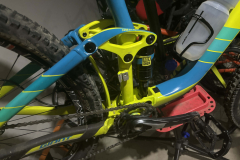
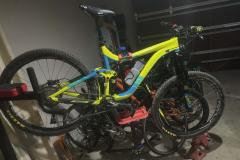
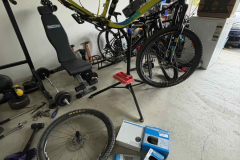
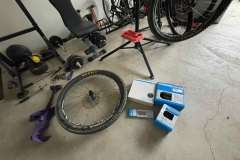
Due to my Giant Reign 2 being a 2016 model it was well over due for a full service and parts upgrade. I opted to do the full works.
Fork Servicing
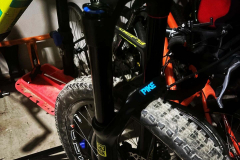
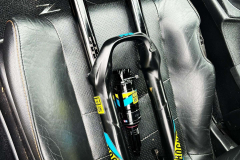
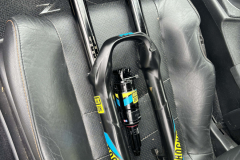
The first thing to be upgraded/serviced was the shocks. They are in good condition but have never had their “yearly” service since 2016. I took them to Lewis and Co Bikes to get them serviced properly. The rear shock was leaking air past the sleeve and I got extra volume spacers added for a more stable ride.
Bearing Replacements
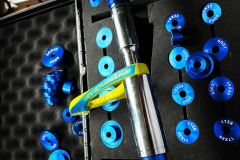
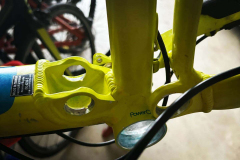
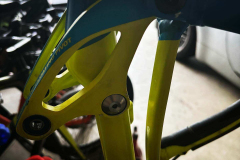
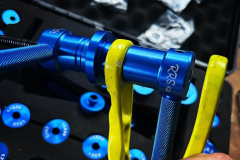
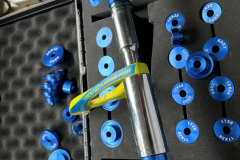
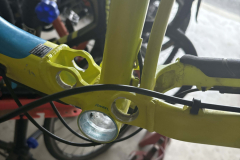
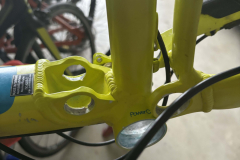
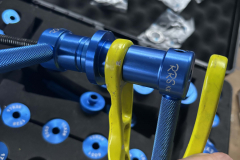
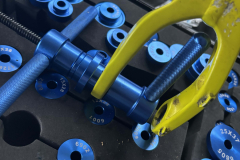
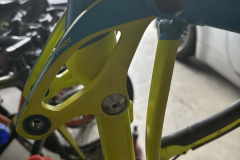
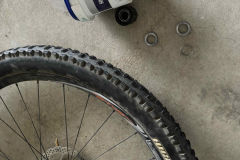
I ordered a full bearing kit for the 2015-2017 Reign 2 from Chase Bearings on eBay. Great Quality parts. The bearing puller kit was just a cheap one off AliExpress and I had to use a socket to extend the reach of a couple of them. The only issue I ran into was that I got 2 of the bearings mixed up as they were the same diameter but different thicknesses.
Cassette Upgrade
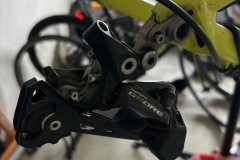
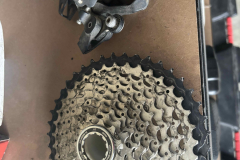
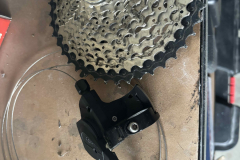
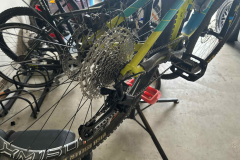
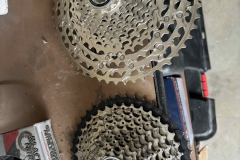
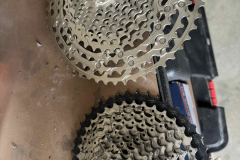
This bike originally came with a 2×10 drive train. I then went to a 1×10 setup with a slightly bigger rear cassette but hills were still awful so I got a new derailleure and a 11-52T cassette to get back my low range. One thing to note with the DT Swiss hubs is that the hub is aluminium and the cassette is steal so its a pain to remove as the cassette bites into the hub and you need to file off the dents before installing the new cassette on.
by bassybeats | Dec 30, 2023 | Computing
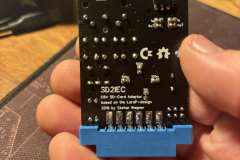
I discovered a big C64 Collection with all sorts of projects in it, can be found here. I couldn’t help myself but to build another SD2IEC.
Build
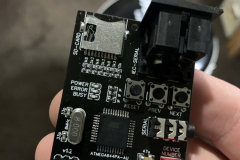
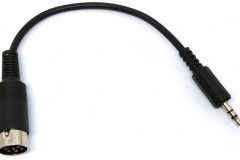
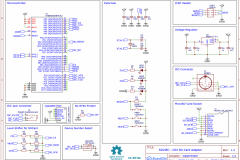
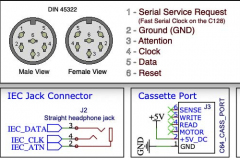
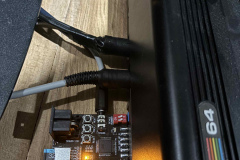
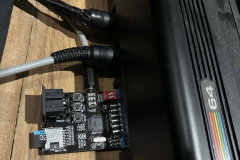
The SD2IEC LP is a much nicer build than my other one as it plugs into the tape port for the power and has a pig tail for the IEC port, which is much cleaner.
The only tricky part of the build was sourcing the ATmega chip and the SD card slot. It was a fairly straight forward build with only having to take extra care to seat the SD card slot properly and get the LED’s around the right way.
Up and Running
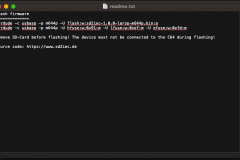
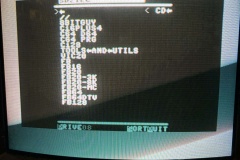
The software can easily be flashed and I found a C64 SD2IEC collection with near every game for it loaded up.
by bassybeats | Dec 30, 2023 | Others
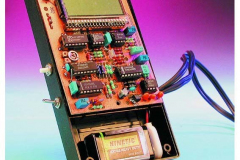
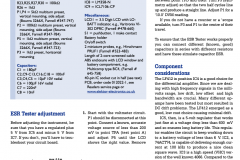
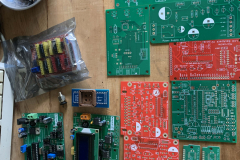
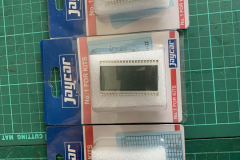
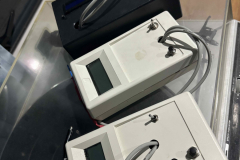
These ESR meters were not a planned project. I was given a bunch of PCB’s by my dad so I could test capacitors in circuit in old CRT’s and computers. Pair that with finding the last of the multimeter style LCD’s at Jaycar and I had to make them up.
PCBs
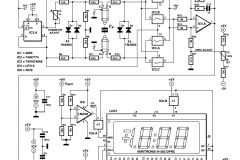
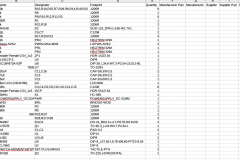
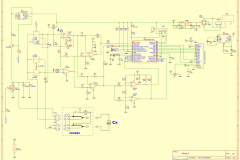
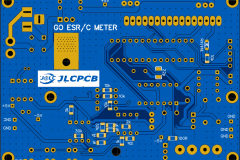
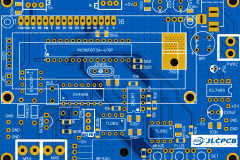
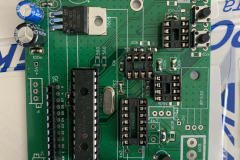
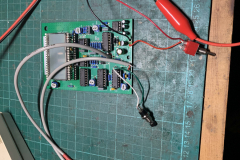
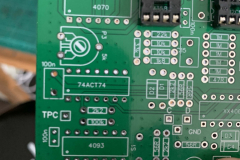
The PCB’s came from some old projects online. The PDF’s and programming files can be found here.
Building them up and issues
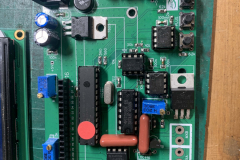
Most builds were straight forward, some of the chips weren’t overly easy to come across. The two issues that plagued the builds were:
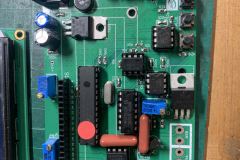
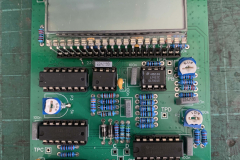
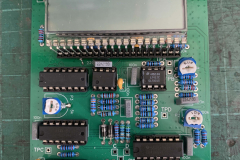
– The LCD based unit had a faulty PCB and a suspected short through the ground plane. Transfering all the parts over to a new PCB got it all working fine
– The 7 Segment based units were easy enough as well except I got the ICL display chip in backwards misreading the silkscreen, after that all 3 of them fired up into life.
The Probes were a bit of a pain. I opted to only get 1 set of proper probes as they are $18 per pair.
Final Products
I finally got to use up these really old cases I had on hand, they actually fit the 7 segment displays perfectly. They just needed a bit ( a lot ) of trimming.







Recent Comments