by bassybeats | Apr 10, 2021 | 3D Printing
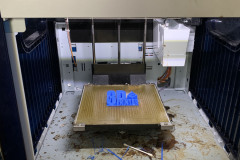
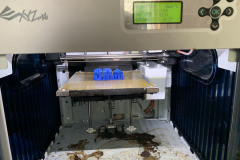
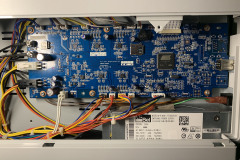
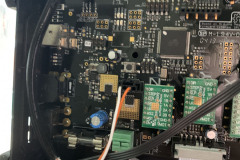
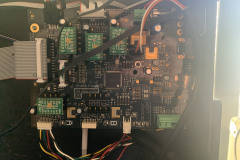
After visiting my friend for a few times and seeing this old XYZ Da Vinci sitting on the ground I said to him that I would take it off his hands and try and get it going. He said he had it for a few years and never got it to work, but since I had recent good success with my Makerbot I figured I would give it a crack for him. Turns out it was in worse shape than I expected, although it turned on it would not connect to the standard XYZ software ( which sucks btw and you need to create an account to even use it ).
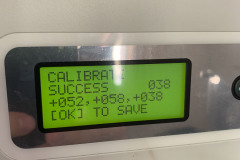
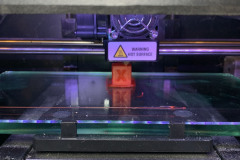
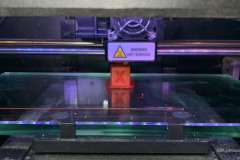
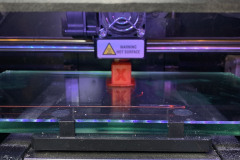
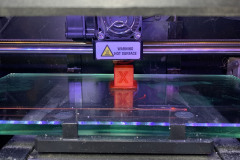
Luckily, it get it to print something there was a sample print stored on the internal SD card which was enough to test it out. Leveling it was nightmare and I ended up doing it manually by turning off the machine just as it goes to print and then using a 0.08mm feeler gauge on the glass bed as the auto leveling kept failing.
First Prints
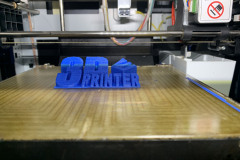
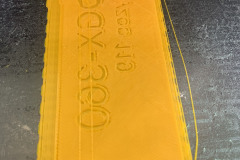
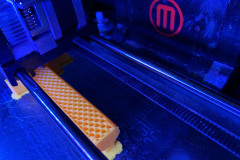
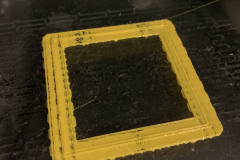
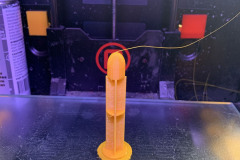
The first prints actually worked! There was still a really bad adhesion issue and I had to use a glue stick on the heated bed to get it to stick at all, but at least I could rule out the extruder and printing side of it, leaving it to a leveling and heated bed issue. The print quality was pretty low from the stock sample prints was it was enough to prove the machine could still actually print.
Firmware Flash
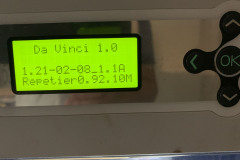
Now to get the machine to talk to the PC. I opted to follow the Repetier Firmware for DaVinci printers. Its a custom firmware that allows you to other software and slicers with the machine and fixes a bunch of issues. The guide to installing it is here so I won’t go into detail on what I did other than pointing out a couple of gotchas I ran into. You absolutely need the Arduino 1.8.0 IDE to get this to work, step 4 won’t work with out it. And make sure you set the code configuration.h file, I got black bars the first time around.
After this I downloaded Repetier Host and managed to connect to the printer! I also found a bunch of profiles online that i will link at the bottom. For the record, I also got Simplify 3D to work with this machine if that is what you are using, which has profiles built into it.
Bed Levels
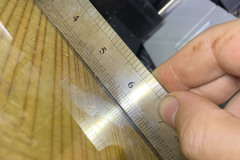
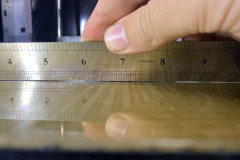
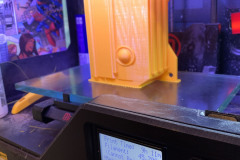
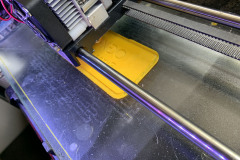
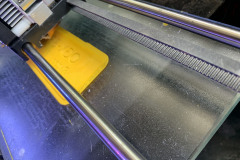
After getting to this point I was still not having luck getting prints to stick to the bed, I manually leveled the bed multiple times ( the custom firmware has more spot to level from ), it wasn’t until the 6th time i was doing it that I realised that the glass bed was warped, all 4 corners were higher than the centre, revealing the problem. So this is where i stopped and said to my mate that he’s best to look out for a heated bed replacement or attempt to repair it
Downloads and Links
by bassybeats | Apr 10, 2021 | Others
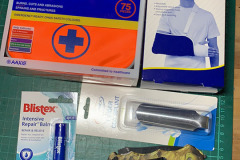
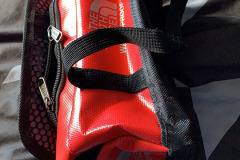
This project isn’t specifically a build project, but it is something that I have wanted to put together for a long time. When I was in Nepal I picked up a small “legit” Northface mini pack as I thought it would be good for first aid kit, something that I have never had other than the crappy ones you get from the pharmacy. Its a pretty basic kit that I will keep in my car. The concept was to have everything I would need if I came off my mountain bike in the forest.
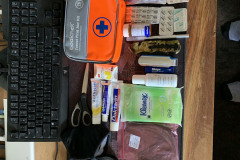
Contents
- Sling
- finger splint
- Various painkillers
- antiseptic wet wipes
- hand sanitiser
- chap stick
- ear plugs
- anti antihistamine and anti fungal creams
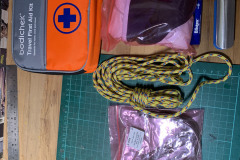
- a travel first aid kit with bandages, plasters, gauze etc
- face mask
- scissors
- paracord
- zip ties and electrical tape and lighter
- paying cards
- leg maglite
- pencil and notebook
- knife and scalpel
by bassybeats | Apr 4, 2021 | Computing
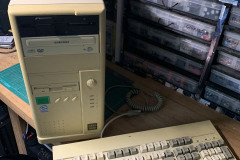
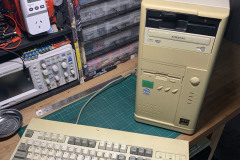
$20 pickup
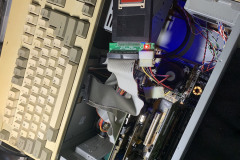
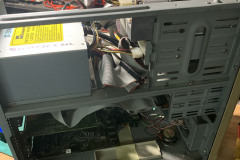
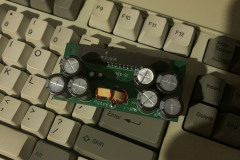
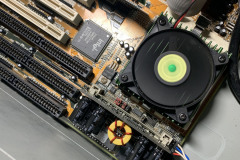
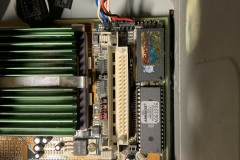
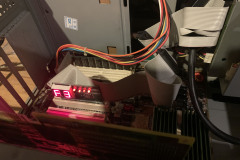
After an awesome find on Facebook marketplace I came home with a Pentium 2 and Pentium Pro machine. Both had their issues. This one had a bad bios battery and a dead VRM board, something that wasn’t apparent right away. The machine actually booted up at first until it released the white smoke.
VRM board dead
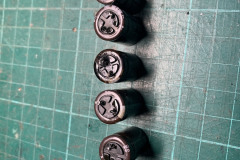
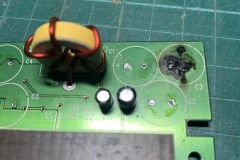
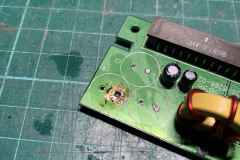
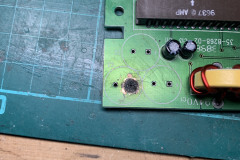
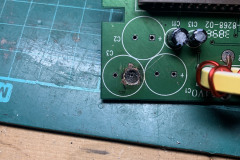
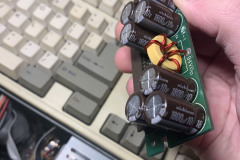
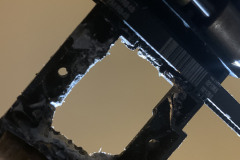
Turns out one of the capacitors on the VRM board decided to explode and take the PCB with it. I suspect that the cap leaked and shorted both layers and burnt a hole through it. Once I cleaned it out and found new copper to put the new caps.
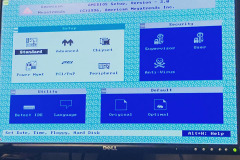
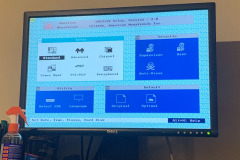
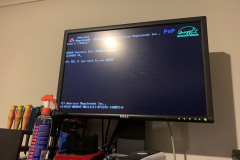
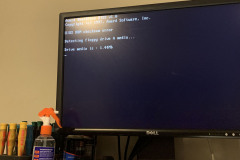
After the new caps were in, the machine booted right up. Only to get stuck at the bios screen. It turns out this particular bios needs a working bios battery to get into Windows/DOS. To make it worse, it uses a clock chip with a built in battery. Something not easily available, but AliExpress came to the rescue.
I actually ended up giving this machine to my dad as I was more after a 486 machine and just don’t have the space.
by bassybeats | Apr 1, 2021 | 3D Printing
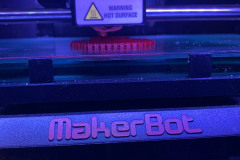
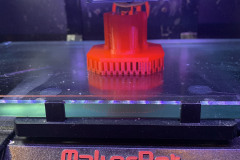
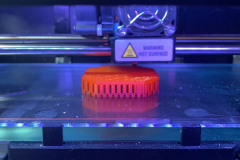
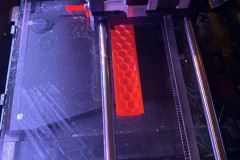
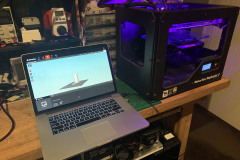
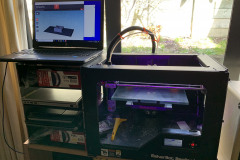
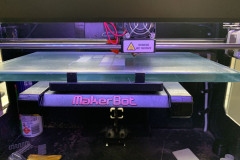
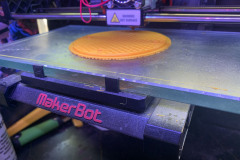
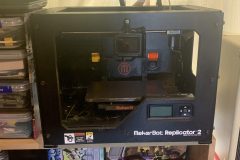
I don’t think I would ever recommend buying a broken 3D printer as your first printer, it is a very steep learning curve. One thing is for certain though, you quickly learn how it all works and I don’t think I could have chosen a better one to begin on. The MakerBot Replicator 2 was one of the most popular printers available for years and so it has lots of documentation, support, spare parts and upgrades.
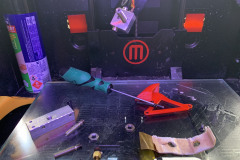
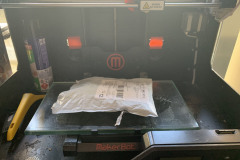
When I got this printer, it was $295NZD with 5 rolls of new filament, a glass bed upgrade and a huge blob of plastic encasing the hotend. I suspect the old owner tried to print ABS as when I removed it with a soldering iron it really stank. Sadly I didn’t get any photos of this process, just the after math.
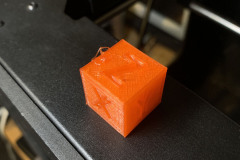
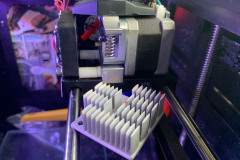
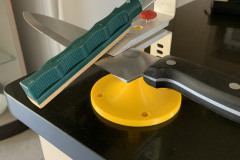
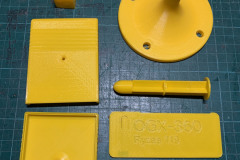
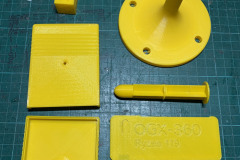
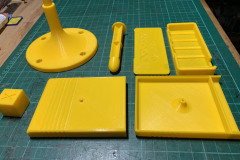
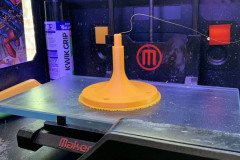
As this printer was missing a lot of parts when I got it, the first thing to do was to print parts for it. This included a new part cooling duct, filament guides and a new spool holder, all off Thingiverse ( I will include a link at the bottom to all the parts I printed ).
New hotend assembly
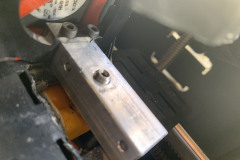
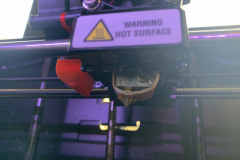
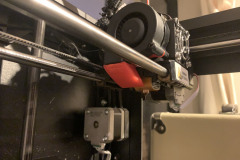
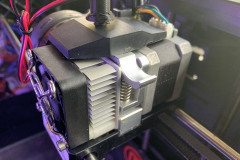
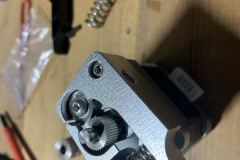
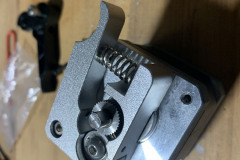
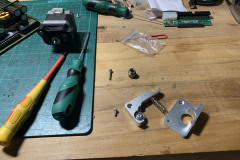
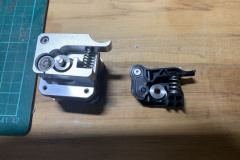
After the first few prints, I started getting constant clogging of the nozzle. It appeared to be from heat creep up the filament, which is where I noticed that the guide tube had no teflon lining in it and a likely cause of my problem. I did an order from Fargo 3D for a new heaterblock, new heating element, new teflon guide tube and new nozzle. At the same time I ordered from eBay I order a new aluminium extruder assembly, as I also noticed the makerbot one wasn’t grabbing the filament very well, likely due to the XYZ filament I have being undersized.
A good run of prints
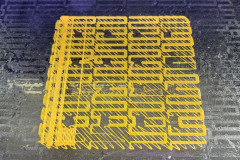
I had a really good run of prints a used all of the rest of my clear filament, with the only issues being some random clogging and the larger prints still lifting even though I was now using contact adhesive on the glass bed as it was un heated.
Jump skips start appearing
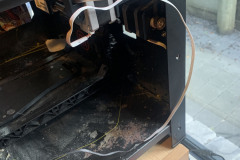
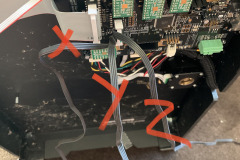
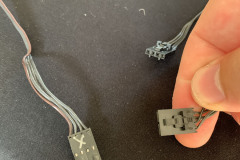
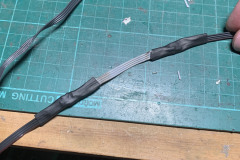
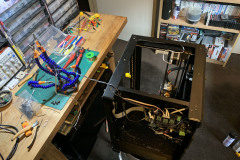
Just when I thought I was clear of all the issues, I started getting X-axis jumps mid way through prints and then they would carry on. So it was either the stepper motors or the cables. After cycling the motors forward and backward manually, I didn’t see the issue so I decided to strip the machine down and check the cables. I immediately found the issue, a pinched cable in a bolt for the x-axis. I chopped that section out and retested the cables, only to find it still wasn’t good. It turns out the wires fatigue on the x-axis after hours of use, a known fault of the printer. So I chopped the whole section out and replaced it with new ribbon cable. Problem solved!
Not out of the woods yet
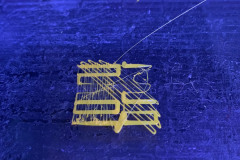
Turns out the printer wasn’t finished being a pain in the ass yet. When I put on the new roll out yellow I was still getting inconsistent prints, specifically it was not extruding well. I knew it wasn’t the motor or the new aluminium head or the filament ( brand new sealed roll ).
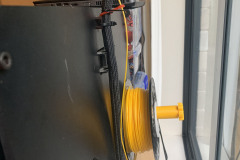
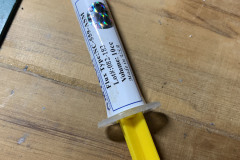
I tried a print and manually turned the roll on the filament holder to take the weight off the motor, bingo! the problem went away. Turns out this printer was designed for lighter rolls. So a bit of digging on Thingiverse and I found a filament holder that has a sliding barrel, which with a little lithium grease solved my issues and I got a big bunch of prints out.
Its Final Form
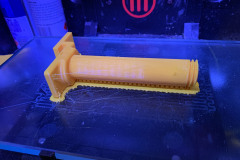
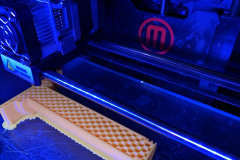
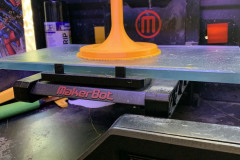
Now i was successfully printing with no issues my last problem to solve was the warping and adhesion issues on the glass bed. To date, I had always printed with a raft to get good adhesion and to stop the warping of the part. This makes print times considerably longer and you use a lot more filament or each print, and a lot of waste plastic. After some trolling of eBay and the power of YouShop by New Zealand post I had a new heated bed from the Makerbot Replicator 2X.
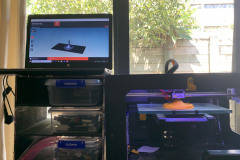
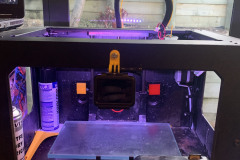
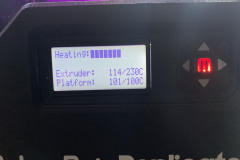
The install was very easy and actually just dropped in, something that never happens, even all the cables just plugged in. It was all and all a 30min job. The issue came to when I went to use it. The Makerbot Desktop software does not support a heated bed for a Replicator 2, only the 2X. To try the new bed out, I flashed the latest Sailfish firmware and exported my files using the 2X profile to the SD card and printed from that, not USB. This actually worked, mostly. If I had the parts cooler and LED’s off it seemed to print fine and the heated bed worked. What I soon realised is that I that the lower current power supply, as soon as I turned on the parts cooler and/or LED’s the whole printer would shut off.
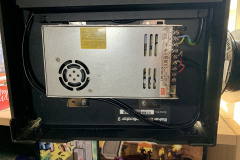
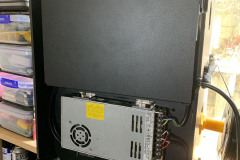
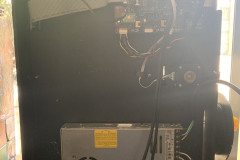
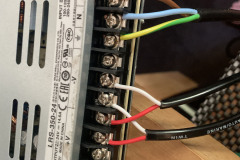
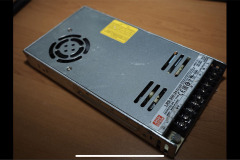
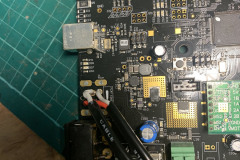
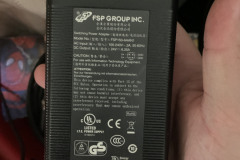
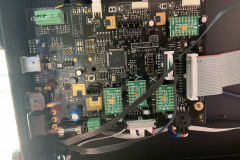
I did some googling around and realised this was a common but not well documented issue. Luckily, there was a 24V 14A Meanwell Power supply on Trademe ( New Zealands eBay ). I ordered it for $50NZD and hard wired it into the printer, removing the 4 pin DIN socket and direct soldering it to the board and mounting it under the printer. Final touch is to print a cap for the terminals but the problem went away.
A final note, if you want to use this process, you need to flash the latest BETA sailfish firmware to be able to adjust the parts cooling fan speed/power. Although the beta version seems to have reversed the on/off toggle. So “off” = “on” etc.
STL Files and Parts
Makerbot parts
aluminium extruder assembly
Fargo 3D

Recent Comments