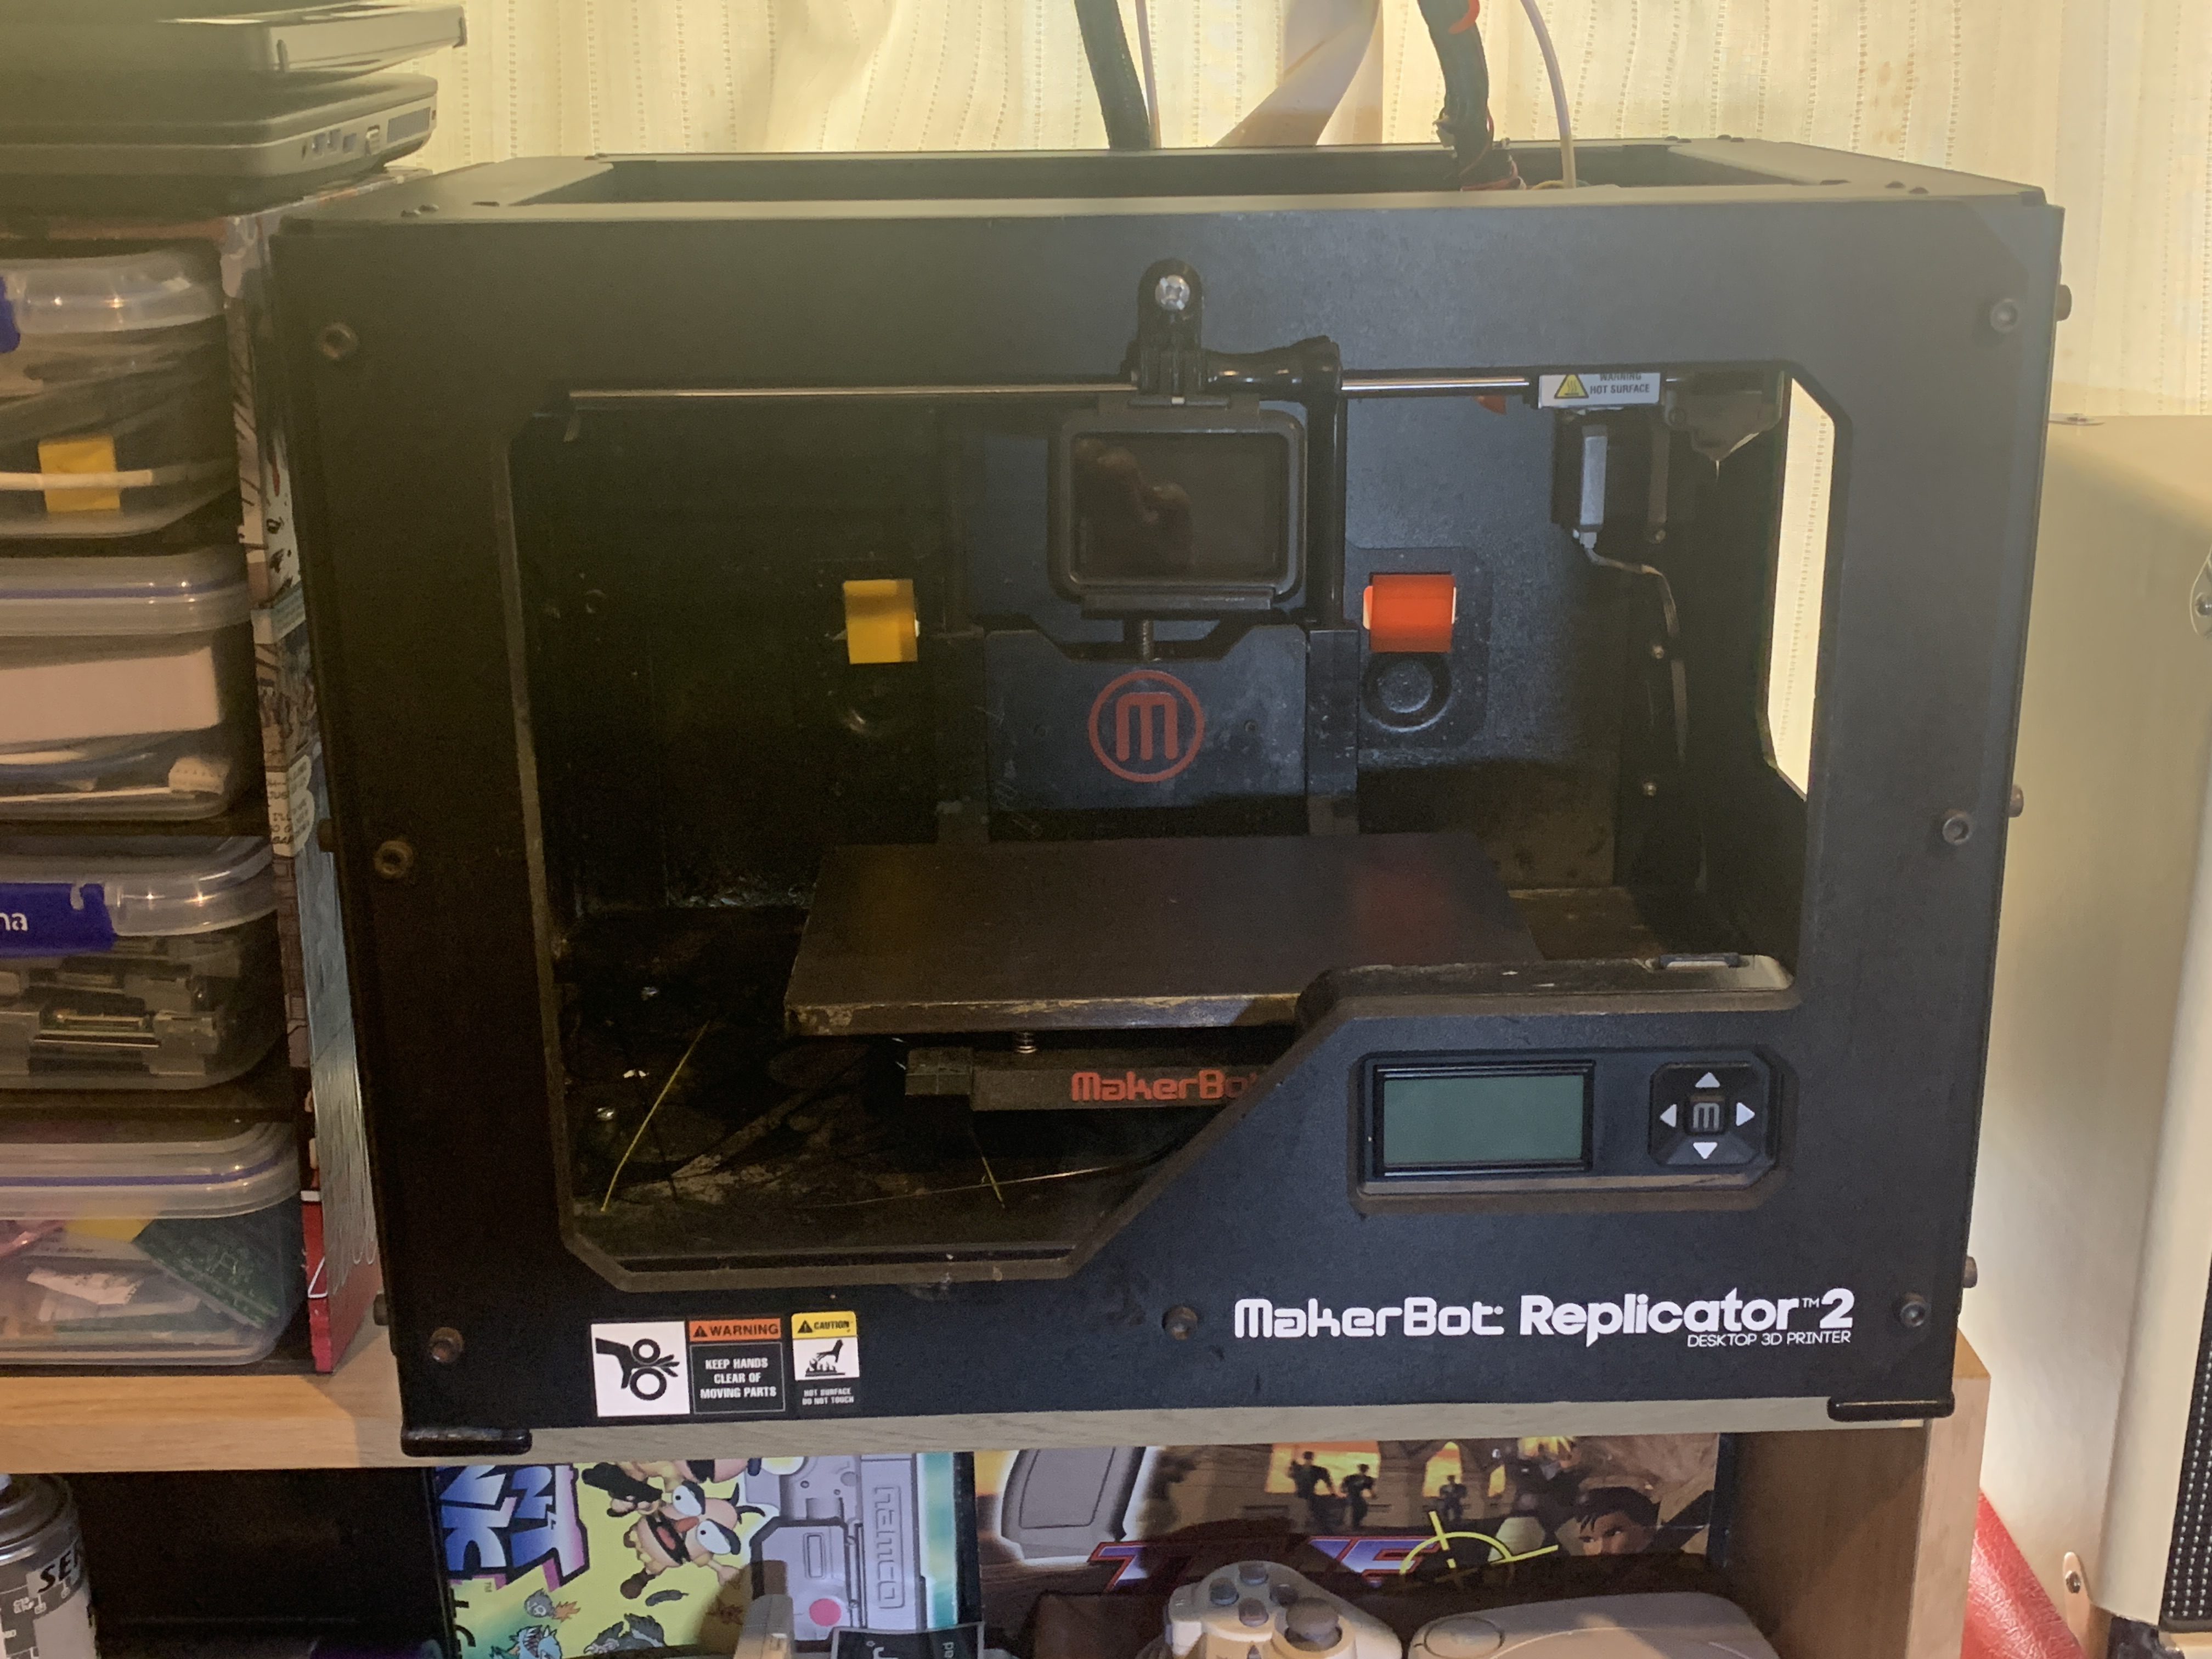
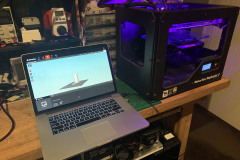
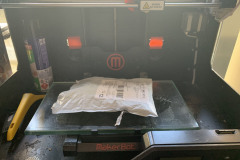
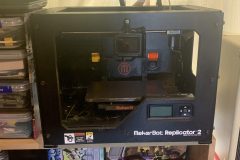
I don’t think I would ever recommend buying a broken 3D printer as your first printer, it is a very steep learning curve. One thing is for certain though, you quickly learn how it all works and I don’t think I could have chosen a better one to begin on. The MakerBot Replicator 2 was one of the most popular printers available for years and so it has lots of documentation, support, spare parts and upgrades.
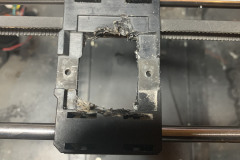
When I got this printer, it was $295NZD with 5 rolls of new filament, a glass bed upgrade and a huge blob of plastic encasing the hotend. I suspect the old owner tried to print ABS as when I removed it with a soldering iron it really stank. Sadly I didn’t get any photos of this process, just the after math.
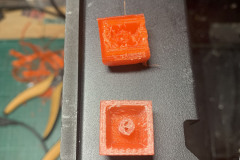
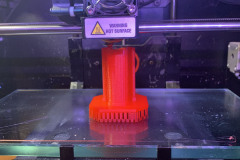
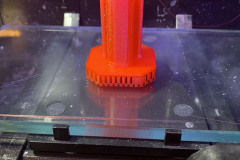
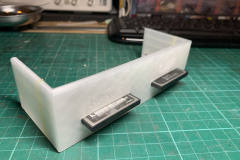
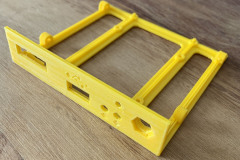
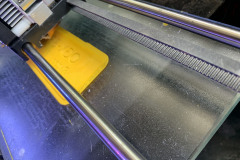
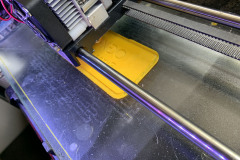
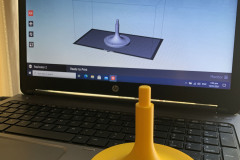
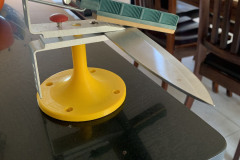
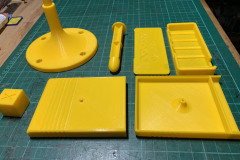
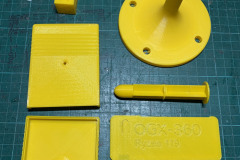
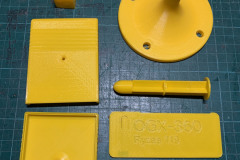
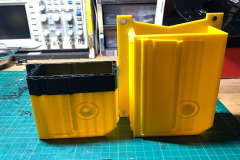
As this printer was missing a lot of parts when I got it, the first thing to do was to print parts for it. This included a new part cooling duct, filament guides and a new spool holder, all off Thingiverse ( I will include a link at the bottom to all the parts I printed ).
New hotend assembly
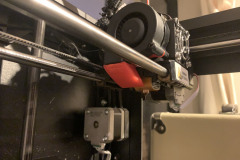
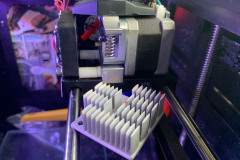
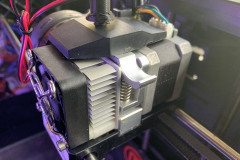
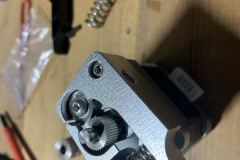
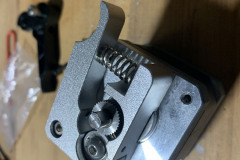
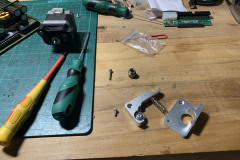
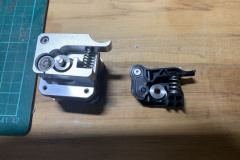
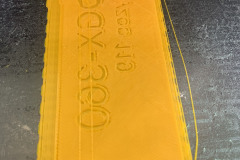
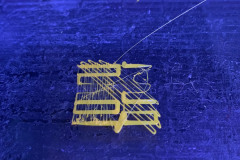
After the first few prints, I started getting constant clogging of the nozzle. It appeared to be from heat creep up the filament, which is where I noticed that the guide tube had no teflon lining in it and a likely cause of my problem. I did an order from Fargo 3D for a new heaterblock, new heating element, new teflon guide tube and new nozzle. At the same time I ordered from eBay I order a new aluminium extruder assembly, as I also noticed the makerbot one wasn’t grabbing the filament very well, likely due to the XYZ filament I have being undersized.
A good run of prints
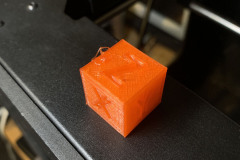
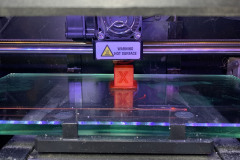
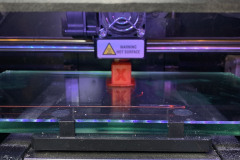
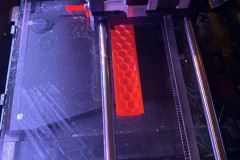
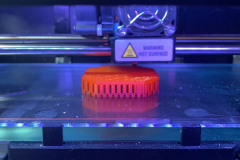
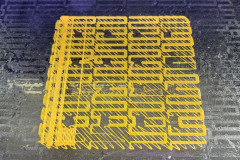
I had a really good run of prints a used all of the rest of my clear filament, with the only issues being some random clogging and the larger prints still lifting even though I was now using contact adhesive on the glass bed as it was un heated.
Jump skips start appearing
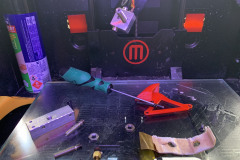
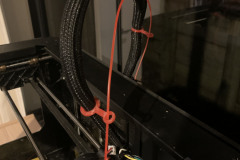
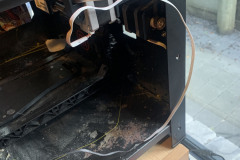
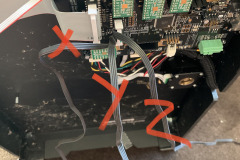
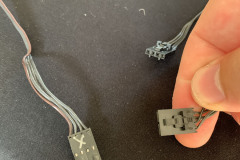
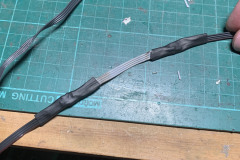
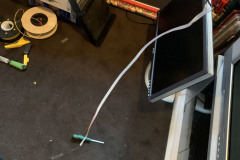
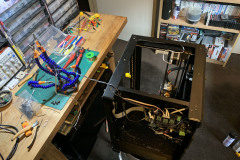
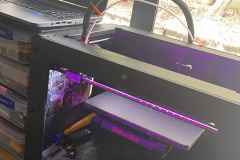
Just when I thought I was clear of all the issues, I started getting X-axis jumps mid way through prints and then they would carry on. So it was either the stepper motors or the cables. After cycling the motors forward and backward manually, I didn’t see the issue so I decided to strip the machine down and check the cables. I immediately found the issue, a pinched cable in a bolt for the x-axis. I chopped that section out and retested the cables, only to find it still wasn’t good. It turns out the wires fatigue on the x-axis after hours of use, a known fault of the printer. So I chopped the whole section out and replaced it with new ribbon cable. Problem solved!
Not out of the woods yet
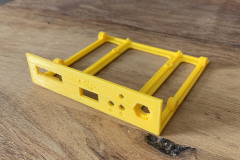
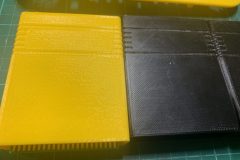
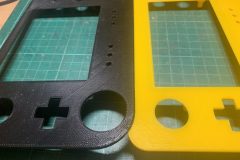
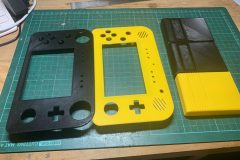
Turns out the printer wasn’t finished being a pain in the ass yet. When I put on the new roll out yellow I was still getting inconsistent prints, specifically it was not extruding well. I knew it wasn’t the motor or the new aluminium head or the filament ( brand new sealed roll ).
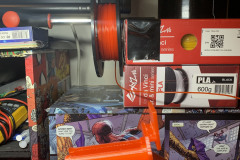
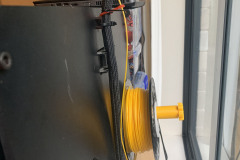
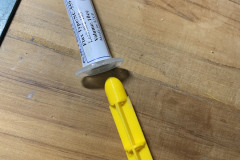
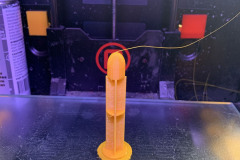
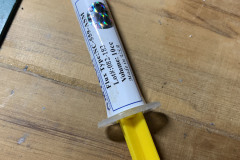
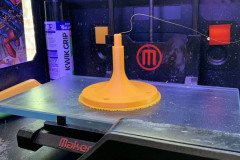
I tried a print and manually turned the roll on the filament holder to take the weight off the motor, bingo! the problem went away. Turns out this printer was designed for lighter rolls. So a bit of digging on Thingiverse and I found a filament holder that has a sliding barrel, which with a little lithium grease solved my issues and I got a big bunch of prints out.
Its Final Form
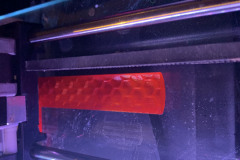
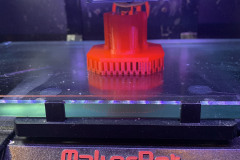
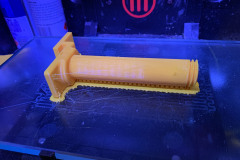
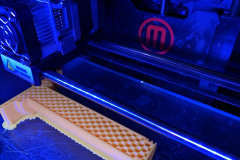
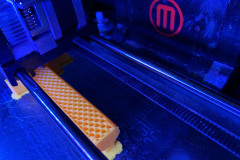
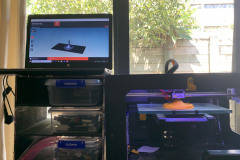
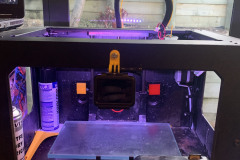
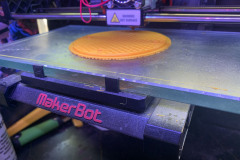
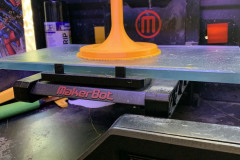
Now i was successfully printing with no issues my last problem to solve was the warping and adhesion issues on the glass bed. To date, I had always printed with a raft to get good adhesion and to stop the warping of the part. This makes print times considerably longer and you use a lot more filament or each print, and a lot of waste plastic. After some trolling of eBay and the power of YouShop by New Zealand post I had a new heated bed from the Makerbot Replicator 2X.
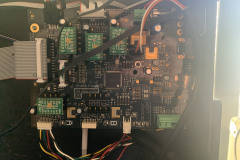
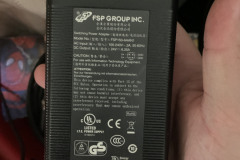
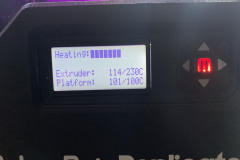
The install was very easy and actually just dropped in, something that never happens, even all the cables just plugged in. It was all and all a 30min job. The issue came to when I went to use it. The Makerbot Desktop software does not support a heated bed for a Replicator 2, only the 2X. To try the new bed out, I flashed the latest Sailfish firmware and exported my files using the 2X profile to the SD card and printed from that, not USB. This actually worked, mostly. If I had the parts cooler and LED’s off it seemed to print fine and the heated bed worked. What I soon realised is that I that the lower current power supply, as soon as I turned on the parts cooler and/or LED’s the whole printer would shut off.
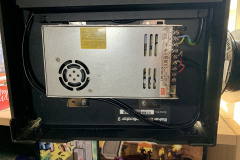
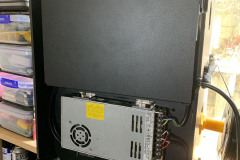
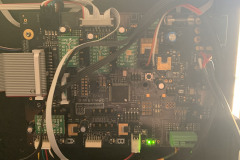
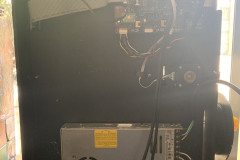
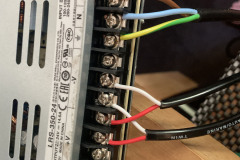
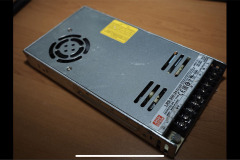
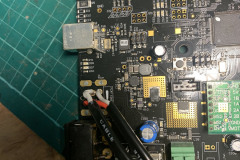
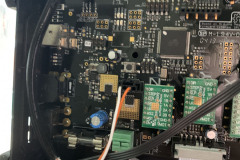
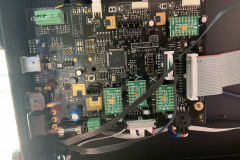
I did some googling around and realised this was a common but not well documented issue. Luckily, there was a 24V 14A Meanwell Power supply on Trademe ( New Zealands eBay ). I ordered it for $50NZD and hard wired it into the printer, removing the 4 pin DIN socket and direct soldering it to the board and mounting it under the printer. Final touch is to print a cap for the terminals but the problem went away.
A final note, if you want to use this process, you need to flash the latest BETA sailfish firmware to be able to adjust the parts cooling fan speed/power. Although the beta version seems to have reversed the on/off toggle. So “off” = “on” etc.
STL Files and Parts
Makerbot parts
aluminium extruder assembly
Fargo 3D



0 Comments