by bassybeats | Apr 5, 2020 | Computing
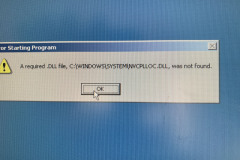
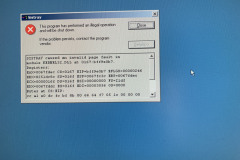
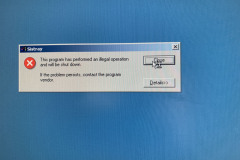
This was one of the most frustrating projects that I have done do date. It took me right back to those painful days of installing drivers, blue screens, crashes, hardware incompatibilities and re-installs. I don’t think I have installed any OS more than Windows 98. On top of all of that, I had numerous hardware failures due to the age of most of the components I started out with.
The plan
This project started from a youtube video from PhilsComputerLab where he was building some Windows 98 PC’s with somewhat modern hardware, from Socket 370, socket 478 and even socket 775 motherboards. After building my “Ultimate XP/10” rig I wanted to do the same but with Windows 98SE. The plan was to get as much compatibility, speed, and modern creature comforts as I could. That meant USB, AGP, PCI, ISA, SSD, Sata, DVI output, Good sound, reliable parts and a modern case. Not all of those were easy to find.
Revision 1
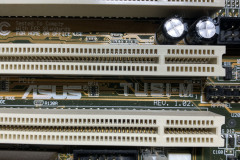
The first revision of this build was using an Asus TUSI-M Socket 370 motherboard with a Pentium III in it. This motherboard seemed to perform well but was lacking some of the features I was after, namely AGP, Sata II and USB 2. After that another socket 370 board came up on Trademe, a Gigabyte GA-6VEML which was pretty much the same except it had an ISA slot which would take my nice vintage Sound Blaster card. But alas, it wasn’t meant to be. After numerous re-installs and issues I just gave up. The Gigabyte board was having issues where it wouldn’t turn on half the time for no reason and the CPU coolers were crazy loud, so I had to change course.
Revision 2 (short lived)
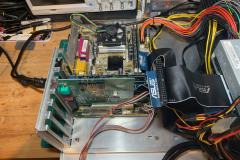
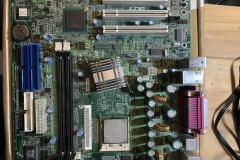
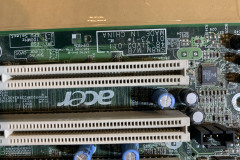
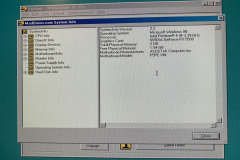
Well the second revision wasn’t any better, same core parts but different motherboard, ram and CPU. this time it was an Acer S88M Socket 478 board with a Pentium 4. It appeared to be going good but the voltages were all over the place and the CPU just wouldn’t report the correct clock speed. The bios was impossible to flash on this thing as it came from a prebuild from back in the day. So I was stuck once again.
Revision 3 – it’s final form
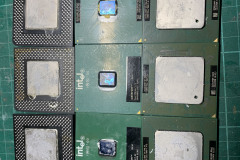
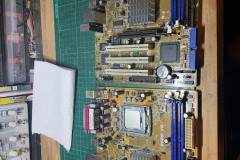
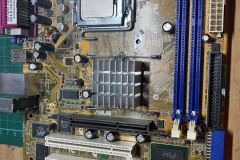
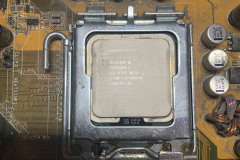
Well after a lot of headaches with this build I came across a bundle of motherboards on trademe that happened to have some early socket 775 eta motherboards. There were 3 Asus P5PE boards that could take DDR400 ram and a Pentium 4 3.40ghz processor! This was the golden moment for me, not only would I have more modern hardware that was less likely to fail, but gained AGP, and USB 2.0. This board was the perfect candidate for this build and I now even had 2 spare setups of ram, motherboard and CPU’s.
The final stack of parts I went with was:
- Asus P5PE socket 775 motherboard
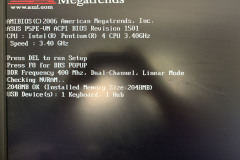
- Intel Pentium 4 3.40ghz
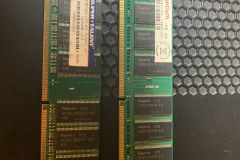
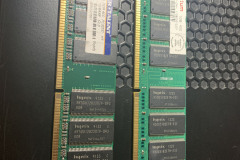
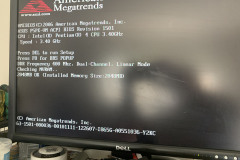
- 2GB of DDR400 ram ( i’ll share the trick I used to get this to work )
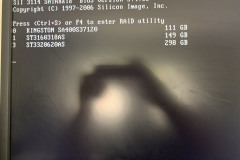
- 128GB Kingston SSD
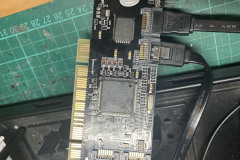
- PCI to Sata II card
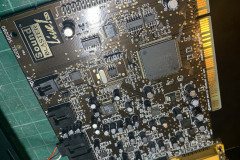
- Sound Blaster Live PCI card
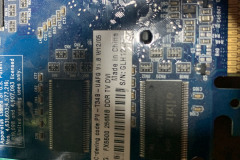
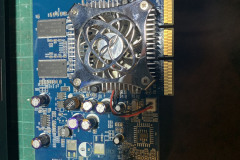
- 256MB FX5500 AMD AGP graphics card
- Floppy Drive
- DVD Drive
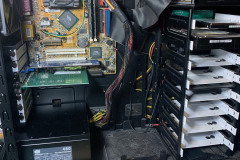
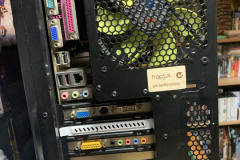
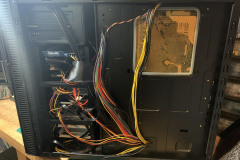
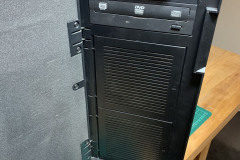
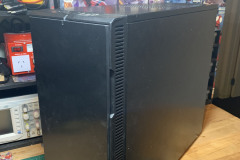
- Fractal Design R2 case
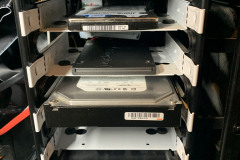
- a few old HDD’s for storage
Getting software onto this rig was no easy task, annoyingly I didn’t have any easy way to transfer files onto this machine without burning disks all the time. So I opted to pull one of the drives out and dock it into my main Windows 10 rig and downloaded all the files.
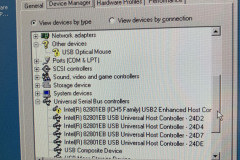
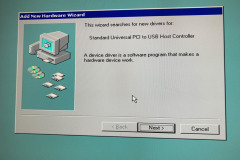
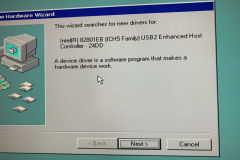
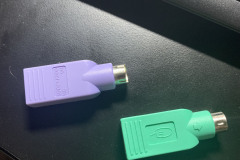
The drivers I needed were mostly all here on Asus’s website ( somehow still hosted ) or here on Phil’s Computer Lab site. The biggest pain in the butt that I had with this build was getting drivers installed. I had a lot of issues getting the USB drivers to work, mostly because I didn’t have any PS/2 mice or keyboards around which made it incredibly difficult to install things and made going into safe mode a constant occurrence when I got the wrong ones installed ( even tried PS2/usb adapters ). But once I found a PS/2 mouse I finally got all the drivers and software installed and managed to even gets some games installed.
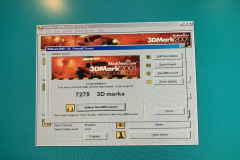
After all that was sorted out, I ran some benchmarks using 3D Mark 2001 and got some impressive scores for Windows 98 of 7275. Due to the FX5500 having DVI I can even run 98 on the 24″ screen over HDMI/DVI cables and I can even use my USB/HDMI KVM full supported! This was a pretty hard project and still has some room to improvement.
by bassybeats | Apr 5, 2020 | Others
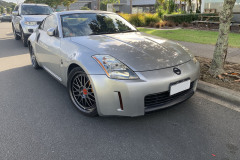
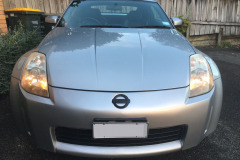
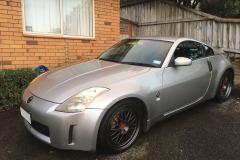
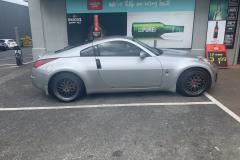
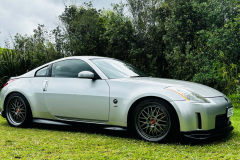
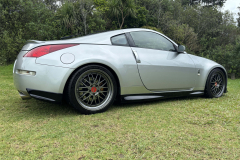
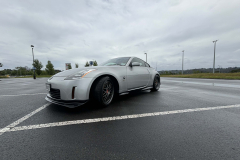
In an on-going to quest to log all the projects that I work on I am going to keep this article as a running log of all the improvements, changes and maintenance I have done to my 350z.
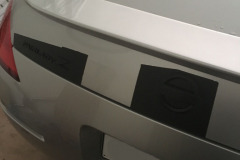
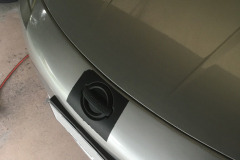
Blacking out the badges and bumper
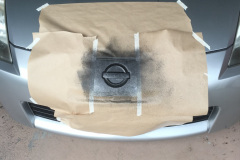
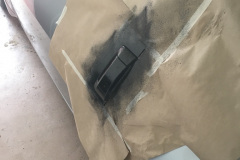
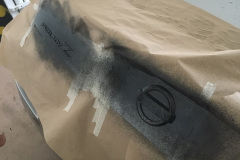
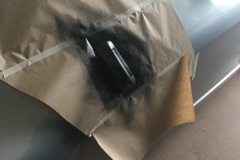
I had seen a few Z’s rolling around with blacked out badges and I really liked the look of it. A quick google later and it seemed pretty straight forward to mask off the car and apply some matte black plasti dip. It won’t be the longest lasting stuff but it is easy to remove and put the car back to stock later on.
Installing an intake plenum spacer
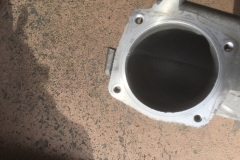
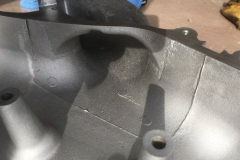
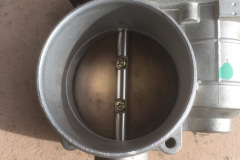
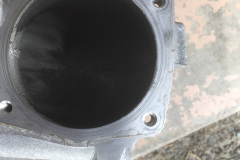
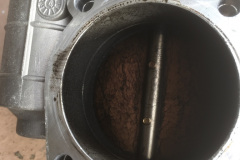
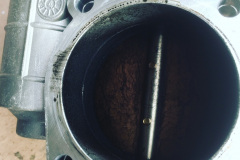
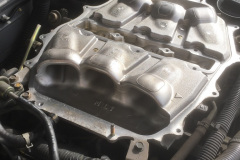
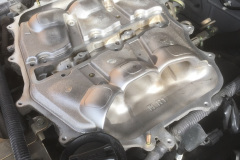
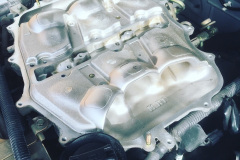
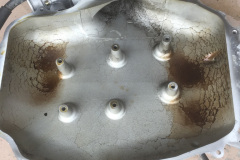
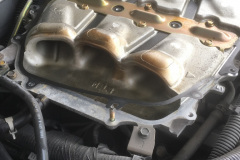
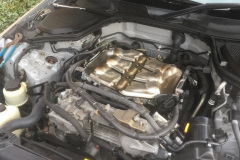
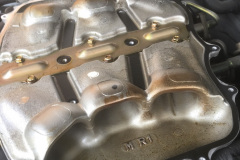
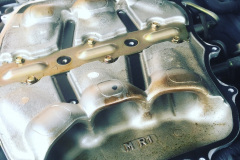
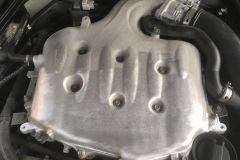
One of the few “performance upgrades” you can do to a stock VQ35DE is to add the plenum spacer into the intake. This wasn’t too hard to do and it gave me a chance to clean everything out, as you can see there was alot of sooty crap in the intake that I could remove and also cleaned the throttle body. One thing to note is that you are going to have to do the throttle position procedure after you clean that thing as the car is going to run pretty bad at first.
Fixing an elusive water leak
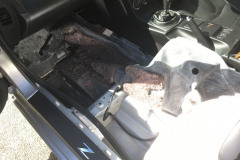
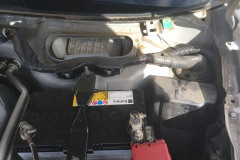
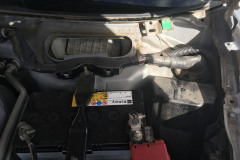
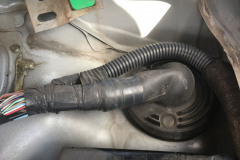
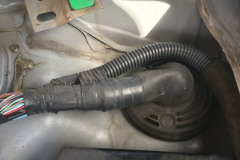
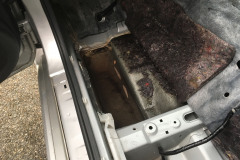
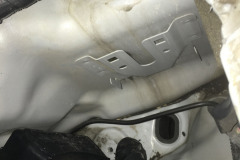
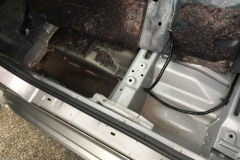
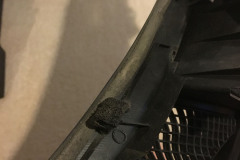
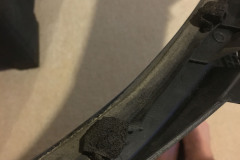
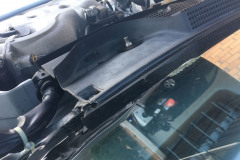
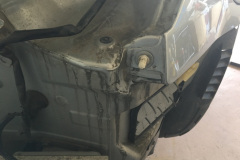
Well after a couple of years owning it the car developed an annoying leak only when parked on the specific angle in my driveway. This leak was extremely hard to track down, but in the end what was discovered was that the water on a certain angle was going under the plastic cowling, down the firewall and along a tube into the cabin. So if this happens to you, it is the rubber seal on the cowling that has gone bad ( the bit that touches the windscreen ). I ended up going through the whole car, engine bay and getting the inside dehumidified and removed all interior to get it sorted. What a pain in the arse.
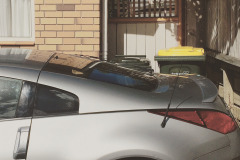
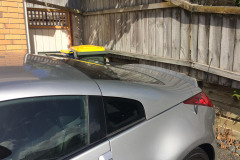
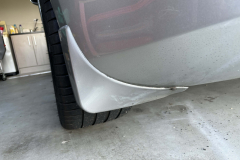
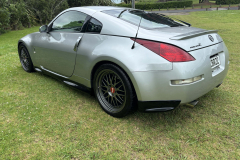
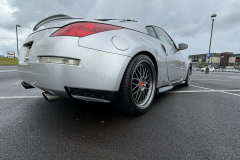
Installing a stock style rear wing/lip
When I first go the car, it had no wing which wasn’t an issue as I knew I could fit one later on. Well trying to track one down locally was not an easy feat and I ended up ordering one online that actually came pre-painted and also came with the correct mounting adhesive as well, an easy Sunday job.
Fixing the annoying boot lock issue
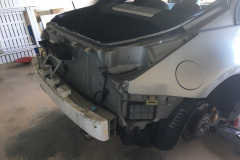
Apparently a common issue with these, but the boot lock switch decided to stop working one day and I had to use the pull cord ( its mounted in the rear strut tower thing ). A small weekend project and I had the bumper off and the switch cleaned. The switch just needed some cleaning and water resistance.
Replacing a broken drivers door handle
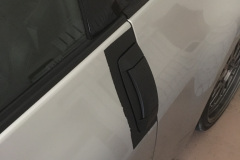
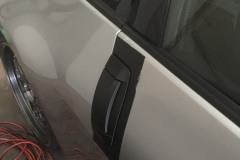
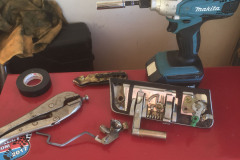
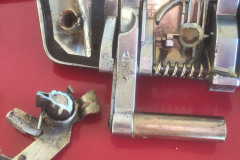
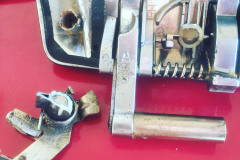
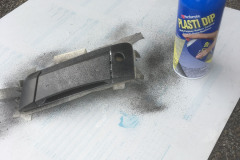
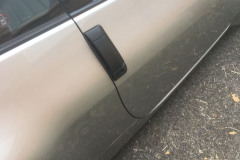
I seemed to be going through an aging window for this car and had another part fail due to age, i’m sure its common on all cars but this was a pain to do. The plastic actually broke inside of the handle and the bolt wasn’t able to be undone. I ended up slipping a pair of vice-grips in wrapped in cloth to hold the plastic to undo it. I also had to re-plastidip the handle as well.
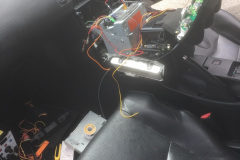
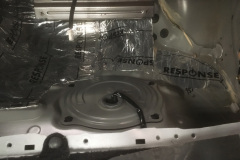
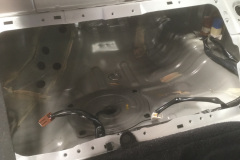
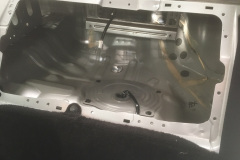
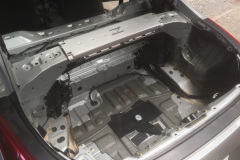
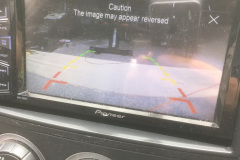
Installing a rear view camera and sound proofing
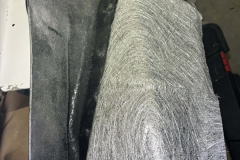
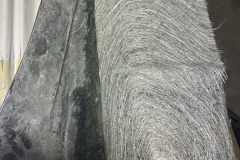
As a bit of an xmas present to myself I wanted to get a rear view camera installed as my headunit supports it as well as put in some sound dampening to lower the road noise and get a better sound from the Bose stereo. It made a huge difference in audio quality and you can actually get a reversing light housing that can hold a camera for the 350z, so it looks completely factory!
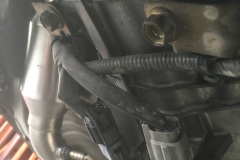
Installing high flow catalytic convertors
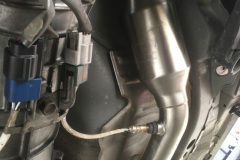
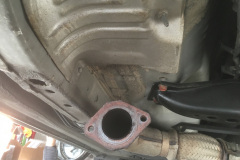
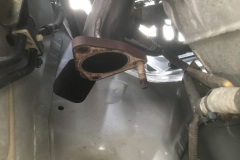
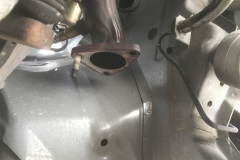
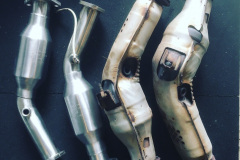
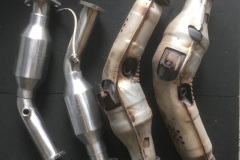
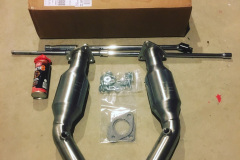
The other thing that is apparently good for these cars is to swap out the cats to some good quality high flow ones. I ordered some USA made cats from Kinetix Racing. They sound awesome and drop some weight too. The car feels a little bit more responsive but only by butt dyno. The old cats are pretty hard to get out, needing some really long extensions to get to the header bolts, but once you have that done you are golden. Also check the bolts as they are imperial not metric that come with the kit.
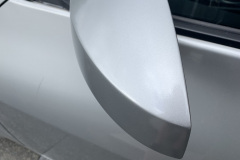
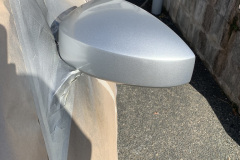
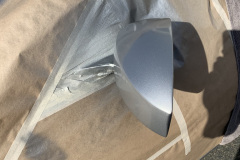
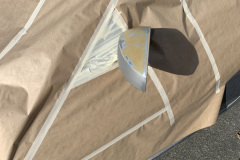
Repainting wing mirrors
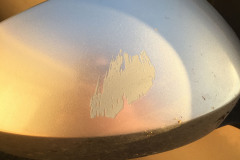
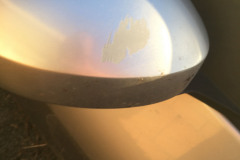
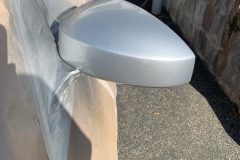
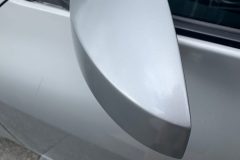
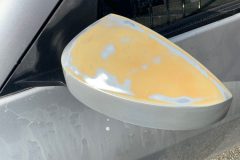
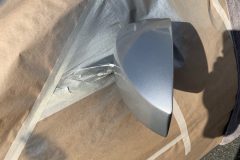
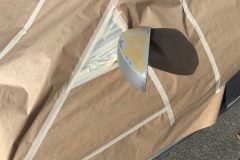
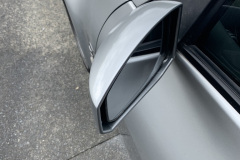
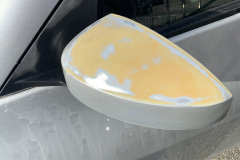
Prior to me owning the car, someone must have had the wing mirrors painted as I had done a gumboot rally in the past and the paint came off when I removed the sponsor stickers ( it shouldn’t ) and the other mirror after a few years in the sun started to crazy crack and the clear coat came off. I went down to my local auto paint shop and got colour matched cans of lacquer paint and stripped them down and gave them some fresh paint and plenty of clear coat.
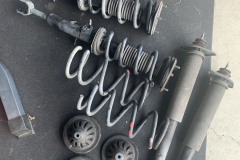
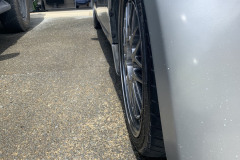
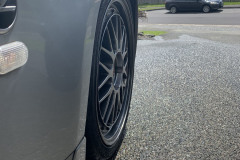
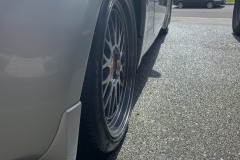
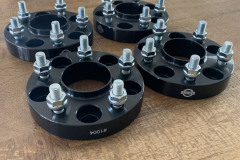
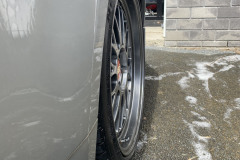
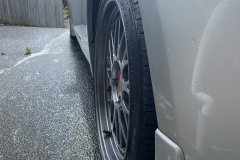
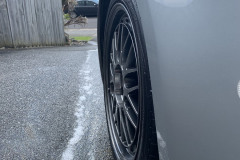
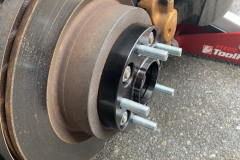
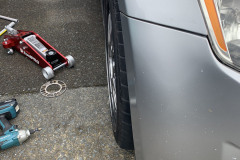
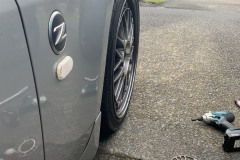
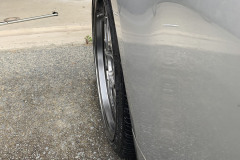
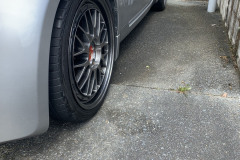
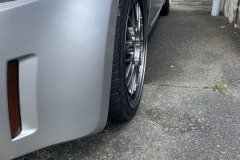
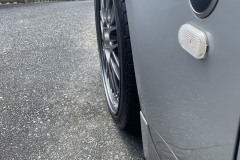
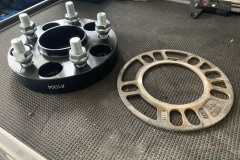
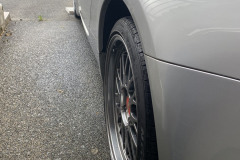
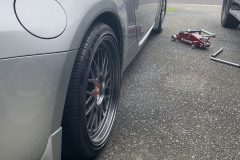
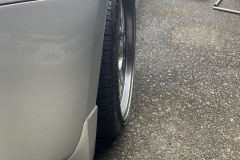
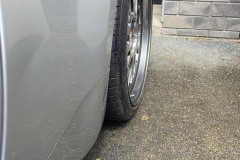
Installing wheel adapters and BC Gold coilovers
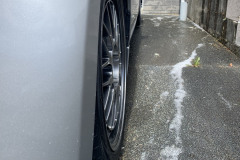
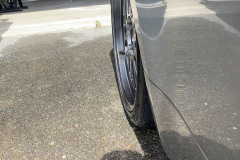
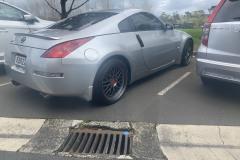
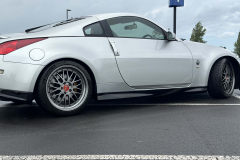
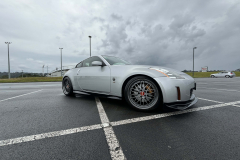
One thing that always bugged me with this car was the spacing and offset of the wheels. The BBS LM rims looked awesome but just didn’t fill out the guards enough for my liking. Since the only way to change this ( other than reverse mounting the rims which was just as expensive ) was to buy bolt on spacers. The car actually came into the country from Japan with 3mm spacers to clear the brakes which I didn’t like if I was going to track the car. since I was going to have to get a certification for the spacers I also decided to install some BC Gold Coilovers at the same time and get it all certified at the same time.
The install was pretty straight forward and was all done in a weekend. I then took the car down to Mag and Turbo and got the alignment and ride height set even all the way round. Doing this gave me the chance to corner balance the car as they always are a little uneven corner to corner. With the spacers pushing the wheels out and a little lower ride height the car looks 100% better.
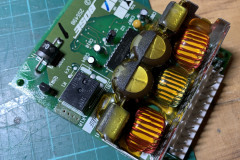
Fixing the Bose Subwoofer Amp
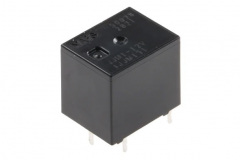
As it comes, parts start to fail over time and the Bose subwoofer amp is no different. It started with the sub cutting out when going over large bumps and then it just wouldn’t work at all. A quick google shows this is pretty common and its the 12V relay that goes bad after a while due to all the vibration. The original part isn’t made anymore but I ended up using a panasonic replacement .
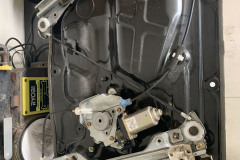
Faulty Window Regulator
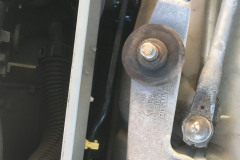
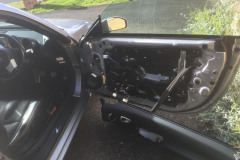
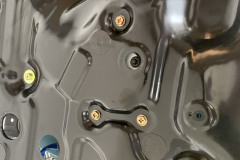
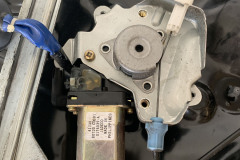
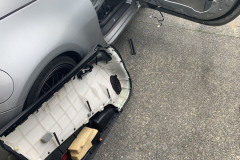
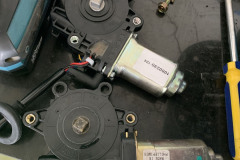
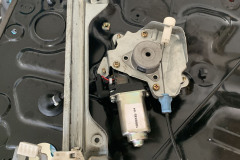
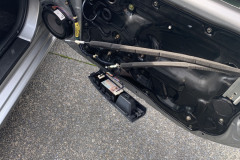
Almost at the same time as the subwoofer amp, the regulator started dying in the drivers door, something apparently common. Apparently it is due to manufacturer defects. so I found a third party replacement for it. Its pretty straight forward to install but you need to calibrate it once it is installed with the little button built into the door itself.
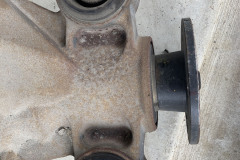
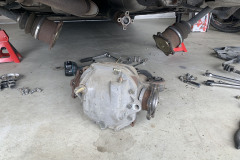
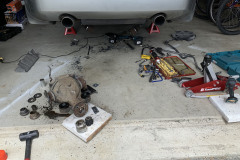
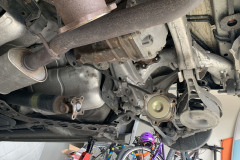
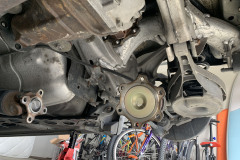
Diff Bushing Upgrade
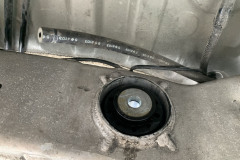
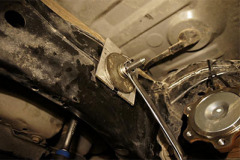
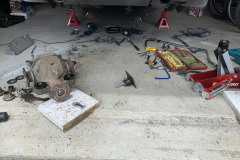
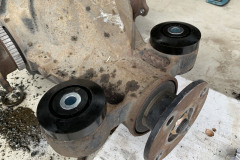
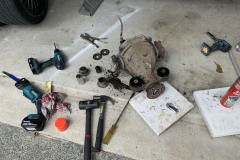
When I was upgrading the coilovers I saw that the top diff bushing was starting to perish, so I put an order through for a set of White line bushings. The kit is pretty straight forward to put in but there is a lot of things to remove to get to them. I used this video as a guide.
- Remove the rear swaybar, this will fight you a lot.
- Remove axle bolts to the diff, mark them so the bolts go back in the same place.
- Remove the 4 diff bolts to the driveshaft, mark them so they go back in the same place and also mark the driveshaft so it goes back in the same spot.
- Remove the diff housing breather hose at the top of the diff, this is not easy to get to.
- Remove the 3 diff bolts that go into the bushings. Make sure you have the jack under the diff at the stage so you can lower it down.
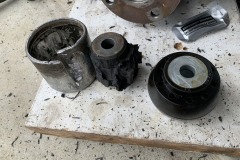
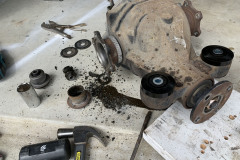
- Once the diff is out, you might be lucky to be able to knock the old bushings out of it, I had to cut one out with a drill and a reciprocating saw.
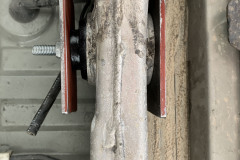
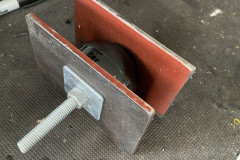
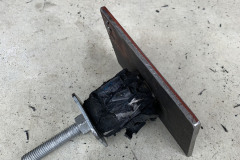
- The bushing in the rear subframe will be the worst and take the most time. This was a nightmare to remove and I used a combo of a drill, a reciprocating saw, a jig saw and my custom made vice I used to be put the bushing in.
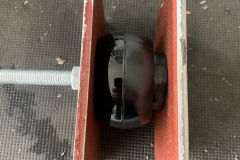
Once you do all that, the rest is pretty easy, its just the same thing in reverse. To get the new sub frame bushing in, I made a custom vice with 1/4″ steel plate with a long threaded bolt and a couple of washers. After its all back in again, I went for a drive and then rechecked all the torque on the bolts after about 100km.
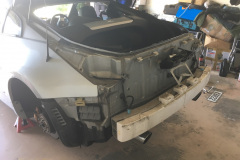
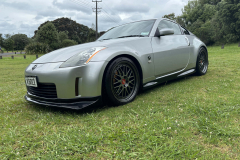
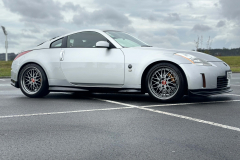
Finally fitting the Nismo Style body kit
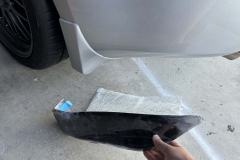
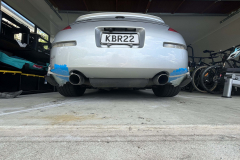
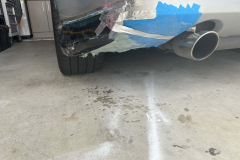
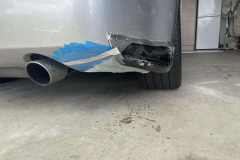
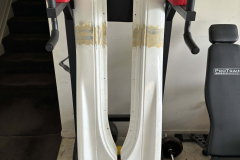
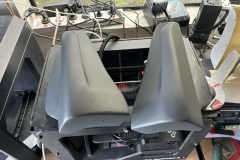
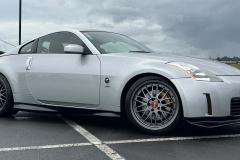
This was a look I have wanted for ages, the two tone Nismo body kit that has that ‘baby GTR’ look to it. Sadly I got a bit screwed over with these parts when I bought them. The reproduction kits were extremely poor quality and the side skirts were 15mm too short, poorly fitting parts. I actually went through the whole process of getting them extended, and getting the gaps fixed but actually got offered some genuine Nismo side skirts that would need the same amount of work and paint so I went with those in the end. The end caps were the same with fitment but were much closer to fitting and I just made them work.
The Final Nismo Style Look
I think the kit turned out remarkably well. Silver is a very hard colour to match, especially with a 20yr old car that has had panels repainted and blended over the years but it still looks stunning.
This is an ever growing build log so keep and eye on it to follow along.
by bassybeats | Apr 5, 2020 | FX Pedals
This article was suppose to be two different articles but I took so long to do them that I ended up making a new pedal board and thought I would just create one log entry for them both.
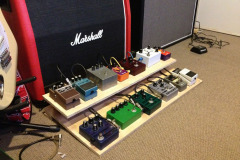
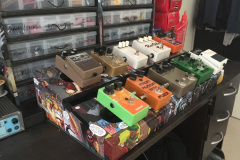
As usual I have made to many of something and I wanted to have a pedal board for home that would accommodate originally 14 pedals but now I have moved it down to 10 pedals.The main reason it needed to be so big was I had made so many pedals in the past and I wanted to be able to try different combo’s together without having to unplug stuff all the time. I know i’m lazy.
Pedal board version 1
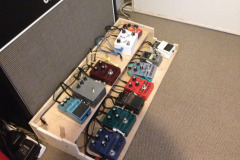
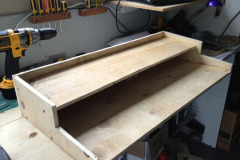
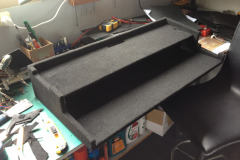
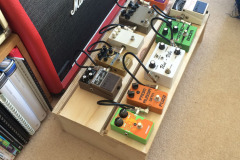
I had no idea how big it needed to be, luckily I had some scrap bits of plywood left over from another project so I just stacked a couple of bits of wood and laid the pedals and cables out for sizing. Seemed I guessed pretty well.
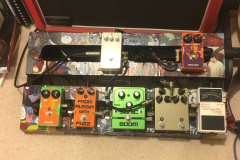
A bit of wood working and I had a rough working pedalboard. It looked rough but I was going to fix it. I ended up routing some holes to get the power and instrument leads through but it was more of less on point.
I did have some carpet left over from when I built the subwoofer box in my car years ago, so that worked perfectly. Although after having it on the floor a couple of years the carpet got really dirty, i’d probably use something else in future.
I went for the Tonepad power supply board with some changes. It seemed that all I need to be change to get higher current limits were the diodes and the voltage regulator to a LM350 adjustable. The input power was just a 24v laptop power supply with a 3.4A limit, plenty for all my pedal needs. I also added a Jaycar daughter board to get a single 12v tap for the odd pedal that needed it ( old boss stuff in my case ). Even though there is 5 9V outputs, I still made up a daisy chain cable and could have just used a single output.
Pedal board version 2
The last pedal board project ( above ) I made was not small or portable, I aim to fix that with this version as well as make it look way cooler and be much quieter using isolated power supplies
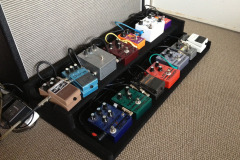
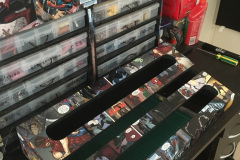
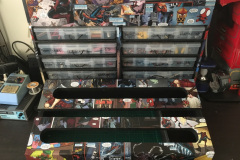
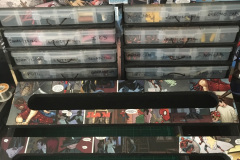
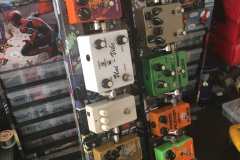
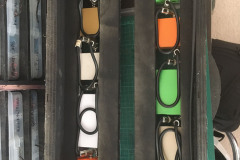
So far with the build I have made a few modifications since last time. The biggest one being having slots under and above the pedals the route all cables downwards and out of the way. I have also reduced the size to allow for 10 pedals, two rows of 5 is better than 14!
How to keep them fixed
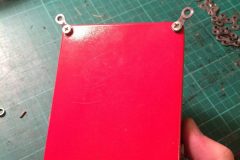
I got a great idea from dad, he hand made little alloy tabs to go between the pedal case and the bottom plate. A quick look around and some old bike chain works a treat!
{gallery}galleries/new-pedalboard/fitting{/gallery}
Power troubles
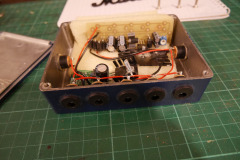
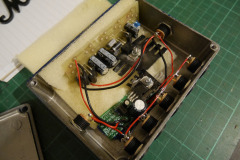
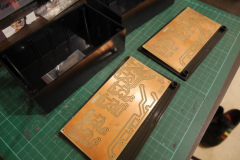
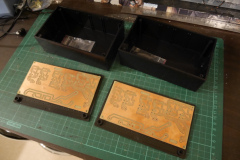
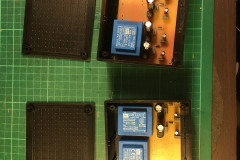
Another lesson learnt from the last project was to isolate the power supplies as the higher gain pedals tend to leak into the singal chain of others if they are sharing common power. This boards are now etched and I am just figuring out how to mount it all in. The plastic boxes seemed right but the boards are a few mm too big.
Comic book covering
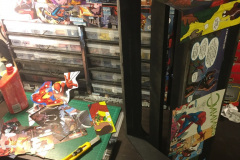
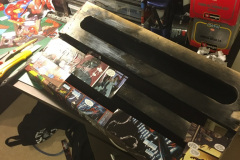
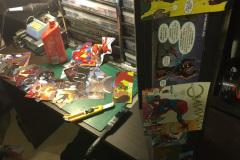
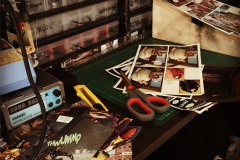
After the success of a couple of my last projects with the comic book page covering I decided to do something a bit different this time. I still had some left over and the carpet of the last one invited a lot of dust to accumulate on it. It was the same process to get the comics covered all over the unit.
Isolated power supplies
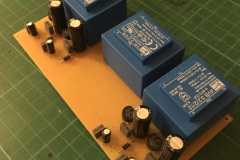
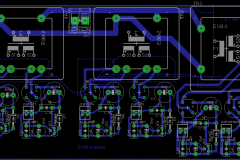
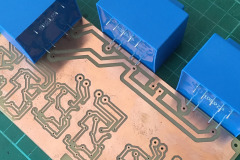
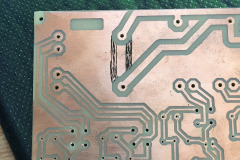
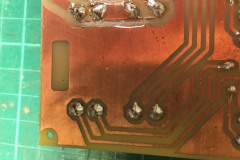
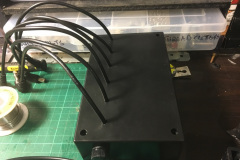
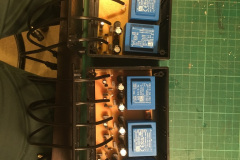
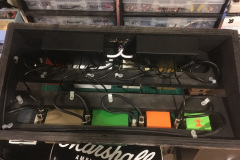
Again, after speaking to my dad on how we built his, we decided to make custom PCB’s for the power supplies for my rig as well. The hard part with this build was that a lot of the pedals had different voltages and different current limits. The Univibes wanted 15-18v DC, the other pedals wanted 9v and the tube over drive wanted 12v AC. We ended up designing them so that I could swap out a voltage regulator for different outputs and swap out different transformers for higher voltages. A couple of issues I ran into was that the TO-92 regulators couldn’t supply the current for some of the pedals so I had to rig in some larger regulators and the transformers I bought had an extra pin on them that I had to cut a trace on the PCB’s to make them work. The supplies also directly run off 240v AC wall power so you need to be careful and I ended up running a fuse for each box.
Final assembly
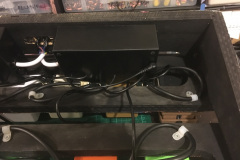
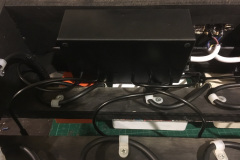
The last hurrah. I ordered some custom patch cables for this build and also ordered some custom, sealed power connectors because if you get the non sealed ones, the ends can touch the casing of MXR pedals and cause all sorts of issues. I housed the power supplies in some plain plastic boxes underneath the board and mounted the IEC plug directly into the wood. All in all I think it turned out extremely well, and it was finally done.
I won’t be doing a materials list this time as it was so long ago I build this the listings and links are all dead.
by bassybeats | Apr 5, 2020 | Others, Resources
Over the years of fixing stuff I have managed to gather a pretty good selection of tools and equipment that has allowed me to fix and repair almost anything that has come across my desk so I thought it was about time I did an article detailing out what I think it is essential tool set for a starting/intermediate electronics hobbyist.
Parts and components
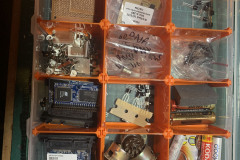
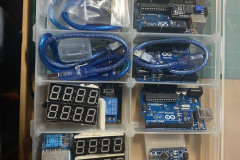
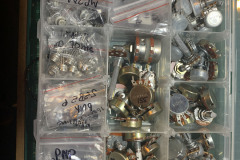
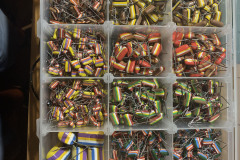
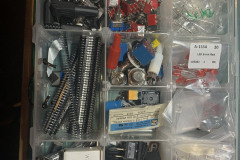
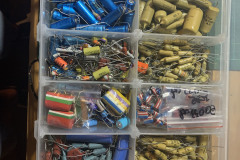
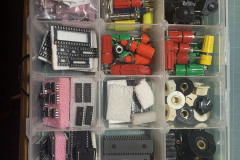
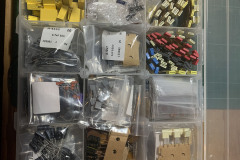
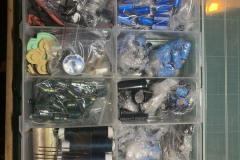
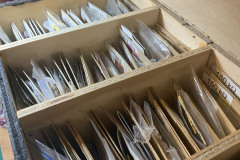
You can’t start fixing and making things if you don’t have the right components. The basic list of things to keep on hard are a large selection of capacitors and resistors ( make sure you have the right voltage selection for the projects you need but 16v and 35v ratings are usually more than plenty for starter projects ). Diodes, heatshrink, switches, LED’s, voltage regulators, a large selection of transistors, Op Amps, I have lots of guitar effects unit parts as well like foot switches and 1/4″ jack sockets, potentiomenters ( both large and small ), trim pots, breadboards, jumper wire, screws and bolts and I would keep some arduino’s on hand as well for small projects.
Consumables
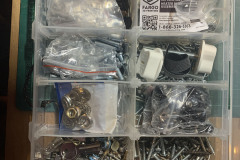
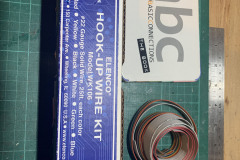
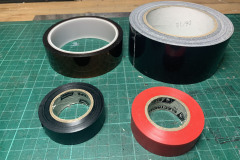
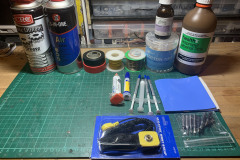
The stuff you are going to go through a lot are these things, I am constantly ordering more of this stuff. The list is: electrical tape, duct tape, 3M double sided tape, kapton tape, solder, solder wick, flux, thermal paste, thermal pads, hookup wire both solid core and stranded, lithium grease, compressed air, isopropyl alcohol in both 70% and 100%, cotton buds/q-tips, 1-up cards and super glue.
Hand tools
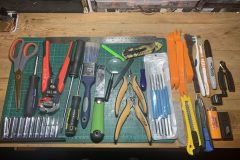
Doing electronics projects involves a lot of precision and you only get that with hand tools. I’ve never needed a power tool when working on electronics. I’d recommend you get: #2 philips screwdriver in a large handle ( my big green one ) this fits 75% of all screws, a similar size flathead, ruler, scissors, wire strippers, side cutters, pliers, tweezers, scraper, plastic pry tools, tool brushes and wire brushes for cleaning parts, box cutters/stanley blades, permanent markers, magnifying glass, brush for dusting parts off and a set of 1/4″ deep sockets with a hand driver as these are really useful for getting nuts off knobs and sockets.
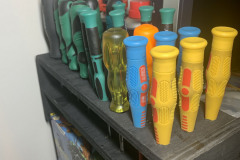
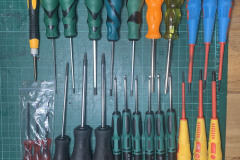
To round out the hand tools, you can ever have enough precision screw drivers. I have a set of philips and flathead drivers, a set of torx drivers ( the black ones fit xbox and Playstation screws ), allen/hex head drivers and specialty Apply tri drivers and Nintendo/Sega star head drivers ( the orange and yellow ones ).
Test Equipment and soldering
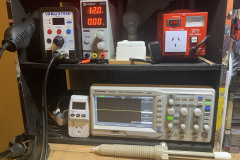
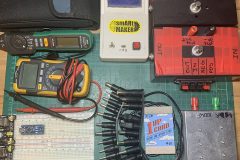
The last category I would like to touch on is test equipment. These will vary in what you can afford and you will likely build up to this list, but I would say you would end up at a point similar to this. So to start: You are going to need a good multimeter, ideally an auto ranging one with a temperature probe as well, next on this list is a good soldering iron and solder sucker. I have a Yihua 8786D with an iron and air station built in as the hot air is good for SMD parts and reflowing or removing stubborn parts. Then I would say a good bench top power supply that can do 0-30v and 0-5/10amps with voltage and current limiting built in ( I actually have two of these now ) and some test leads with all the various plugs you could need for testing out different stuff (these sometimes come with the power supply).
A variac is also good for testing old equipment before putting full voltage through it or testing 110v equipment without getting a stepdown transformer. Keeping on going, a Logic probe/second multimeter ( in green ) breadboards with power supplies, transistor tester, dummy load block, mine is hand built next to the 1 Up card and allows me to put a load on power supplies to see if they work. A light bulb tester is great for testing faulty gear as if it has a short and draws to much current the bulb will glow first before blowing up the appliance.
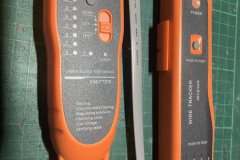
Some optional but usual stuff to have would be the Oscilloscope, I went for a digital one, this is usual for measuring voltages, signals and fequencies and i’m still learning how to use it. On top of that a powerline meter is handy (next to the scope) as it tells you how much power is being drawn from the wall which is good for measuring PC wattage draw at load. A network line tester is handy for tracing wires and Ethernet lines in a house to find faults. I also have a couple of quick test units on the black boxes for testing guitar effects units quickly but these aren’t totally needed.
by bassybeats | Apr 4, 2020 | Computing
This project turned out to be one of the longest running projects I had for a long time. With part failures, changes and upgrades it just never seemed to be done. Well I finally finished it up and it is going to stay this way now ( except I need to now replace the power supply ).
The aim of this build was to build the ultimate PC that “could have existed” back when I was at university. Back then most of the parts I am using now were just not obtainable for me and games just never ran well. Well here is the checklist I had:
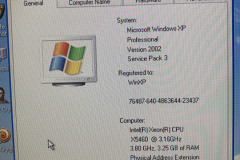
- Quad Core Xeon X5460/X5450 Socket 771 CPU ( actual 775 era quads are expensive )
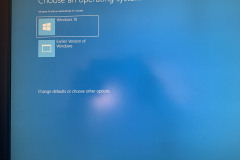
- Windows XP and Windows 10 dual booted
- Asus P45 P5Q Premium motherboard
- 8GB of 1066 ram
- decent CPU cooling/quiet rig
- SSD drives + data sata drives
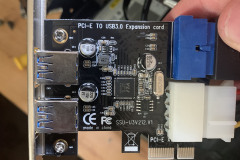
- USB 3
- Ideally Sata III
- The latest and most powerful graphics card I could find that still supported XP
- SLI/Crossfire ( i dropped this idea in the end )
- Sound Blaster Live audio card
- Modern “sleeper” case
- Floppy Drive
- DVD Drive
Initial parts and issues
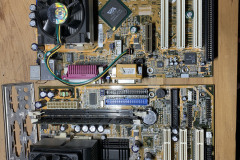
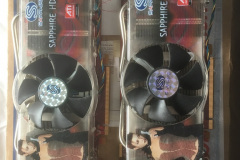
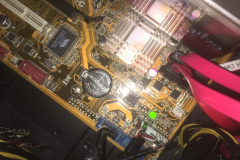
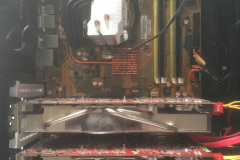
I initially started this build off with an old Asus P5k motherboard out of an old machine my parents had with a pentium 4 in it. It was in an old case with bad cooling and the motherboard was rather weak. I had also found a matched pair of Sapphire HD 3870’s on eBay that looked perfect for this build. Unfortunately they turned up broken as the shipping was awful, but fortunate for me, my dad figured out a resistor got knocked off the back of one and I spotted a cap that came off the other. So both cards came back to life but when I got the machine working it just didn’t perform like I wanted it to. As for the P5K board, well it developed an issue where it wasn’t keeping the bios settings even with a fresh CMOS battery and the overclocking was a bit unstable as well. On top of all of that, I even started with a Xeon X5450, but ended up getting a X5460 in a bundle so I swapped it out.
Getting the right setup
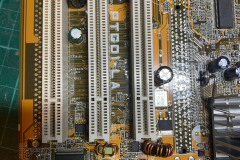
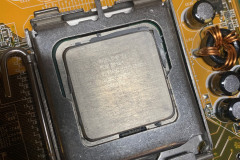
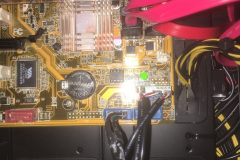
I ended up swapping over too Asus P5Q Pro and Premium boards ( my test rig now has the same setup ). To get the Socket 771 CPU working with a Socket 775 board you need to inject new microcode into the bios to accept the new CPU. It will boot without this but it will be missing some instructions and it will give a warning every boot up. The best instructions on how to do this is over on delidded.com. If you are looking for CPU’s you can use you can consult this list as well from delidded.
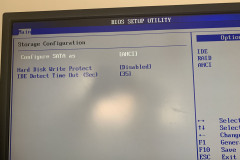
Once I had the base rig working I started looking at adding video cards and other addons. One thing to note was that I could transfer the Dual boot install of Windows 10/XP over from the P5K rig with only a reboot in safe mode to make it work fine. Something that caught me out was that XP will fail to boot if you change from IDE to AHCI or Raid mode, if this happens you can try to get it to work by changing it back and installing the AHCI drivers.
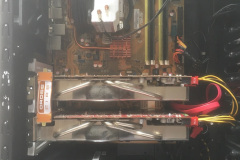
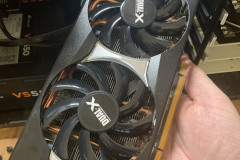
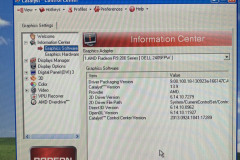
When it came to graphics, I was set on getting the most powerful I could with XP support. I was doing some digging and it appeared that the Saphhire R9 270X Dual X 2gb card still supported XP. The version I managed to get to work was 13.9 with Driver 9.00.100.18. I did actually buy two of these cards but found that it drew a lot of power and ran worse in Crossfire Mode so I went back to a single card.
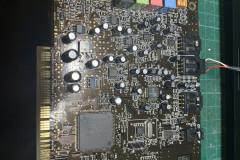
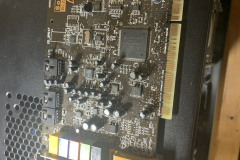
For sound, I got my hands on an old Sound Blaster Live PCI card. This worked out of the box in XP but i actually had issues in Windows 10 as there was no official PCI drivers. Luckily there the KX Project that was made to bring Windows 10 support to these old and still good cards.
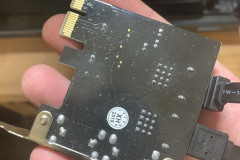
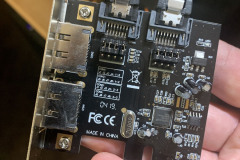
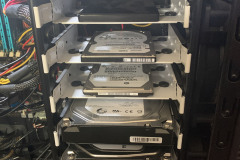
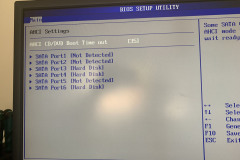
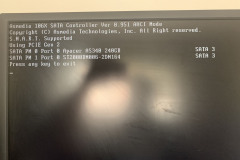
Hard drives was a bit of an interesting issue for me. I started with an SSD with the on-board Sata II ports but really wanted Sata III to open up the most speed of the drive. This caused nothing but issues. I had boot issues, performance issues, drive detection issues and XP just straight up failed to see the drive, i’m assuming due to no drivers for it. I actually gave up on this idea and just used the adapter for more sata ports. As for the storage drives, well I just filled up the case with all the old drives that came out of other rigs, mostly to use them up and get them out of my way.
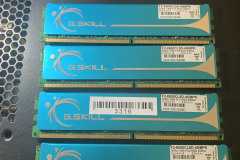
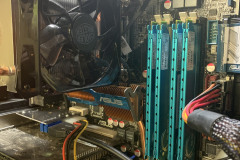
Ram was also hard, trying to get the fastest ram I could find with nice heatsinks to try and not limit overclocking. I ended up with 8GB of G-Skill DDR-2 1066 ram. Windows 10 can see all of it and XP can see only 3.5 as I opted for a 32-bit installed.
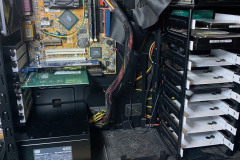
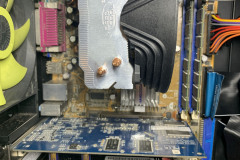
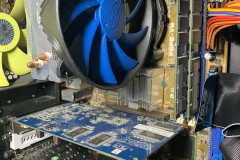
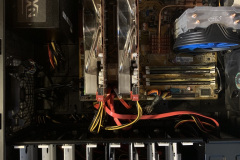
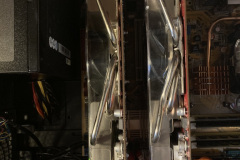
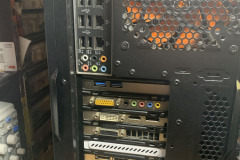
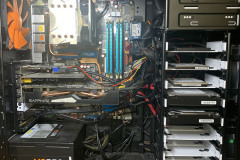
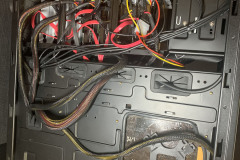
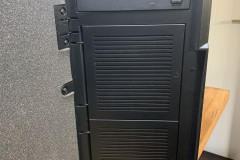
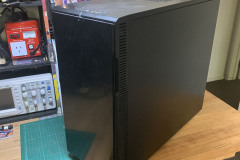
To top it off, all of this is tucked away in a Fractal Design R3 case with cooler master CPU cooler and case fans, a nice modern look on the outside.
Overclocking & Benchmarking
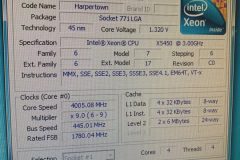
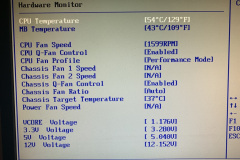
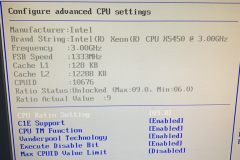
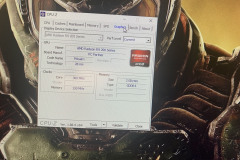
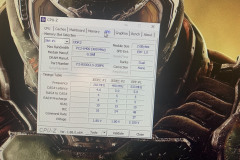
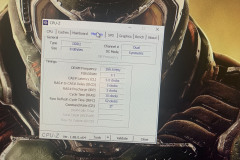
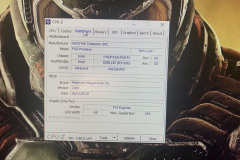
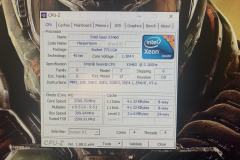
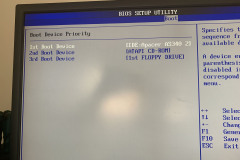
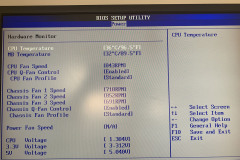
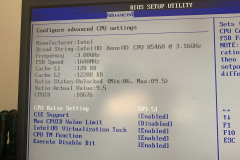
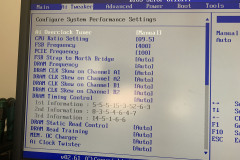
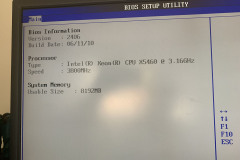
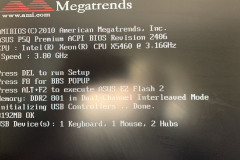
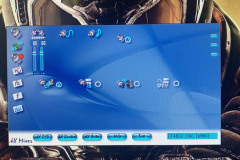
This was one of the most painful parts of the whole build. I had to re-learn all the settings for overclocking with this build. The goal was to get to 4.1ghz with the Xeon’s as that was what had been seen on a lot of forums and youtube videos. I did get it to run at 4.1ghz and even do back to back Cinebench R15 runs no problems but it was randomly unstable, like Firefox would crash and it would randomly blue screen. I settled for a value of 400 on the FSB which was fine with the new ram I found and it gave me a 3.8ghz overclock, still not to bad at all. I have put some screenshot of my bios settings in here as well.
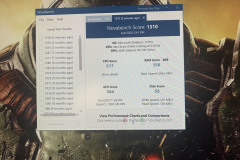
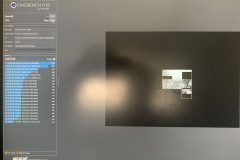
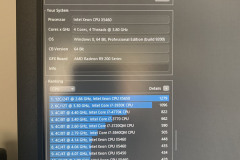
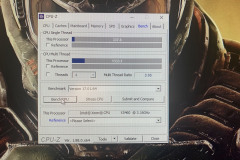
When I came to benchmarking, Cinebench R15 gave some interesting results. You can see it ran a 448 @ 4.1ghz but it was just too unstable even though it ran back to back. I dropped it down to 3.8ghz and it had a stable 410. I also ran the CPUID test getting 337/1333 and Novabench test at 1310 for stability as well.
Emulation
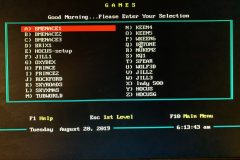
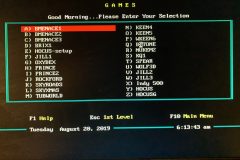
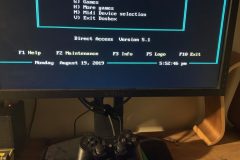
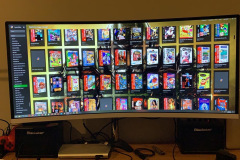
As I intended this rig to be a “do it all” rig, I also got an awesome setup of DosBox from my mate with the key games on it as well as Launchbox for all of the retro games. This rig even emulated PS2 games using PCSX2 pretty damn well.
Wrap Up
This turned out to be one of the hardest PC builds i’ve done in a while. Not because it was technically hard but because I had some much hardware failures, this was something that I came to grips with that old tech gets old, it was even worse in my “Ultimate 98” build. This build at least turned out exactly how I wanted and it showed me that an old Core 2 Quad era Xeon can still be a daily internet machine running Windows 10 in 2020.



Recent Comments