by bassybeats | Dec 4, 2019 | Wood Working
This project turned out so well I just can’t believe it was put together in a night whilst drinking too much bourbon and rum.
How it started
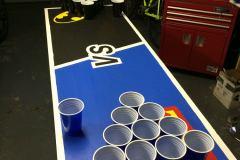
It all started when I wanted a beer pong table for my leaving party / birthday party. But I couldn’t just have any old table, it had to be made and it had to look cool or at least better than any my mates owned. A quick phone call to my mate Paul and I had some stencils printed on thick card and with the promise of drunk painting he was in.
Throwing it together
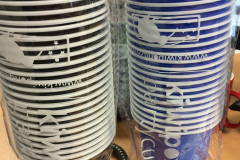
That night I jumped on trademe and found the cheapest fold out table I could find in my area that would fit in my car, $15 later I had a table that was the perfect size. A lot of people use Ping Pong tables but I find them too wide and annoying to store. At the time the local paint shop was across the road from work, so I grabbed a bunch of paint samples in the colours I needed. I also ordered some matching cups, can’t have this ‘red cup frat house’ shit on my table.
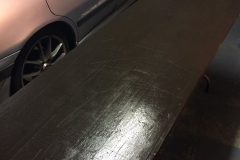
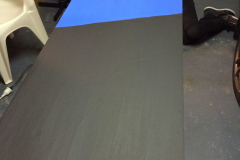
Painting was relatively easy, although the drinking between coats caught us out towards the end. It was important that we got the colours painted in the right order, some colours like yellow are very hard to paint over black. The stencils easily could have gone a few more tables before the were to rough to use.
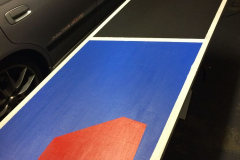
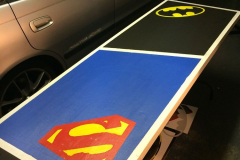
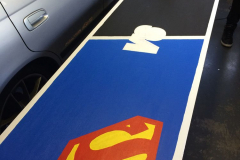
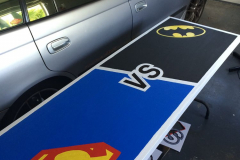
The finished product
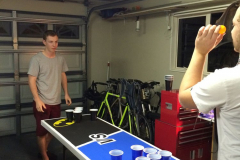
It looks absolutely awesome and was well used that weekend, we filled two wheely bins with beer bottles!
Materials
- Sample paints from Resene paints
- Superman / Batman stencils were printing on thick card
- Cheapest table you can find
by bassybeats | Dec 4, 2019 | Others
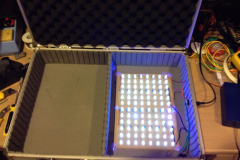
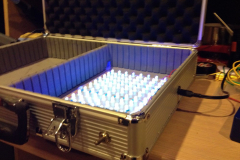
Well I finally got fed up with ironing on PCB transfers and how crap the turn out. A bunch of eBay orders accumulated over a few years and i’m putting together a UV LED exposure box!
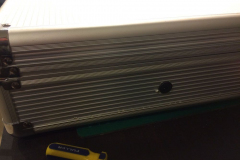
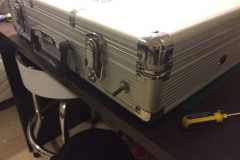
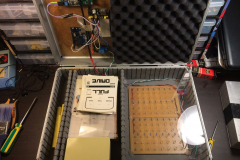
I had seen a few of these online but no full instructions to do one. I wanted a countdown timer controlled box that was self contained. I had a old faux travel case around which got ‘donated’ to the cause and I stole some clear glass from mums work for the exposure panel.
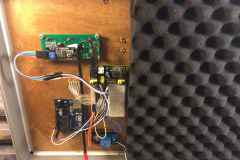
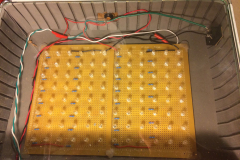
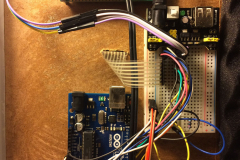
Some projects were 555 timer based, some were arduino and considering I had a literal shit load of Arduinos laying around an Arduino Uno was the basis for the build. I ordered a huge box of UV LED’s off eBay, surprisingly none were dead. I / dad made up two panels of 6 x 8 ( 48 total ) LED panels. Test power them off 12V and they were good to go.
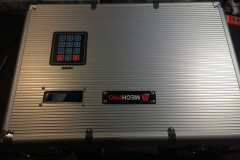
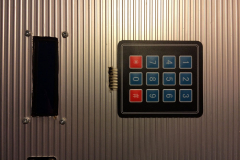
The hard part was finding code that would work on my Arduino and be controllable. Dad found one that worked with an UNO and I just had to buy a serial to LCD adapter,5V relay and keypad, both brought from Aliexpress.
There was some back and forth with finding the right libraries for my LCD and keypad. contact me if you would like the zip file. One of them should work.
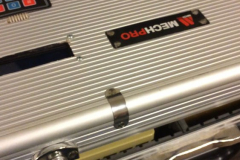
Test wire up seemed to work and I just had to cut the case up and mount it all in. I did have to reverse the code so the LED’s would turn on and off in the correct order as I had a master switch on the front of the case to power the thing on and off.
Materials:
- Arduino Uno
- 5V Relay board
- 3 x 4 keypad
- 16×2 LCD
- 96 UV LED’s
- Flight case
- Glass pane for the lid
- 2 x tagboard for LED’s
- 1 x breadboard
- 1 x breadboard 5v power supply to power it all off 12VDC
by bassybeats | Dec 4, 2019 | Wood Working
With the state of my little workstation I was in dire need of an all-in-one self contained storage unit. Everything at the stores was not the right fit or very expensive.
The Planning
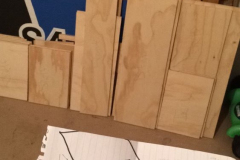
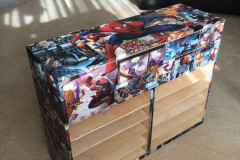
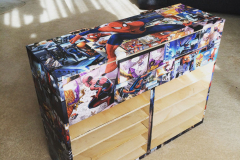
A bit of doodling on a bit of paper and I figured out a way to get all the bits I needed out three 1200 x 600 pieces of plywood. Once I chopped them up I placed them together to see how it was going to look and the best way to glue and screw it together. Turned out that CD’s were the perfect spacers for the the shelves.
Glue and screw
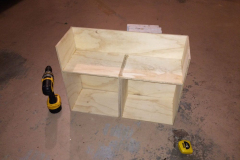
Once it was mocked up it was just a matter of screwing it all together. Within a night I had to altogether and drying in the garage, although I didn’t account for the thickness of the back board when measuring the top and bottom, in which I ended up joing two strips together with gorilla glue and cutting them back down to size.
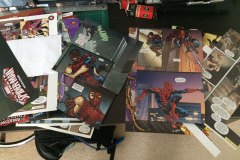
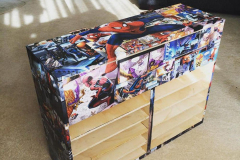
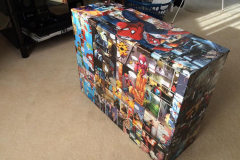
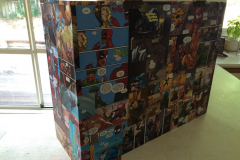
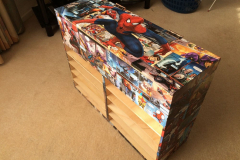
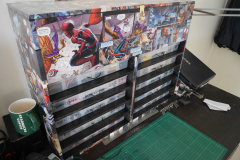
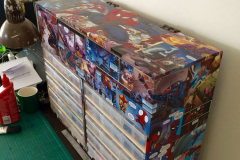
Covering it was always something I hadn’t decided on. Tolex? Paint? Plain? I remembered an old project I saw once of someone covering their coffee table with comic books and a quick look on Trademe and I picked up a pile of old comics with missing covers and pages for next to nothing.
Cover it all up
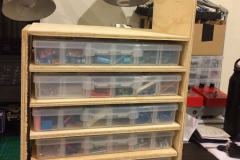
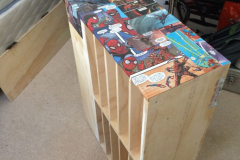
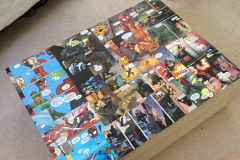
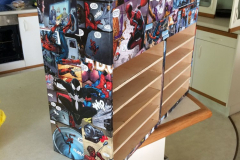
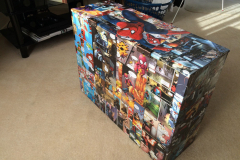
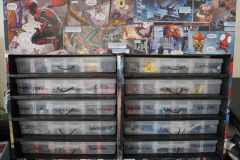
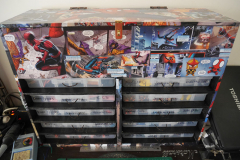
There was enough Spiderman comics in the pile to keep the theme of the whole box the same. I was just a matter of cutting it all the good bits out and gluing it altogether. After it was all dry I hit the exposed wood parts with some black and it was ready to be filled up.
Final touches
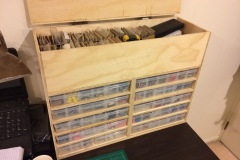
And the final results after a bit of black paint and inserting the parts compartments. I drilled a few holes in the them and ran some cord through to make them easier to pull out.
Materials:
- Spiderman comics
- PVA glue
- 3 x 1200mm x 600mm x 9mm plywood sheets
- Woodscrews and gorilla glue
- Generic hinges
by bassybeats | Dec 4, 2019 | FX Pedals
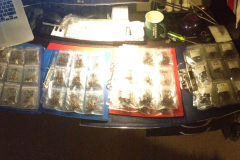
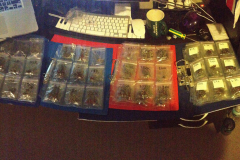
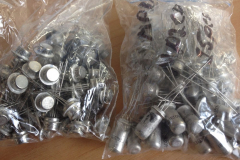
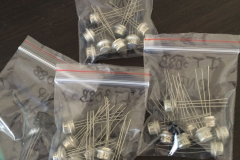
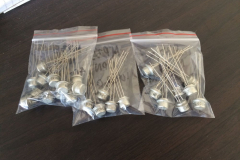
A long time ago I purchased a literal crap load of Russian and German Germanium transistors with the intention of build the ultimate fuzz pedal. The most elusive of all the pedals, they never sound like Andy from ProGuitarShop.
The stash of Germanium’s
The fuzz obsession started when I was asked to build a clone of the Fuzz Factory for my friends Muse inspired electric Ukulele project, yeah it is as crazy as it sounds. I over purchased some AC128’s and it was all over from there. Since then I had periodically collected bulk lots of germaniums, from Russian to German to anything I could find.
Trying some ideas
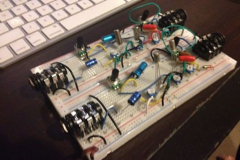
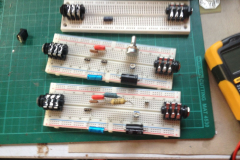
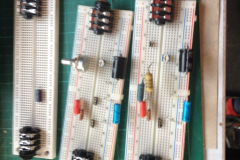
There was some testing involved in the process. Breadboarding out a basic fuzz board and switching multiple combinations of transistors, pots, resistors and caps. I eventually got to a where I could get a consistant sound I liked from one layout.
Building up the PCB’s
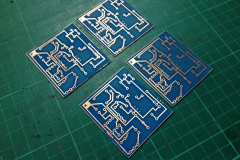
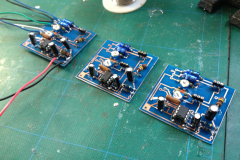
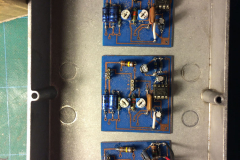
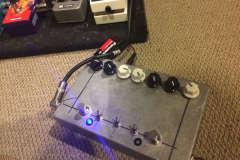
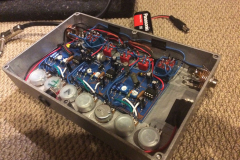
The final idea was to build an all germanium big fuzz with multiple circuits true by passed. One to be OC81 based, one to be AC128 based and one to be MP39B and IT308B based ( the Bonamassa fuzz ). And there started the compiled ordering of 50 per type of all sorts of Russian germanium transistors, we all know how wildly varied they can be so I over ordered so I had some to select from.
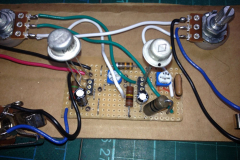
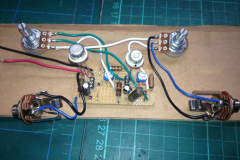
I always hated positive ground circuits, they always have issues and never played nice with anything else. So I ended up designing my own boards with voltage inverters based off various schematics online, only to etch them upside down. This resulted in soldering on the copper side, which wasn’t ideal but I didn’t want to redo everything. It actually looks rather retro if you are an electronics geek.
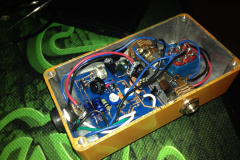
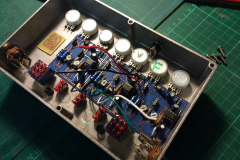
Routing the wires was pretty easy and it looks cool with solid core wire. All the effects are true bypass to each other, the booster at the front is an LPB-1 and will get swapped for a Range Master one day when I design a circuit that isn’t crap.
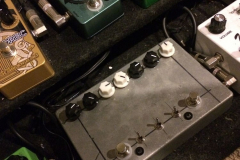
Finished Fuzzes
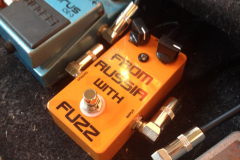
All in all they sound good and different with each transistor pair having its own unique characteristics. I also ended up building a separate fuzz unit with the same boards.
Materials:
- 1590DD case
- Various germanium PNP transistors
- Cool looking reverse PCB’s
by bassybeats | Dec 4, 2019 | Others
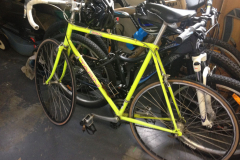
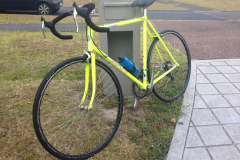
Just a small project this time. Picked up a $90 road bike off trademe. She needed a bit of TLC, all the bearings were shot, the bar tape was brittle and the tyres were perished. But $50 later and its back to its 1980’s glory.
Before
After
I did end up changing over the rear cassette to a broader range 7 speed, up from the 6 speed. But because it uses friction shifters I didn’t need new gears.

Recent Comments