by bassybeats | Dec 4, 2019 | Amplifiers
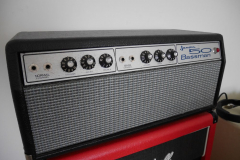
Yet another amp project build. This time it started with dad being given a bunch of old Jansen amps from old trades at the Rockshop. Included in the stash was a 1975 Jansen Bassman 50.
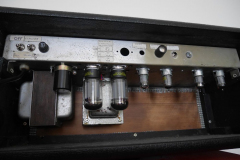
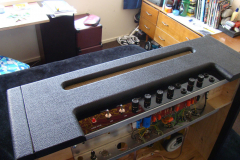
The old girl was looking a bit sad
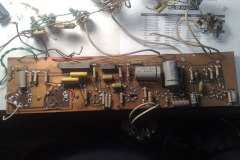
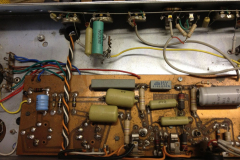
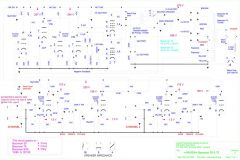
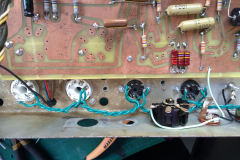
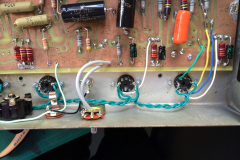
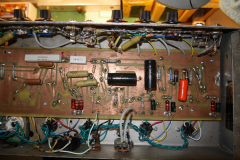
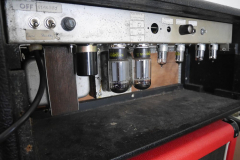
It was clear that this amp was in a bit of a sad state. The amp seemed to have burnt out the PCB board mounted valve sockets from the heat of the 6L6GC’s. Good thing was, I had access to the schematics and the pcb photos from the original board as well as my dad’s Bassman 75, which are more or less the same with different tubes.
Dad’s Bassman 75 was a good source for figuring out how it was wired originally and what the type of parts was back then.
The planning
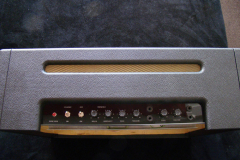
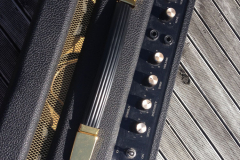
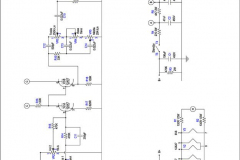
First stage for me was to source parts. I picked up a silverface Bassman faceplate off Clary from 34Audio and used the left over tolex and grill cloth from Dave from Southgate Studios’ Fender Blackface build. The knobs came from a NOS box from Surplustronics. Clarry was also able to supply the schematics for the Bassman 50 and 75. Turns out they are almost identical.
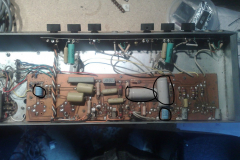
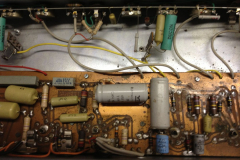
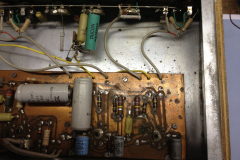
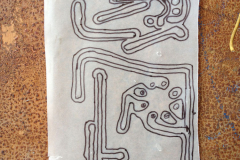
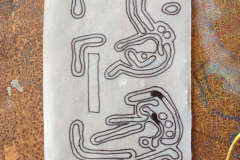
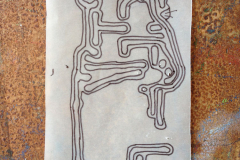
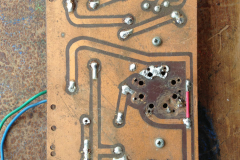
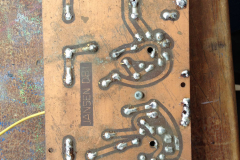
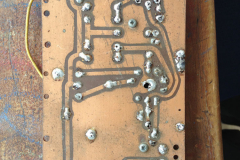
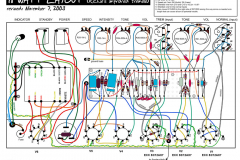
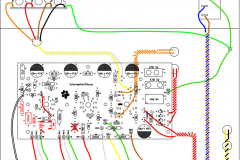
Next phase involved tracing paper and ALOT of patience. I manually traced over PCB after it had been stripped and then put it into illustrator. I tidied up the drawing and re-etched the PCB. I kind of failed with the etching, I brought double sided board and the etchant start eating into the traces because of the time it took. But the continuity checked out and the board was ok, even if it didn’t look the nicest.
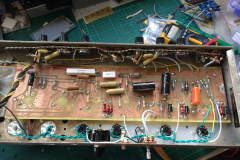
Populating the board and wiring
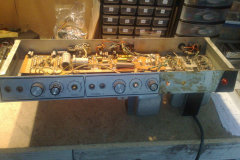
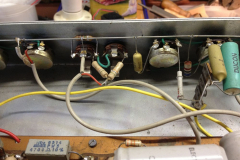
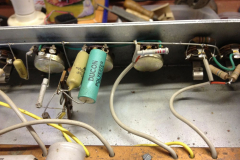
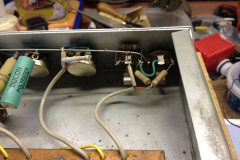
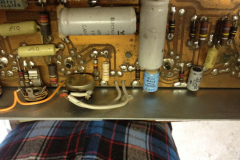
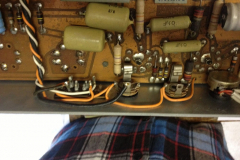
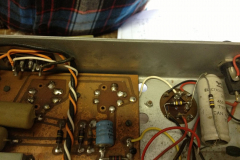
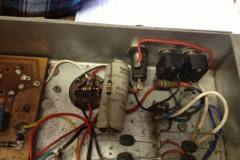
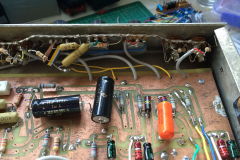
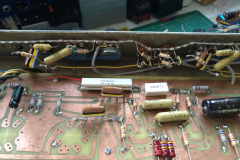
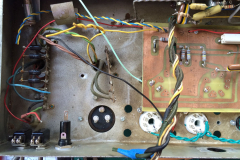
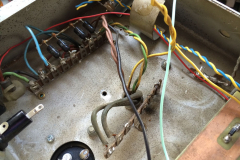
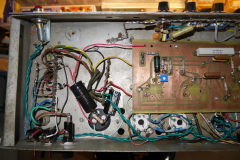
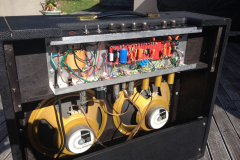
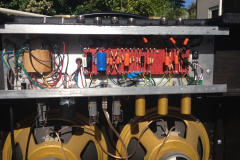
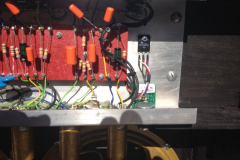
Lucky for me, I had a lot of old tropical fish caps and Phillips Mustard caps. So a fair amount of the parts we’re similar or NOS versions of what it came out with. I ended up mounting the valve sockets to the chassis and remote wiring to the board since it overheated and burnt out the last time.
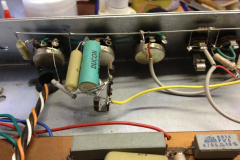
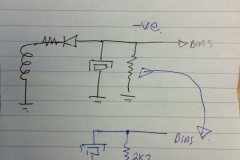
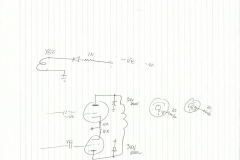
There were a few modifications that Clarry recommended doing before firing it up. One was too wire the heaters as 12.7V instead of 6.3, some protection diodes and replacing the ‘spark gap’ and installing a bias pot.
Firing it up
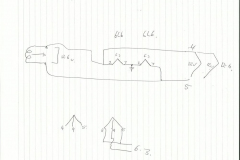
Due to so many variables in the build I opted for Clarry to fire it up as he had a Variac and had repaired many of these in the past so he could check my wiring. From what I recall he changed some jacks to shorting jacks and rerouted some wires for noise suppression.
Once he fired it up it was apparent that the Output transformer was dead. He hooked it up to a test rig he has and confirmed that the amp runs and just needed the OP transformer rewound. And the amp sat for 1 year and half till I got the money to get it finished.
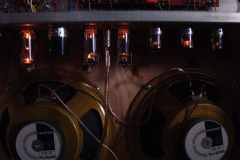
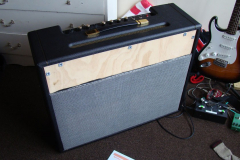
It puts out a whopping 50 watts ‘clean’ and 65 watts flatout, all with NOS RCA 6L6GC’s.
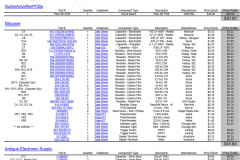
Materials:
by bassybeats | Dec 4, 2019 | Amplifiers
The amp the started it all. The 1974X is a very popular build amongst DIY amp builders. Some say it holds that classic Marshall tone.
My Build starts 18watt.com and my dad, as usual. During my first year at uni dad started building the Marshall and it just sounded soooo good. Of course I could barely play guitar but I had to have one. That feeling when you are learning, playing through a killer amp and get a power chord right is just awesome.
Re-purposing speakers
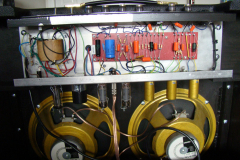
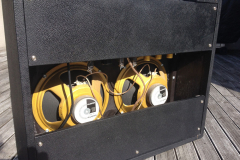
Sourcing the schematics and wood was the first task. I ended up building mine to the physical specs of the Marshall Bluesbreaker instead as I managed to find two Celestion G12L-55’s from and old Rivera cheap. The speaker baskets got a gold paint job as they looked pretty rough.
The build
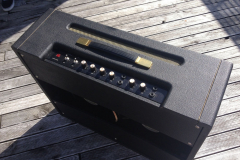
I used the workshop at uni to fold up the chassis for free essentially. The specs for mounting the chassis in these old Marshalls is a bit different where the chassis held captive by two boxed sections built into the cabinet instead of folded and welded ends like modern Marshalls. I also managed to sneak in some time on the laser cutter to get some badges and faceplates cut/etched.
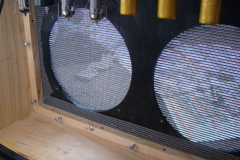
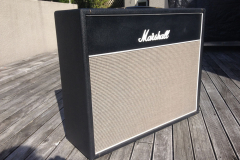
It was a complex build, you have to do most things in just the right order or else it wouldn’t go together right. You need to route under the top vent to be able to wrap the tolex around and you need to build the speaker grill in 3 pieces to be able to get the grill cloth wrapped and the top panel to cover the t-nuts that bolt it all together.
All in all it turned over pretty well.
Taming the beast
After years of lugging it around and realising that it only sounds good when it is at full blast I decided to get a Hall Electronics VVR installed. It worked well but just didn’t sound the same and as you lower the B+ voltage the tremolo stopped working correctly.
In the end I ended up selling it as I just didn’t have the space to play it at volume or store it. I think the guy that brought it ended up putting Greenbacks in it and loving it.
Materials:
- 19mm pine boards
- 12mm ply front and backs
- Mojotone tolex and grill cloth
- Hofner Heyboer transformers
- Celestion G12L-55 speakers
- Hall Amplification VVR kit
- Laser cut faceplates and badges from 3mm perspex
by bassybeats | Dec 4, 2019 | Amplifiers
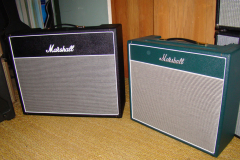
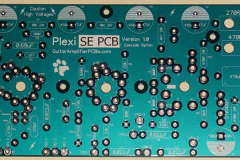
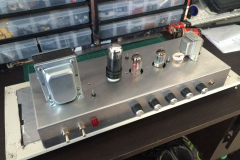
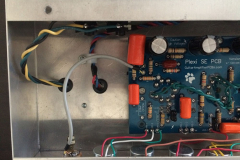
Inspired by the sound of my JCM800 I longed for a more portable version with the same snarl and drive. It was then that I discovered Terry Stinger’s Plexi SE, a 5 watt version of the 6L6 based Marshall classic.
Doing it the hard way
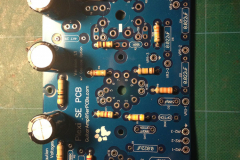
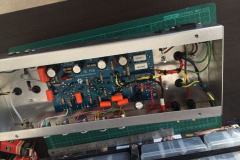
Like all my projects I wasn’t doing it the recommended way. This build is based around converting and Epiphone Valve Jr. to a Marshall. The board should / would have dropped in place. I wanted a custom route. As well as not being able to find an EVJ I wanted to build a combo.
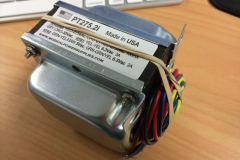
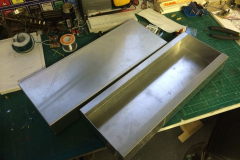
I found that Musical Power Supplies did transformers in the specs I needed. The PT275.2i and the OT10SE, which I only ended up using the power transformer as dad found an old fender champ output transformer. Monaghan Sheetmetals for the win again. I ordered a pair of 18g alloy chassis based off the dimensions off the Blackstar HT-5TH.
Wiring it all up
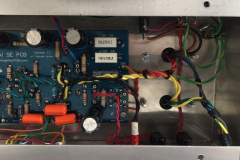
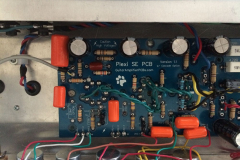
Populating the board was relatively straight forward, finding some of the caps in the right voltages was tricky but luckily Ryan at The Amp Shop had some repair parts in stock. Matching up the Epiphone transformer wiring to that of the MPS transformer was harder than expected, the virtual grounds were different and dad and I ended up actually cooking the transformer on the first power up and filling the whole garage with smoke!
Speakers and cab
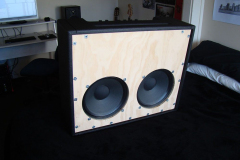
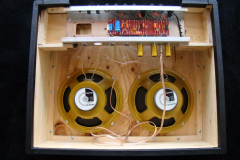
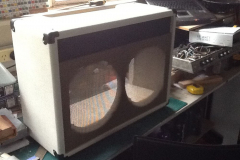
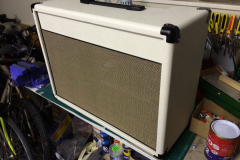
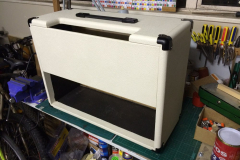
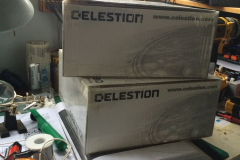
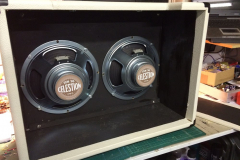
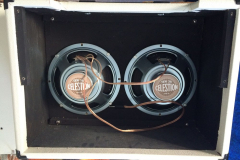
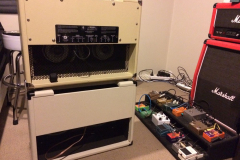
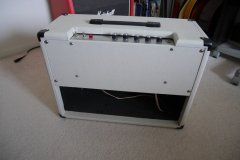
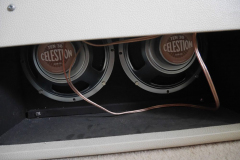
eBay came to the rescue again as I was trying to source speakers. I ended up modelling the physical dimensions of the amp off my Blackstar HT-5TH 2×10” combo. It was the perfect size and volume with a 2 x 10” open back cab. I settled on a pair of Celestion Ten 30’s / G10R-30’s.
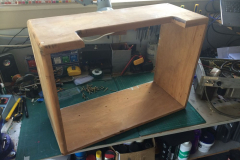
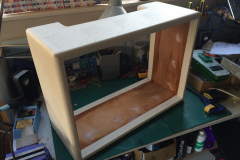
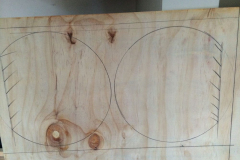
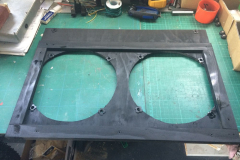
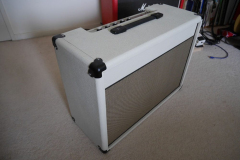
Mum and dad recently did a re-fit of the kitchen, so I ended up gathering up all the awesome Rimu ( New Zealand native timber ). The cab needed a bit of sanding and filler to tidy it up ready to be tolexed. The front baffle was 12mm plywood, I built it using the same method as doing an 18 watt Marshall baffle, in 3 bits.
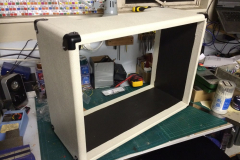
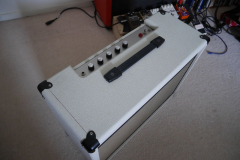
The Amp Shop also supplied the tolex, piping and grill cloth, this time a nice cream colour paired with the JTM45 style grill cloth and black piping. I have essentially modelled the whole thing of the look and size of the Blackstar at this point.
After a little bit of playing it was very evident that this thing could sound amazing, I say could as it has a huge amount of hum that got louder with the volume knob.
Off to Clarry it went. Once I got it back I was informed that I shorted the 6V6 cathode to ground, but was also told it was very hard to find so I didn’t feel so bad. Some lead dressing and ground jacks and this thing was as quiet as a mouse now. And boy does it sound killer cranked with a Epiphone Casino running through it!
Left to do:
- Glue on badge
- Laser cut faceplate
Materials:
- MPS PT275.2i power transformer
- Champ output transformer
- Rimu boards
- Plywood baffle
- Celestion G10R-30 x 2
- Marshall style knobs and pilot light
- Plexi SE board
- Mojotone tolex, piping and grill cloth
- 18g folded alloy chassis
by bassybeats | Dec 4, 2019 | Amplifiers
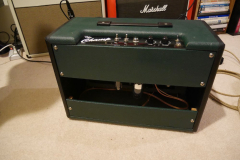
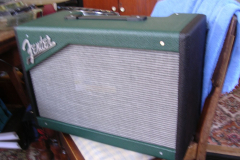
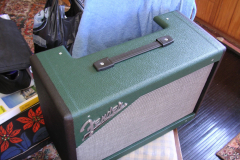
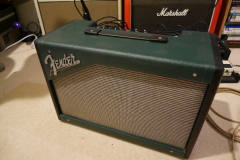
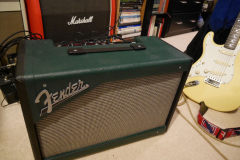
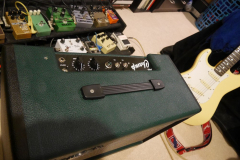
Technically the second amplifier I built, the 5F2A Fender Champ build was created out of left over parts. I had a bunch of leftover wood, tolex and fibreboard from the 18 Watt 1974X build ( and the green from dad’s build).
The build
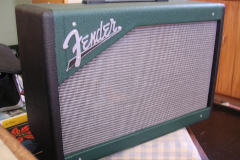
Unfortunately I didn’t take many in progress pictures, but the idea was to build a 1950’s radio two tone combo, half black and half green. Pretty much all the tolex and grill clothe was left from the Marshall style builds. I managed to get some faux Fender badges laser cut at uni and spray them silver.
The tolex is wrapped in the old Fender style, with the sides getting done first and the top and bottom being over lapped by about 20mm. Then I just hit the inside with some black paint.
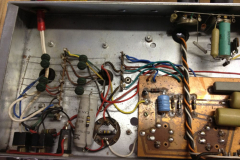
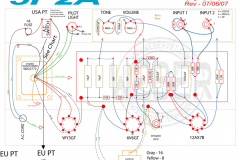
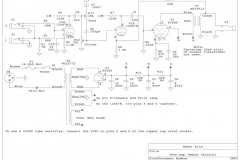
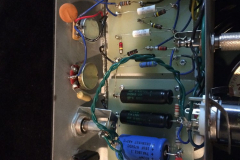
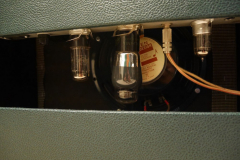
Almost all the parts were left from other builds other than an output transformer. Again not too many gut shots during the build. Its all standard turret board hand wired like the days of old.
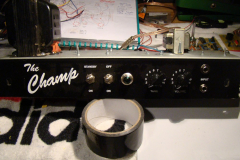
As well as the the badge I laser cut of the faceplate and just rubbed in some white paint to make the lettering standout.
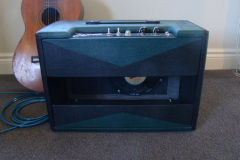
I ended up ditching the V-shaped back panels, as cool as they looked the tolex just kept peeling up even using Ados contact adhesive.
The final product
I have since sold this amp to someone else that might like it more than I do. It did sound awesome but I prefer something a bit more easily over driven like my 5 watt Plexi.
Materials
- 19mm pine boards
- Hand folded 18g steel chassis
- Mojotone green and black marshall style tolex
- NOS RCA/GE tubes
- fibre board and components from Tube Depot
- Jensen P10Q 10” speaker
Recent Comments