by bassybeats | Aug 25, 2021 | Computing
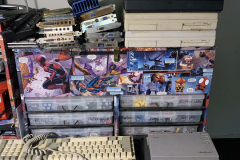
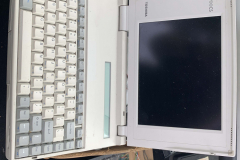
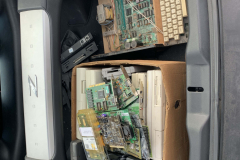
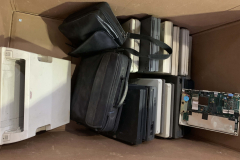
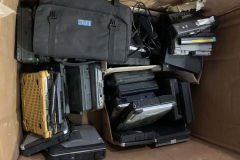
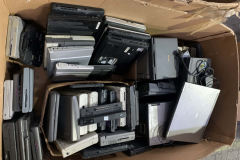
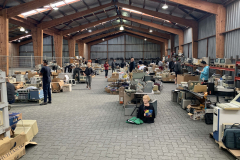
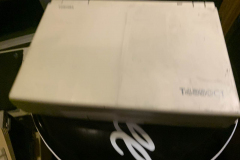
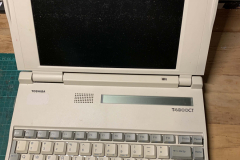
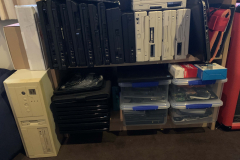
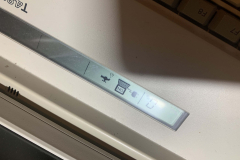
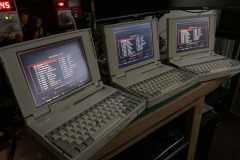
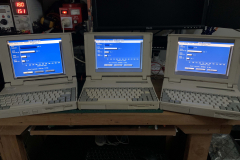
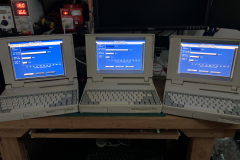
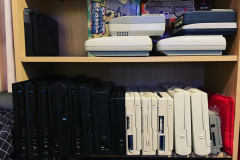
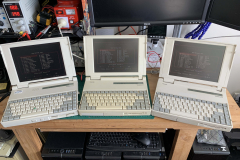
As with some of my other projects, these machines came from the vintage tech sale in Q1 2020 just before the first lockdown. The sale was absolutely massive ( a few photos below ) and there were bins upon bins of laptops, which at the time had been a big attraction for me as you can play around with different setups without taking up too much space. I did a quick boot test and one of them booted up with Windows 3.11 and the others didn’t power up at all. I did end up going back the next day and getting the other T4700CS for parts, so I ended up with 4 in total:
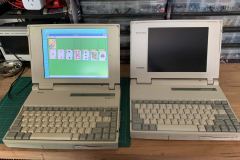
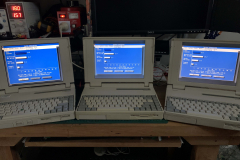
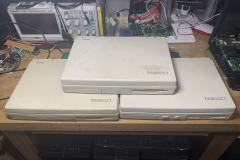
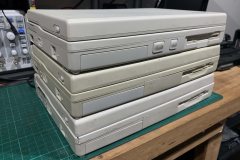
- 2x T4900CT, Pentium 75 machine
- T4850CT, 486-DX4 machine
- T4700CS, 486-DX2 machine
Diagnosis
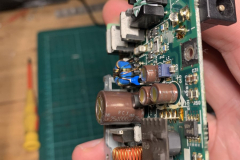
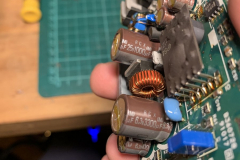
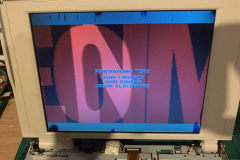
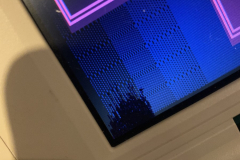
Breaking down the machines, one of the T4900CT worked out of the box, just had a bad hard drive and a dead battery. The T4850 did not power on at all, it turns out that it was some of the capacitors on the power supply module, which once swapped it worked perfectly well. The T4700CS worked but the screen had dead pixels all through it and the other T4900CT didn’t work, but when I swapped the motherboards it has had a screen with a dead pixels.
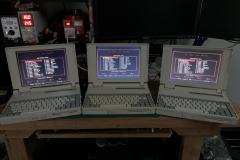
This left me with a working T4850CT, a working T4900CT and a working T4700CS with a bad screen.
Donor parts hunting
I did some hunting slowly online and spotted a T4850CT with on eBay with $15USD in somewhat good condition. I ordered it and got it drop shipped here via NZPost. Trick for the future, they do not ship devices with NiMH batteries in there. Once it arrived, I attempted to boot it up and was greeted with a dead machine, not unexpected for its ages. As the T4700 and the T4850CT share the same platform I I swapped over the working motherboard from the 4700 and it kicked into life, and it even had a good screen and power supply! So I ended up with a T4850CT with a DX2 not a DX4, not the end of the world. I swapped over the best parts of each unit and put them both together. Turns out two of the machines had ram expanders as well so I put them in the T4900 and the T4850.
This left me with 3 working units, two totally dead units. I sold off the dead ones on trademe in case someone needed parts from them. All in all a good restoration so far from a big of laptops at a random sale. Two slight things I still need to look into is that the floppy drives don’t seem to read disks, but that is for another day and the the DX2 4850 needs a new CMOS battery.
Loading up DOS Images
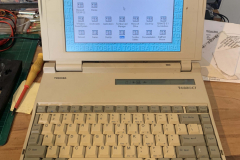
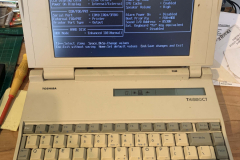
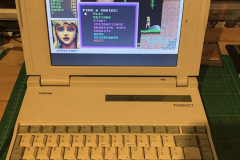
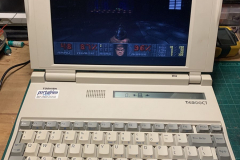
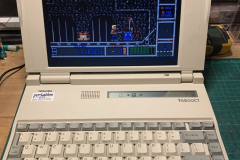
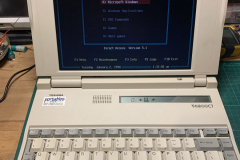
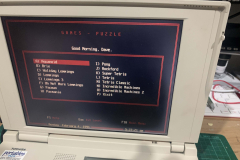
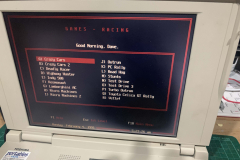
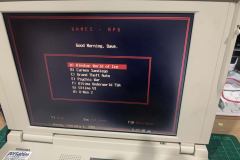
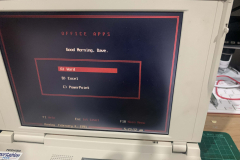
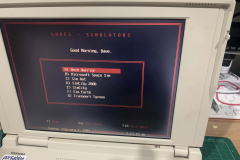
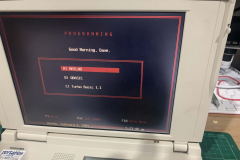
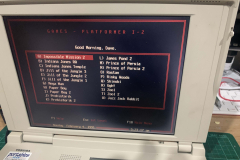
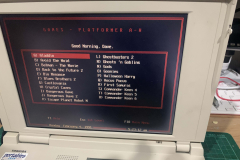
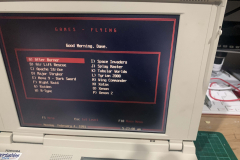
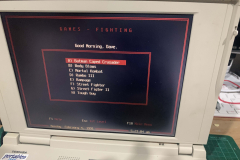
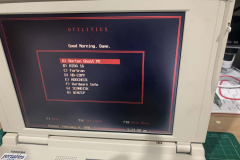
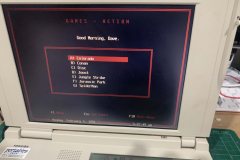
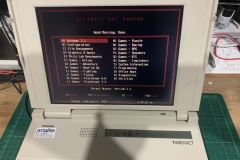
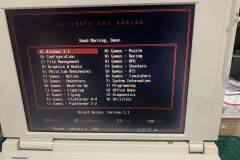
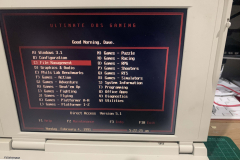
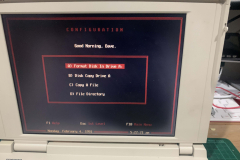
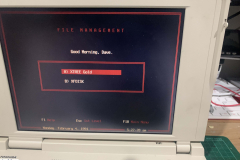
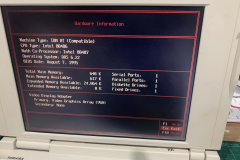
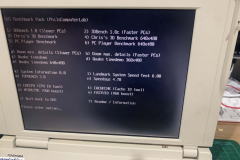
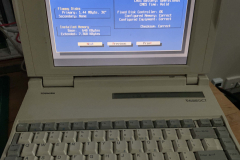
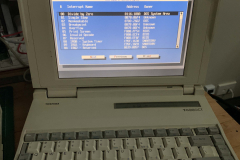
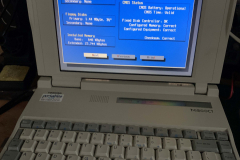
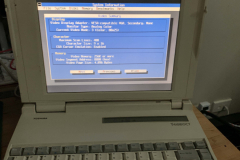
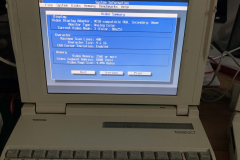
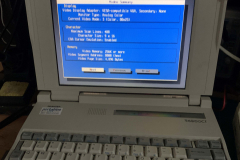
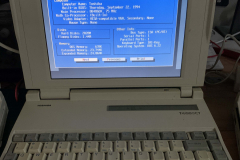
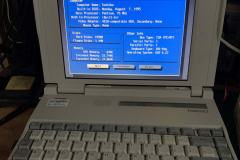
I loaded up my usual DOS image that I made and it all works perfectly. One thing to note on these machines is they will not see any drive over 2GB, this is a bios limit NOT a Dos 6.22 limit. I have dropped some screenshots of what is included in my DOS image if anyone is curious.
Specifications
Below is some of the specs of the machines but the general rundown is:\
- T4900CT, Pentium 75mhz, 24MB of ram ( inc expansion card ), 2GB DOS 6.22 CF card, 1.44MB 3.5″ floppy, 10.4″ TFT Color Display 640×480,
- Vesa Local-bus video adapter, C&T F65545, Analog Devices AD1848KP & Yamaha OPL3
- T4850CT, 486-DX4 75mhz, 24MB of ram ( inc expansion card ), 2GB DOS 6.22 CF card, 1.44MB 3.5″ floppy, 10.4″ TFT Color Display 640×480, WD90C24A2 video chip, Analog Devices AD1848KP & Yamaha OPL3
- T4850CT, 486-DX2 50mhz, 8MB of ram ( inc expansion card ), 2GB DOS 6.22 CF card, 1.44MB 3.5″ floppy,10.4″ TFT Color Display 640×480, WD90C24A2 video chip, Analog Devices AD1848KP & Yamaha OPL3
Performance
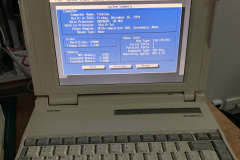
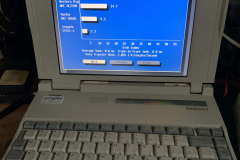
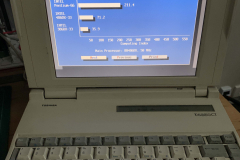
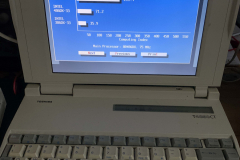
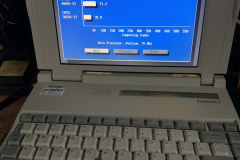
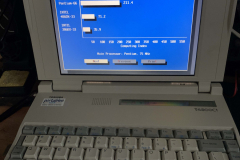
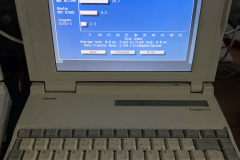
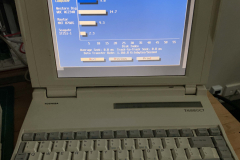
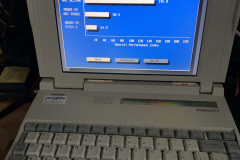
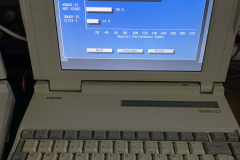
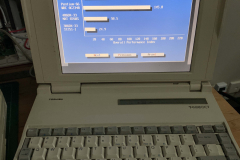
Some interesting results benchmarking running the system information tool in Phils Computer Lab pack. The disk speed on the T4900 was higher even though they all had the same CF to IDE adapters in them. The CPU speeds, well the Pentium clearly was faster at 237.6 but the DX4 and DX2 were the same at 73 which shows the test doesn’t make much difference on a DX4. The over tests also seem to reflect this as well.
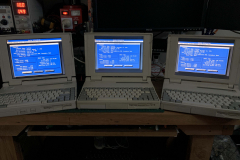
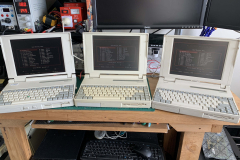
The final working units
Overall, a cool project and I ended up with some fun machines to play with. Just need to figure out how to get those damn floppy drives working.
- T4900CT, Pentium 75mhz, 24MB of ram
- T4850CT, 486-DX4 75mhz, 24MB of ram
- T4850CT, 486-DX2 50mhz, 8MB of ram
by bassybeats | Aug 22, 2021 | Retro Gaming
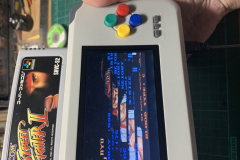
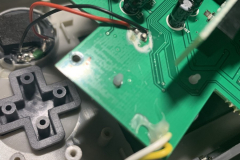
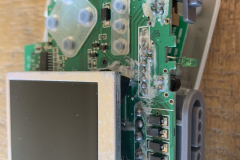
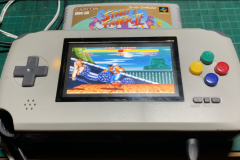
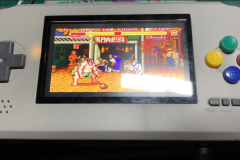
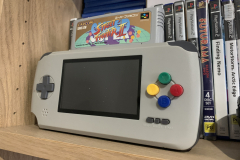
This was a cool Trademe pickup that I had no idea what was wrong with it, all I knew was that it took full sized SNES carts and was handheld and I had to have it. When I got it, the screen was showing corrupt data and the USB charge port didn’t work.
Repairs Round 1
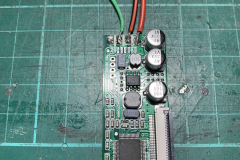
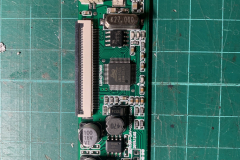
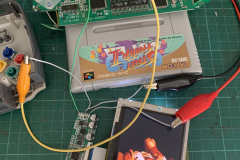
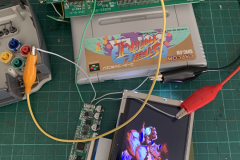
The first round of repairs was a bit of a mystery and I attempted to get the original screen working. But it appeared that LCD driver board had a hardware fault with it as I purchased a new screen and it had the same issues. I then purchased a car reverse monitor of the same screen size and managed to get the device working. Unfortunately, I killed the powerboard for it some how as well as still hadn’t figured out how to power it off the device instead of the benchtop power supply.
Repairs Round 2
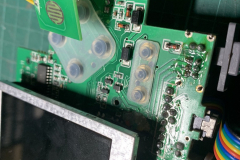
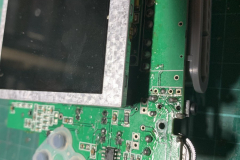
Destined to get this project off my bench I reordered the reverse monitor as well as a power supply board that would take the 7.4V from the battery and boost it to 12V that the screen needed. The wiring was a bit tricky and getting the screen to fit was a nightmare but it actually works.
Final Outcome
The final position of this unit is an interesting one. The unit is full assembled, works and plays games and plays when running off the charger but not off the battery. I think the convertor board/screen draw too much current from the battery for the the device to work. This is an issue I can resolve later if I ever find a better screen that runs at the correct voltage.
by bassybeats | Aug 22, 2021 | Computing
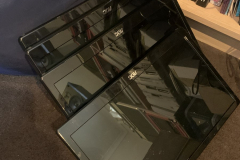
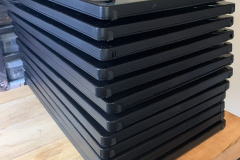
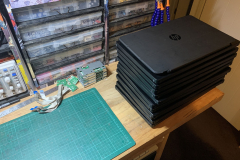
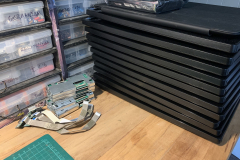
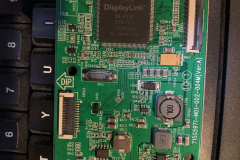
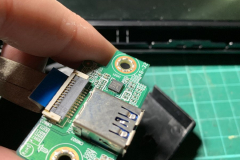
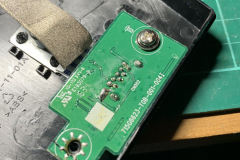
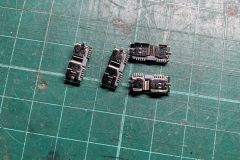
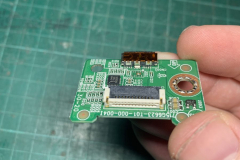
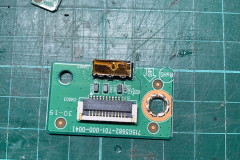
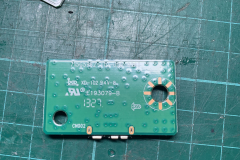
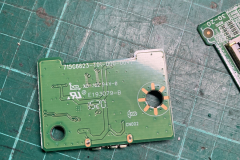
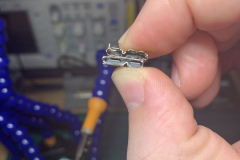
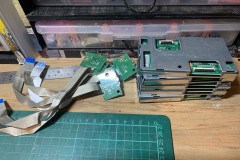
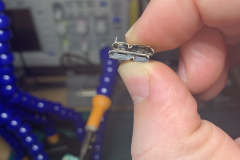
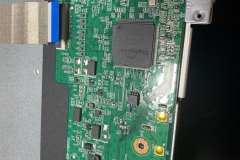
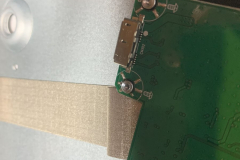
This pile was a pickup from work. Apparently, auditors are extremely rough with their kit and these AOC Portable monitors are not upto the task and the USB 3 Mini B connectors all gave up the ghost. Out of the pile, there was 4-5 that were totally dead with smashed screens that I stole the USB and controller boards from, hoping that I might be able to use the parts to fix some of the others. The rest of them all had bad USB connectors on them that needed to be replaced, this was verified by find one good connector and testing each screen to check the rest of it worked other than the USB port.
Repairs
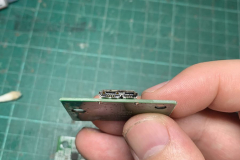
Fixing these boards was a bit of a pain due to the connectors that they used. The micro b connectors were surface mount and were a specific type that I had to order twice as I got the connector mounting pin type wrong. You can only replace these with the hot air station and it is fiddly. Some of the screens had type A connectors and were easier to fix. I actually had to get my dad to help with some of these connectors as my hands were not steady enough to do them. In total I got 14 working screens at the end of it.
by bassybeats | Aug 22, 2021 | FX Pedals
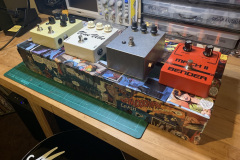
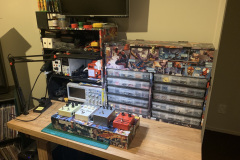
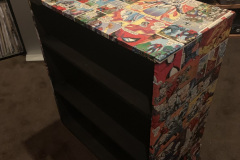
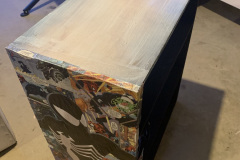
After building my big pedal board for 10 pedals I STILL had left over pedals that I had built and didn’t really have a ‘bedroom’ setup. So I set out to build a smaller 4 pedal version of the unit I had already built complete with the comic book covering.
Power Supplies
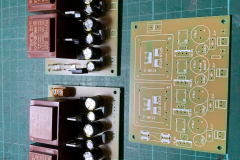
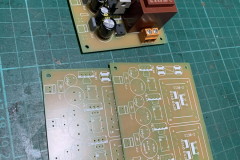
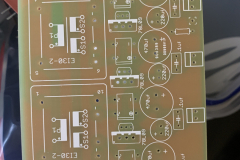
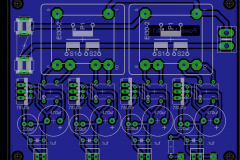
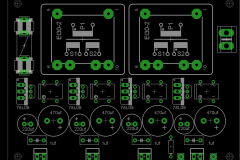
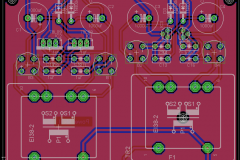
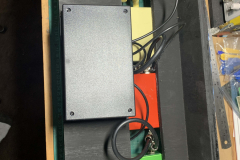
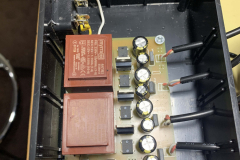
My dad had revised his power supply board design to be simpler and easier to build with the only difference with this build is that I went for 9V only pedals so I could make all the power supplies the same but also allowing me to get 12V AC if I wanted to run a tube pedal from it. I built two boards and then only realised that I only required one for my project.
The Build
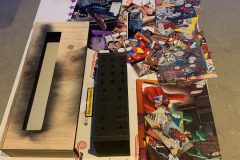
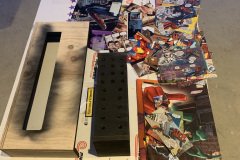
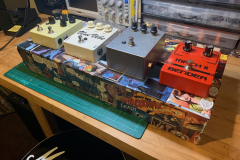
The build process was much the same as the larger one but I simplified the process and kept it essentially a square box with no back so the power supply and cables could sit out the back.
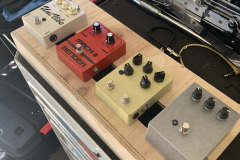
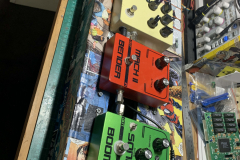
The Final build turned out really well and matches the big unit in my other post. The pedals are:
- MXR Jimi Hendrix UniVibe
- EchoRec Clone
- MKII Tone Bender
- OCD OverDrive Pedal
by bassybeats | Aug 22, 2021 | Computing
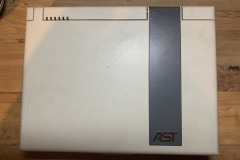
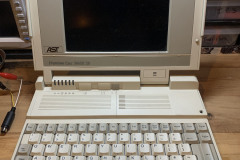
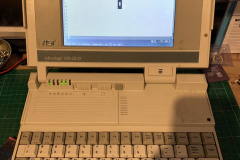
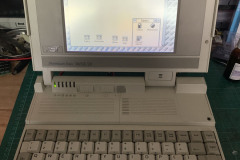
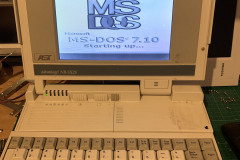
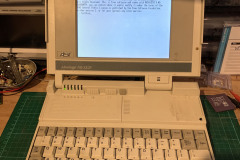
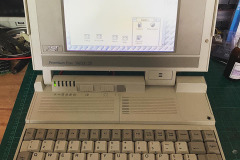
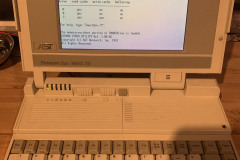
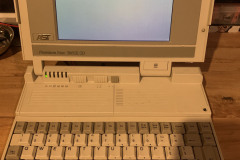
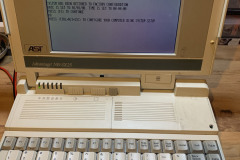
As another find at the retro computer day I picked up these two AST Premium Exec 386SX’s that both looked pretty interesting and being the same machine I figured if I could get one to work out of the two of them then I would be in luck. I was in the zone to try get old machines working again and give them that new lease on life so I figured i’d take on the challenge and it might even pay for some of my other purchases.
Condition
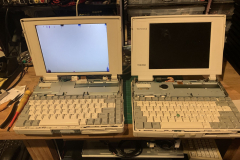
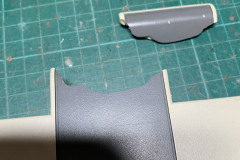
The condition of the units wasn’t overly great with one of them being in good condition and the other one having a cracked screen hinge. Both had battery corrosion and would not power on so some deeper issues lay ahead.
Power Up
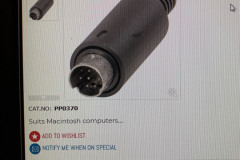
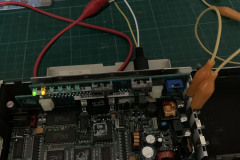
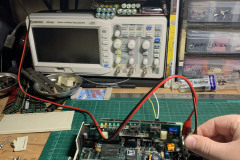
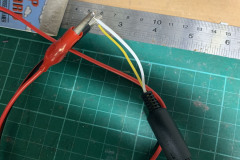
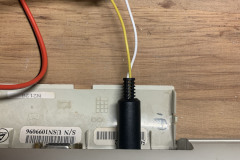
Because the batteries were dead I had no immediate way to power them up and it turns out that these machines used a very strange power connector that nothing else used. But a quick bit of googling later and I found that the connector was sold at Jaycar and all the pins were actually just 5V and Ground so I wired them up and they sprang into life, kind of. One of them worked but one of them didn’t. There was a couple of capacitors that I had to replace to get it to power up.
Operating Systems
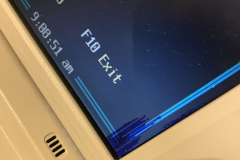
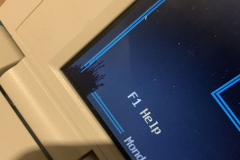
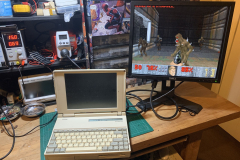
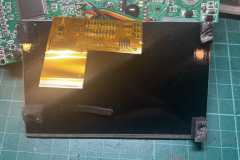
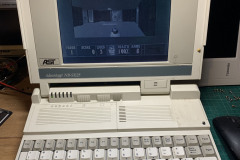
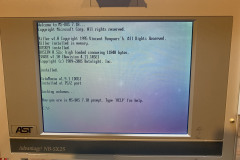
I was hoping I could load up some old DOS games on these machines but that dream was quickly dashed when I realised these had STN panels in them, something that was not great for much, especially games as they are really blurry. I did manage to get Wolfenstein 3D working on one, although extremely unplayable due to the screen. These machines are also only black and white.
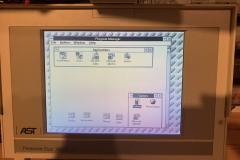
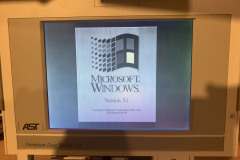
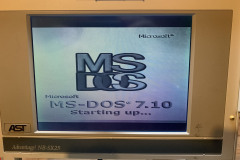
I ended up loading DOS 7.1 on one of them via floppy and Windows 3.1 on the other.
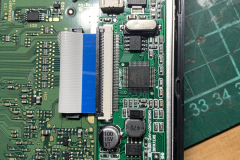
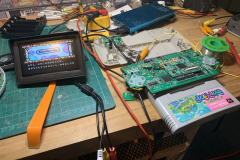
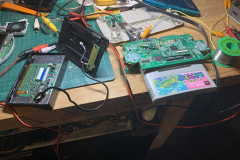
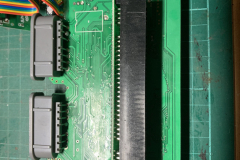
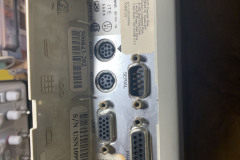
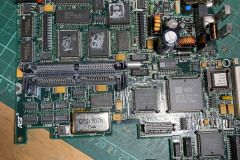
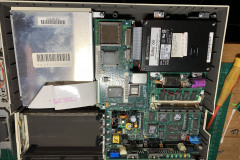
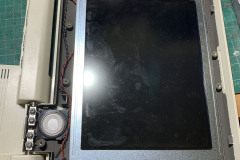
Gut Shots
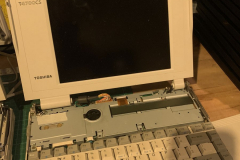
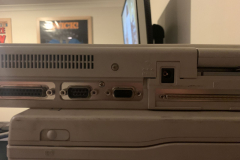
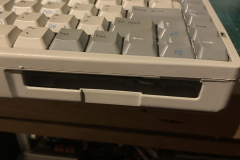
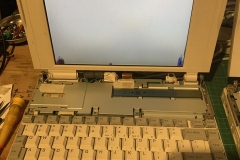
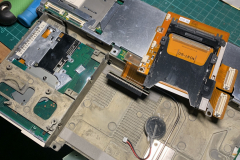
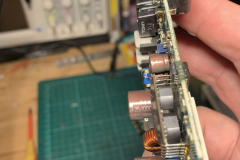
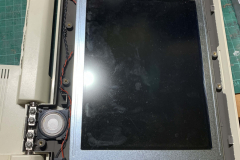
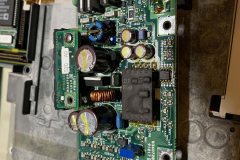
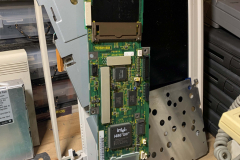
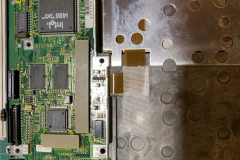
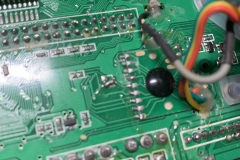
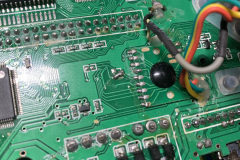
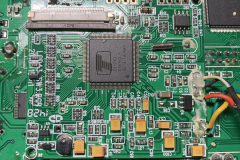
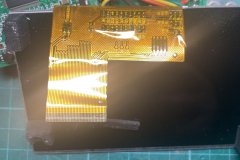
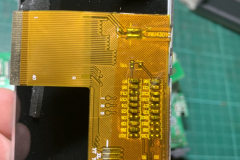
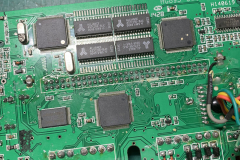
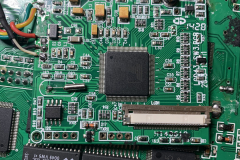
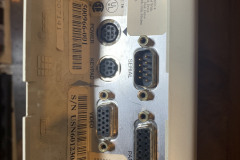
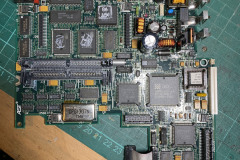
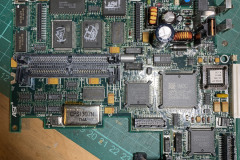
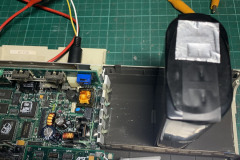
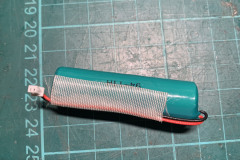
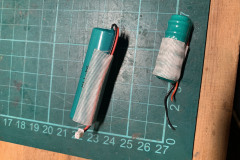
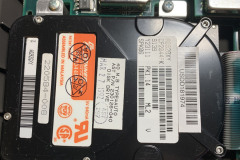
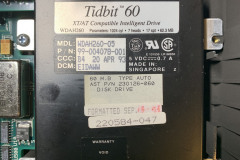
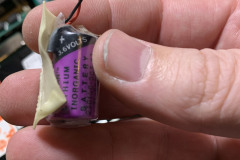
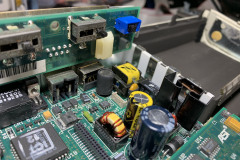
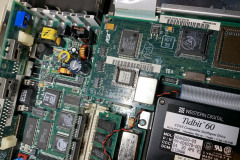
All the internal batteries were dead as well as the backup batteries and one of the harddisks, which I swapped with a IDE to CF adapter. These machines had a hard limit on the size of the HDD they would see so getting anything bigger than 2GB to show was not easy, but I got there in the end.









Recent Comments