by bassybeats | Mar 22, 2020 | Wood Working
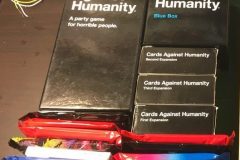
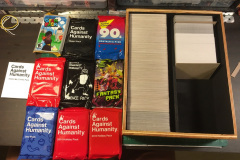
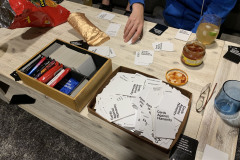
As did most people, around 2015-2016 I got introduced to Cards Against Humanity, one of the best party games ever. But unlike everyone else, I always go over board when I get into something new. So when I got hooked to the game a went a purchased every single expansion pack plus the base pack I could find. This was great for having virtually new games every time you played it but incredibly frustrating to lug them around.
Getting into leather work
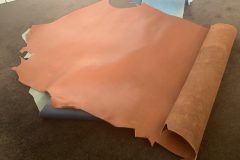
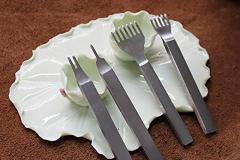
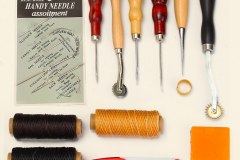
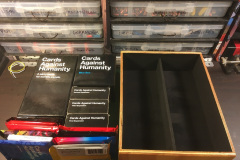
Due some other projects I had going on, I ended up some some spare leather and some spare plywood scraps which were going to be perfect for this project. But because I hadn’t worked with leather stitching before I had to order a kit of stuff to go with my leather. A cheap 13pcs kit from AliExpress with some hole punches and a roller and I was away.
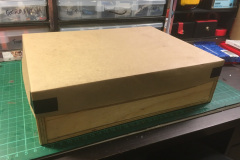
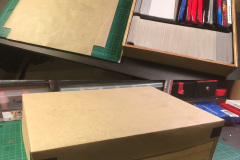
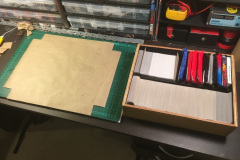
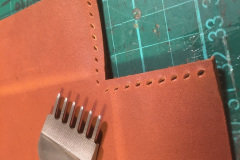
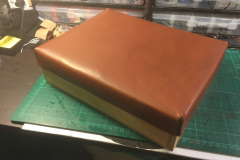
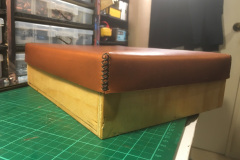
Annoyingly, I forgot to take photos of putting thee wooden box together ( i’m trying to get better with progress photos ) So I only have a few photos of getting the lid pattern figured out using some masking paper to get the size out. I figured if I make the paper fit snug, once the thickness of the leather is taken into account it will be a tight slip on fit, ideally i’ll add some snap on buttons to keep the lid on it. I ended googling/youtubing how to make a saddle stitch and it turned out really well, the first time I tried this technique.
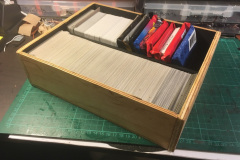
Final fit up
All said and done this was a quick weekend project to tidy up these cards ( Adam Savage one day build style ) and have a nice box to carry these around to parties. Hopefully the leather weathers and ages well!
Materials/Parts/Tools
by bassybeats | Mar 22, 2020 | Retro Gaming
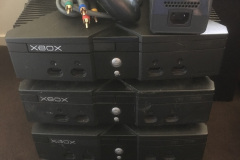
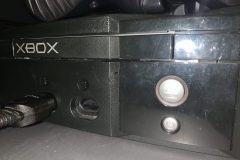
As part of an absolute jackpot of a score, I happened to show up at the local refuse station shop just as they put out all of the old Xboxes and Playstation 2’s and managed to talk the guy down to $50 if I took the whole lot. I ended up with 5 Original xboxes, 6 Playstation 2’s and whole bunch of controllers.
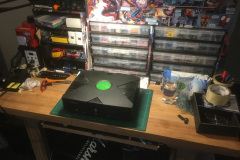
Assessment and Repair
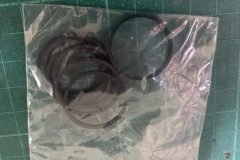
Out of the 5 xboxes I had (two that came from my friend and uncle), 3 of them just needed new belts for the DVD’s drives and a bit of cleaning and new heat sink paste on the CPU/GPU. Two of them turned out to be mod chipped and working for the most part. I sent on of them mod chipped ones to my dad and kept the other. I ordered some parts from AliExpress for the DVD drives got to work.
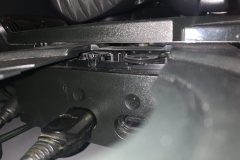
You can actually replace the DVD drive belts from the outside of the unit, just pop the drive open with a paper clip through the little hole, and the some small tweezers can reach in and pop off the belt. This trick works for xbox 360’s as well.
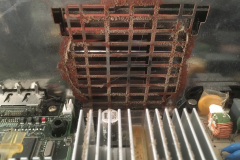
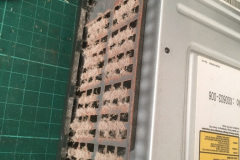
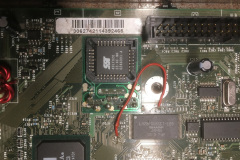
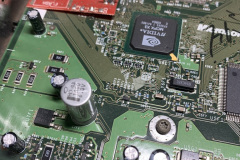
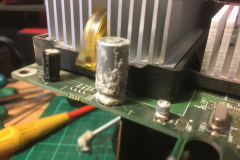
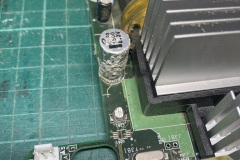
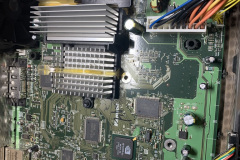
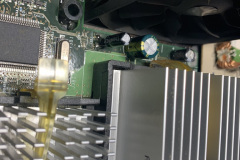
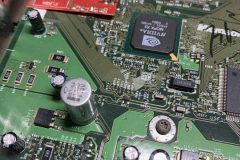
The one I got from my friend was in a bit of dis-repair. It was not booting at all with a suspected bad hard drive. On closer inspection, a lot of the chassis was rusty, a wire was loose for the mod chip and indeed the hard drive was going bad. I ended up going through this one and removing a whole lot of capacitors as well as you can see they were extremely leaky, luckily for me they hadn’t had time to eat the board. The exceptionally bad one behind the CPU by the fan actually made the thing lock up after a 10mins of being powered on.
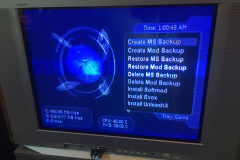
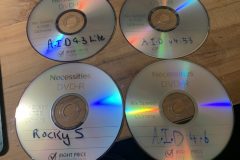
Once I had done most of the repairs I ended up upgrading the hard drive with a larger “brand new” 300gb Seagate IDE drive. I actually purchased two “New sold stock” drives from Trademe with the intention of putting them in my PS2 fat and OG Xbox but for what ever reason, after trying to install this 300gb drive in this xbox I had nothing but issues and decided to bite the bullet and do the 1TB SATA to IDE conversion and load it with as many games as possible. I ended up getting a known compatible adapter from Trademe here. My version also came with the 80pin cable as well. Once I had installed this setup, this is where I ran into my next issue, finding a suitable softmod kit for it. Originally this xbox was loaded from Auto Installer Deluxe, which I tried to find versions of it ( pm me if you want the links to them images ), but I ended up going for the Rocky5 modding method in the end as it was the most up to date way to softmod an xbox.
After about 8 tries of trying to get this to work between fixing more capacitors I finally got a stable unit and began loading games. The full library is about 900GB compressed. You need to extract the game out and then copy over all the game folders via FTP to the XBOX. Make sure you have good networking and allocate a full day to this part. I opted not to setup XBMC Kodi or any emulators as I have plenty of other better systems for those things. Something that I am still to add to this is a better quieter fan and wireless controllers, when I can find some that work.
Materials/Parts
by bassybeats | Mar 7, 2020 | Retro Gaming
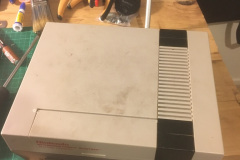
At the start of my retro gaming obsession were a bunch of NES Nintendos. And like my usual self, I refused to pay heaps for them so I ended up buying 3 non functional NES’s with the intention of repairing them all and selling two of them off. Little did I know the state that they were in.
The situation
The first NES was rather straight forward, had a bad case ( chips in the corners ) a bad front power switch and a bad 72 pin connector so it was just a matter of ordering a new 72 pin connector and swapping over a spare lid that came with the other two NES’s.
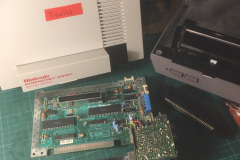
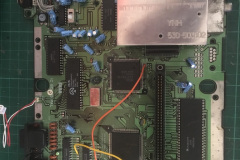
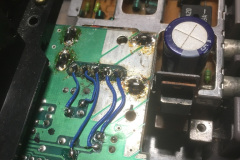
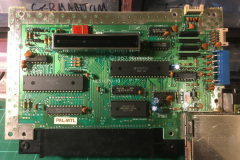
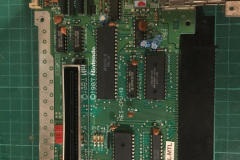
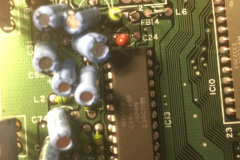
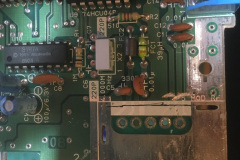
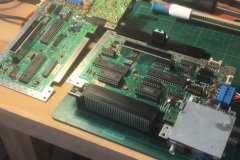
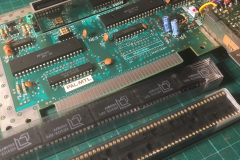
The next two systems were purchased in non functional condition and with an unknown repair history, I soon found out that both of them had been badly fixed in the past with missing parts, patched wires joining broken traces and again bad 72 pin connectors, but this batch came with a whole bunch of spares as well. Both of them had issues that results in no picture on the screen and the notorious flashing red light and grey screen.
Getting down to it
The first NES with the bad connector was easy to fix, in terms of the power issue all that had happened was that a cable on the wiring harness was loose and needed to be pushed back in. While I was at it I cut the pin on the lock out chip to make it region free and I could play US titles and use my multi cart.
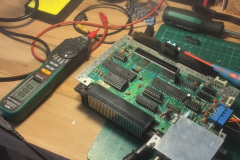
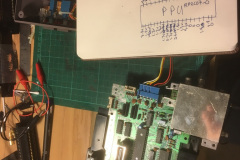
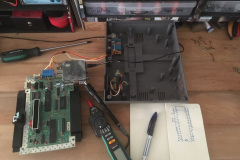
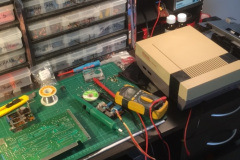
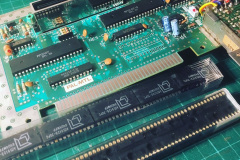
As for the other two, Well on of them ended up having bad ram chips, which were easily sourced from US sources. The other was far harder to diagnose the issue. I actually ended up buying a logic probe just for this project so I could figure out what was going on. Once diagnosing the issue and tracing all the pins and voltages it became obvious that the PPU was bad, more obviously determined by realising that the PPU was getting crazy hot. This was a lot harder to fix as this part is not available aftermarket, its a proprietary Nintendo chip. With some serious eBay trawling I ended up find some Russian clone chips that would do the trick. But between finding the chips and getting them an awesome fellow retro gamer gave me a donor board that I could take the chips from and I ended up getting it all going fine.
When the chips finally arrived I actually got the old board working and had almost socketed all the chips on it and it will become my new test motherboard for when other NES’s come across my table. Once I realised just how hard these chips were to obtain I ended up order more of them for spares and even found the matching Russian CPU clone chips.
Parts needed/purchased
by bassybeats | Dec 4, 2019 | Wood Working
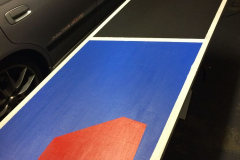
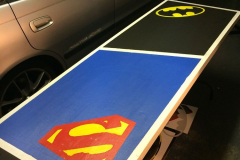
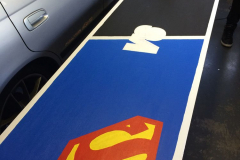
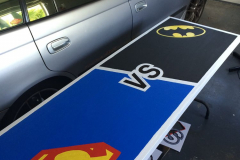
This project turned out so well I just can’t believe it was put together in a night whilst drinking too much bourbon and rum.
How it started
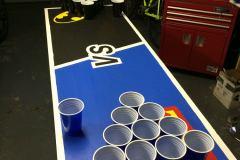
It all started when I wanted a beer pong table for my leaving party / birthday party. But I couldn’t just have any old table, it had to be made and it had to look cool or at least better than any my mates owned. A quick phone call to my mate Paul and I had some stencils printed on thick card and with the promise of drunk painting he was in.
Throwing it together
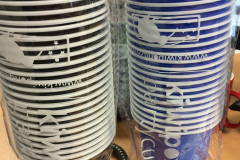
That night I jumped on trademe and found the cheapest fold out table I could find in my area that would fit in my car, $15 later I had a table that was the perfect size. A lot of people use Ping Pong tables but I find them too wide and annoying to store. At the time the local paint shop was across the road from work, so I grabbed a bunch of paint samples in the colours I needed. I also ordered some matching cups, can’t have this ‘red cup frat house’ shit on my table.
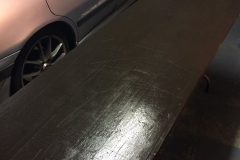
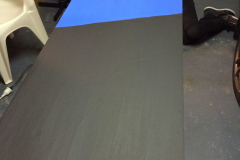
Painting was relatively easy, although the drinking between coats caught us out towards the end. It was important that we got the colours painted in the right order, some colours like yellow are very hard to paint over black. The stencils easily could have gone a few more tables before the were to rough to use.
The finished product
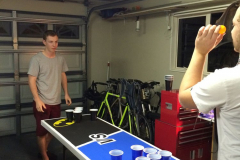
It looks absolutely awesome and was well used that weekend, we filled two wheely bins with beer bottles!
Materials
- Sample paints from Resene paints
- Superman / Batman stencils were printing on thick card
- Cheapest table you can find
by bassybeats | Dec 4, 2019 | Others
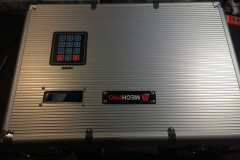
Well I finally got fed up with ironing on PCB transfers and how crap the turn out. A bunch of eBay orders accumulated over a few years and i’m putting together a UV LED exposure box!
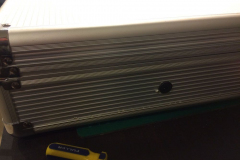
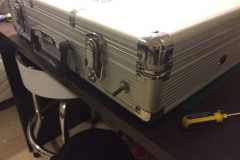
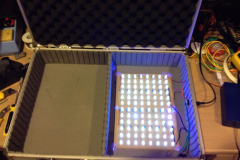
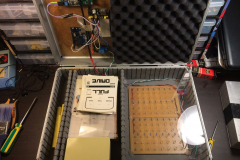
I had seen a few of these online but no full instructions to do one. I wanted a countdown timer controlled box that was self contained. I had a old faux travel case around which got ‘donated’ to the cause and I stole some clear glass from mums work for the exposure panel.
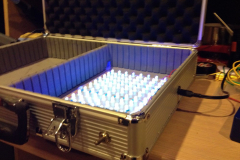
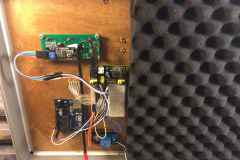
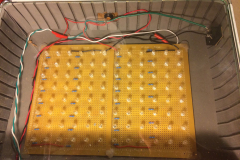
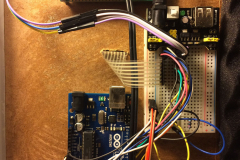
Some projects were 555 timer based, some were arduino and considering I had a literal shit load of Arduinos laying around an Arduino Uno was the basis for the build. I ordered a huge box of UV LED’s off eBay, surprisingly none were dead. I / dad made up two panels of 6 x 8 ( 48 total ) LED panels. Test power them off 12V and they were good to go.
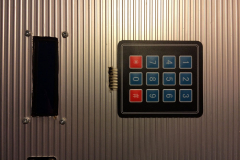
The hard part was finding code that would work on my Arduino and be controllable. Dad found one that worked with an UNO and I just had to buy a serial to LCD adapter,5V relay and keypad, both brought from Aliexpress.
There was some back and forth with finding the right libraries for my LCD and keypad. contact me if you would like the zip file. One of them should work.
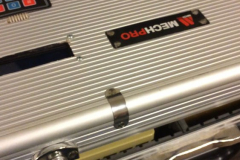
Test wire up seemed to work and I just had to cut the case up and mount it all in. I did have to reverse the code so the LED’s would turn on and off in the correct order as I had a master switch on the front of the case to power the thing on and off.
Materials:
- Arduino Uno
- 5V Relay board
- 3 x 4 keypad
- 16×2 LCD
- 96 UV LED’s
- Flight case
- Glass pane for the lid
- 2 x tagboard for LED’s
- 1 x breadboard
- 1 x breadboard 5v power supply to power it all off 12VDC


Recent Comments