by bassybeats | Mar 28, 2020 | Retro Gaming
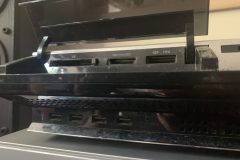
It seems that the YLOD Phat PS3 issue is extremely common and without a BGA reflow station is almost impossible to permanently fix. What I heard was that if you catch it early enough and nobody else has ever opened the machine before you have a good chance of catching it before it causes major issues and needs to be re-balled. Not only that, but I was only going to bother doing this on a backwards compatible PS3 and the easiest way to determine if it is is to check how many USB ports it has on the front, if it has 4 your are all good, if it has two the chances are much lower.
Dismantling the PS3
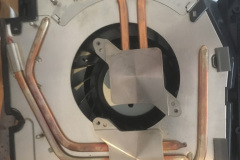
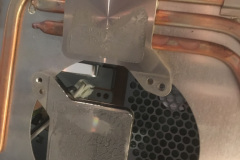
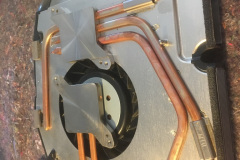
I’m not going to do a detailed teardown of how to take one of these apart, there are plenty of Youtube videos on that already. You will need a torx driver with the little hole in the end of it to get the top cover off, if it doesn’t have that hole you are SOL. Something to be careful of when you are breaking down the unit is not to bend the heat pipes of the heatsinks, they can be very hard to get off the CPU/GPU dies, I actually used a wide flat head screw driver to pop them off. Also be careful of the Blu-ray drive ribbon cable, it is also very easy to break the connectors off. If your unit is like mine, the thermal paste will be dry and flakey.
Carefully re-flowing and re-applying thermal paste
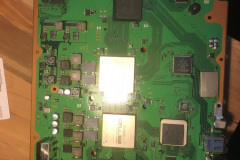
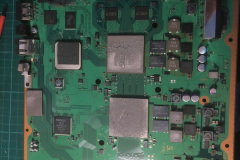
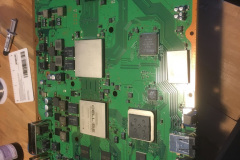
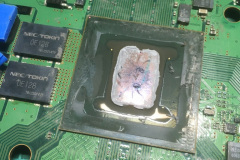
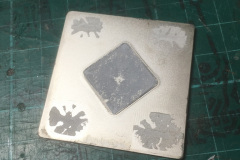
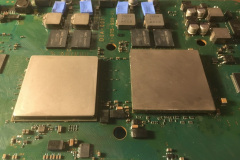
Now this is the hardest part of the whole project, getting those IHS ( integrated heat spreaders ) off the dies. I followed ( roughly ) the directions of MSC Mods on how to do this, but I instead used a 0.15mm feeler gauge with sharpened edges to cut the silicon on the outside of the dies. I definitely recommend preheating them IHS’s before doing this and take your time, it is not an easy process. Once they let go, its just a matter of cleaning everything up.
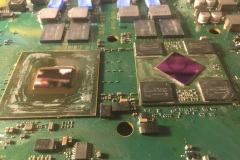
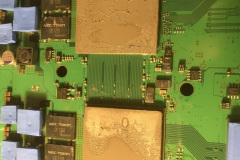
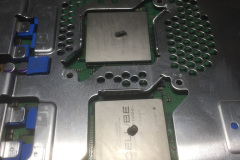
Now this is the controversial part, some people say that “re-flowing” with a heat gun does absolutely nothing and they may be right, but since I had it all open and apart I went through the process of slowly heating up the mainboard and then concentrating the heat on the two dies for about 5mins. I then left it for 45mins to full cool down before I started the reassembly process. The chips at this stage do look very cool.
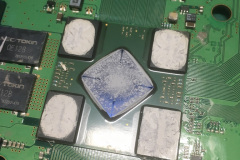
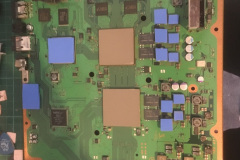
Once all that is done, it is just a matter of putting new thermal paste on, I always use Arctic Silver paste on PS3’s and PC’s. Don’t put to much on as it doesn’t need to be very thick. If it is too thick it can actually cause the same problems, I have always worked on a pea sized blob in the center but the paste needs to be on the die’s and GPU chips as well as on top of the IHS’s and I always give them a little wiggle to seat them down. One extra step I did was replace all the heat pads with new silicon pads at the same time ( the blue stuff ) as they were all crusty and the PS2 chip only used these heat pads for cooling.
All going well, the PS3 should power back up and work as it always had. I have had a 2/5 success rate with this method, but both the working units I was the first one to open the unit up.
by bassybeats | Mar 28, 2020 | Wood Working
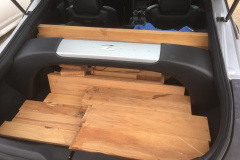
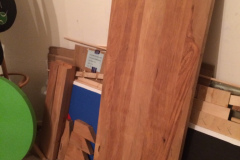
My parents had a bad habit of renovating houses when I was growing up and one thing that came from it was a lot of reclaimed rimu timber from old kitchens, old wall studs, benches and shelves. Lucky for me, my grandad was a bit of a hoarder of nice timber and as he started getting older he started letting me use some of it for projects. Basically, if it fit in my 350z then I could take it. I grabbed a few car loads over the years and as my $90 Warehouse particle board desks started falling apart I decided to replace it with a solid timber desk that would last forever and could be modified and tidied up in the future.
Building the desk top
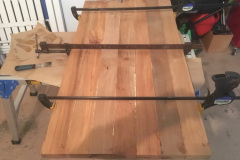
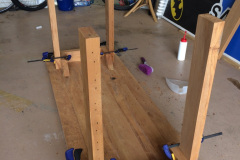
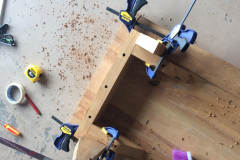
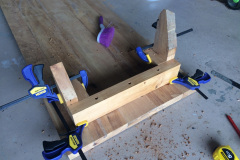
I basically made the desk as wide as I could while still keeping enough timber for have 4 legs and the lower bracing, meaning I clamped it all together then cut to the shortest board and kept the rest as excess. The boards weren’t exactly straight or square so I stacked them as close as I could to get the flatest topside while avoiding knots on the top face if I could. After than it was just a matter of using Gorilla glue and some massive clamps to keep it all together while it dried. One note though, don’t clamp them too tight as they can bow outwards if the faces aren’t completed flat. If I had the option, I would have run these through a thicknesser first to make them straight and flat first, it would have saved me ALOT of sanding at the end.
Figuring out how to add legs
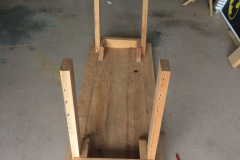
The legs for the desk weren’t the easiest to get sorted. I had to work around a few limitations, one was the timber I had left over ( I needed 4 legs the same length ), I needed a way to mount them to the desk top and I needed a way to level out the table so that at least when it was sitting on the ground it didn’t rock. From opposite corners the table top had a bit of a bow in it that I just had to work around.
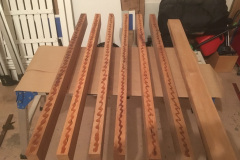
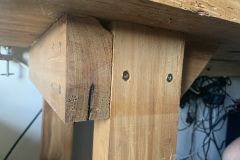
The best way around it I could figure out was to build a small boxed section on the bottom of the table top, then pocket mount the legs in. This gave me a way to attach the legs from two faces, which stopped the wobble from side to side. To get the screws into the table top and legs, I actually had to recess wider holes into the timber then drill out pilot holes for the screws otherwise I would have been using 140mm screws.
Finished table and problems
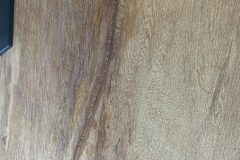
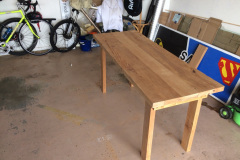
The table turned out rather well to be honest. I had a lot of sanding and planing to do to get the top of it flat enough to be able to use it. I finished the table in some linseed oil just to seal it and stop too many stains showing up. One good thing about using reclaimed wood is there is already a lot of marks, dents, knots, nail holes in it so it doesn’t need to be 100%.
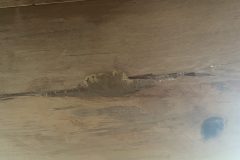
Something that did happen after a while, is that the heat from my laptop sitting on it for about a year made the wood crack along a obviously tense spot, it actually cracked along the timber not the glue, Gorilla glue does live up to its name.
I also added a block of wood under the desk to mount a power strip to get the cables off the floor. I also made a twin desk for this desk that was a bit slimmer and taller to be able to fit a bar stool under it with a keyboard style pull out for tools.
by bassybeats | Mar 28, 2020 | Others
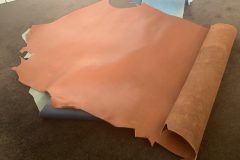
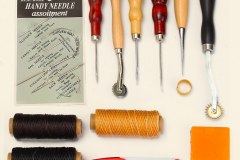
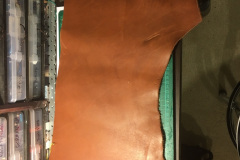
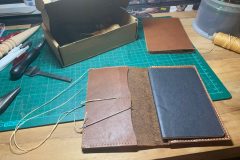
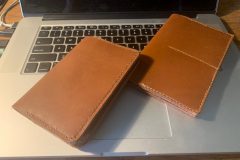
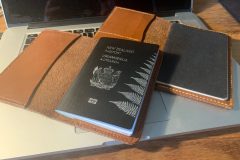
Since forever I had carried one of those horrible plastic ticket and passport holders you get from the travel agencies when they give you your tickets. I have always destroyed them or them disintegrate by the end of my trip. I finally gave in and purchased some scrap leather from Trademe and did some digging online to find some templates I liked. I actually had a few projects in mind for this leather and actually ordered some proper tools for the job. You can see my other leather work project here.
Layout and templates
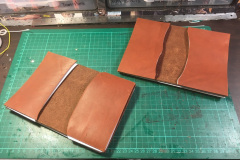
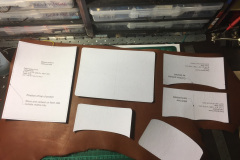
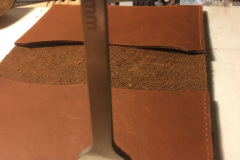
As I mentioned, I did some digging around and found some templates that worked for me. I actually decided to make two at the same time, one for a passport and one that can fit the typical field notes booklets. There are plenty of options online and I can’t find the specific ones I used anymore but ones like this or this work fine.
Figuring out how to sew leather
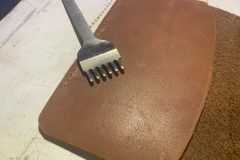
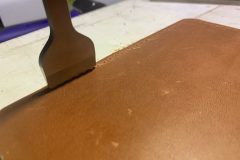
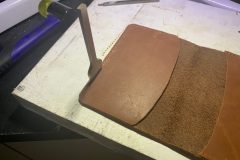
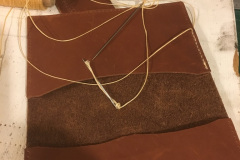
Till this point in my life, I had never sewed anything more than button on a shirt, so taking on full saddle stitching was something completely new to me. I ended up going with this tutorial from Black Owl Outdoors, it was easy to follow and suited my purposes. It was a relatively straight forward process other than I didn’t have a clamp for the leather so it was really hard on my hands the neddles. I never found a good way to stop the thread slipping out of the needle all the time though.
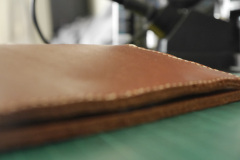
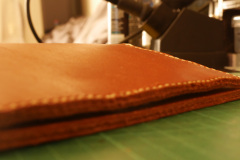
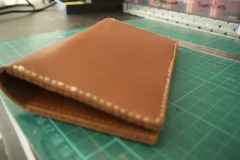
Both of the covers turned out really well with the only issue was that I smashed through the edge of one of them making the stitching wonky, but not too bad for my first attempt at making them. I have a whole lot more leather left if I want to make more. The only things I would change is that I would buy a clamp to hold the work piece and I would get some wax or stain for the leather to make it a bit more weather proof.
by bassybeats | Mar 28, 2020 | Others
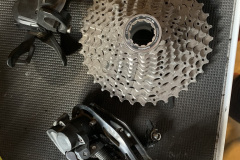
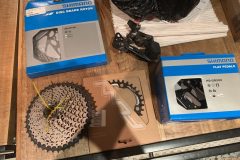
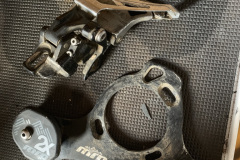
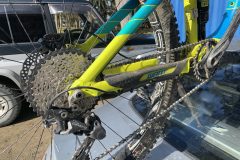
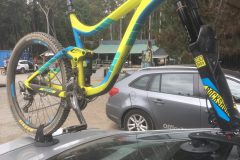
After constantly dropping chains and having gear shifting issues I decided to move up with the times and convert my 2016 Giant Reign 2 to a 1x system. But since those were hundreds of dollars I scoured Trademe to find a good condition second hand setup that would get me most of the way there. What I ended up with was a compatible Shimano Deore XT rear groupset with long cage derailleur and shifter. To get the the best setup I had to change the front chain ring to a single narrow-wide ring as I was also going to drop the crappy MRP chain guard at the same time. I ended up swapping out new pedals, a rear rotor and the dropper post at the same time as they were all pretty worn out.
The old parts i took off were so worn out I wasn’t even worth keeping them, but i did do a $1 reserve on trademe incase they were of use for parts to someone else in the community.
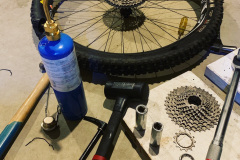
Unfortunately, I didn’t get many progress photos as it was incredibly dirty and frustrating to get all the parts off. The rear groupset would not budge, it seems that the steel groupset slots had bound up and galled onto the alloy hub leaving me no choice but to attack it with fire and a hammer, The only way to get it off was to dismantle the hub itself, heat it up and bash it with a dead blow hammer and a socket to push out the carrier. It was pretty wasted after that but I ended up cleaning it up with a file and the new groupset fit onto it fine. As for the front, The chainrings were absolutely seized onto the cranks that I had to drill out the bolts just to get them off.
All said and done, I ended up with a new-to-me 1x conversion, new disc rotors, new dropper post and new pedals. It turned out pretty well and all my issues riding went away immediately, not to mention the bike was so much quieter now the front chain mech was missing.
by bassybeats | Mar 27, 2020 | Computing
After working with an 8 bay Drobo NAS at my old work and being impressed at how reliable it was, I picked up one on eBay cheap and got it shipped over. Loaded it with 4 Seagate 1TB drives and….it was noisy as shit.
Pulling it apart
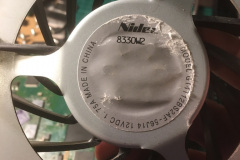
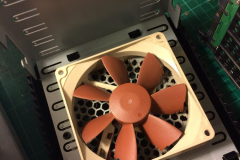
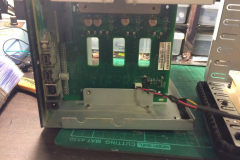
I instantly ripped it apart and found that the fan was rubbish and the case was just a big metal tube. The fan was easy to rip out and put in a silent fan from a PC in it.
DynaMat to the rescue!
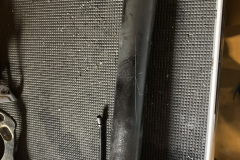
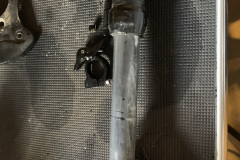
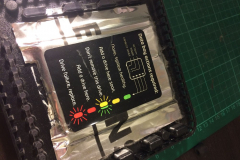
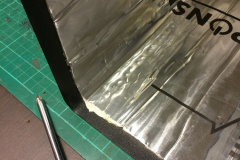
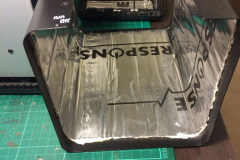
Digging through my box of random crap I found the leftover sound deadening from fitting out the Toyota’s sound system. Lined all the casing and even lifted up the front panel sticker and lined the front. The thing is almost dead silent other than when the hard drives first start up, no fan noise, no hum and no vibration.
Materials:



Recent Comments