by bassybeats | Apr 1, 2021 | 3D Printing
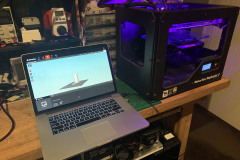
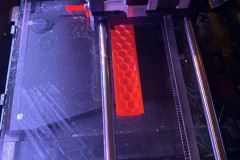
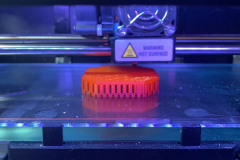
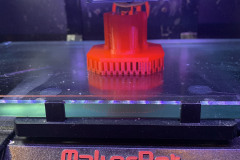
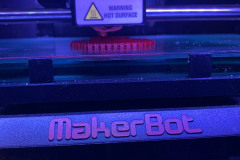
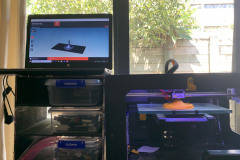
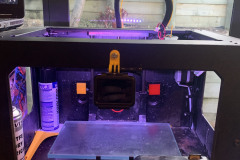
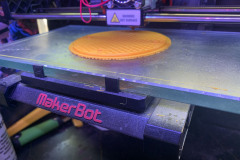
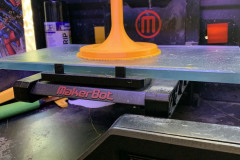
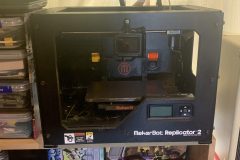
I don’t think I would ever recommend buying a broken 3D printer as your first printer, it is a very steep learning curve. One thing is for certain though, you quickly learn how it all works and I don’t think I could have chosen a better one to begin on. The MakerBot Replicator 2 was one of the most popular printers available for years and so it has lots of documentation, support, spare parts and upgrades.
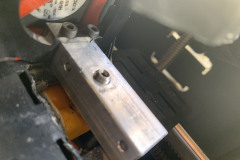
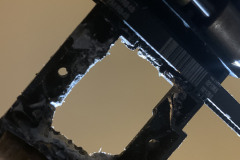
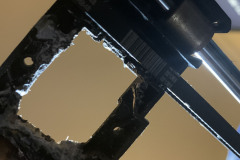
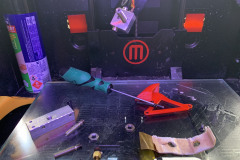
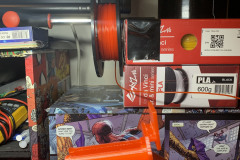
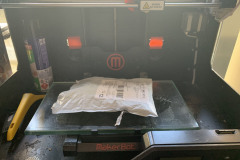
When I got this printer, it was $295NZD with 5 rolls of new filament, a glass bed upgrade and a huge blob of plastic encasing the hotend. I suspect the old owner tried to print ABS as when I removed it with a soldering iron it really stank. Sadly I didn’t get any photos of this process, just the after math.
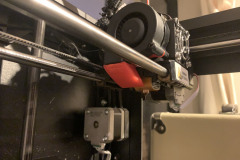
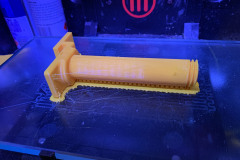
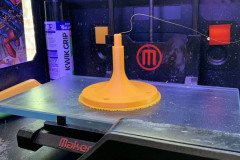
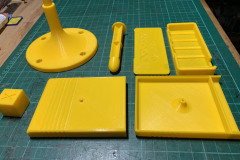
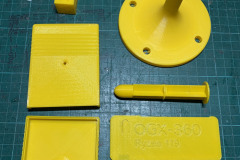
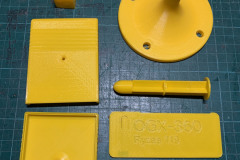
As this printer was missing a lot of parts when I got it, the first thing to do was to print parts for it. This included a new part cooling duct, filament guides and a new spool holder, all off Thingiverse ( I will include a link at the bottom to all the parts I printed ).
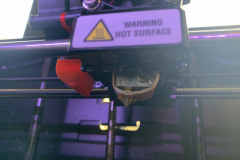
New hotend assembly
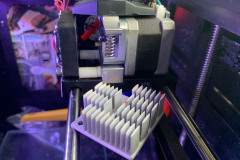
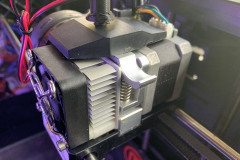
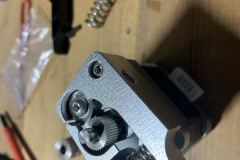
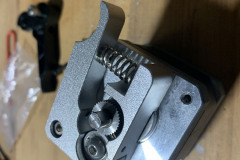
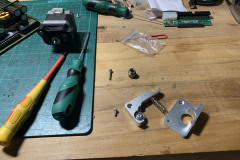
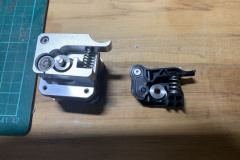
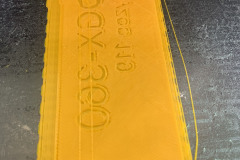
After the first few prints, I started getting constant clogging of the nozzle. It appeared to be from heat creep up the filament, which is where I noticed that the guide tube had no teflon lining in it and a likely cause of my problem. I did an order from Fargo 3D for a new heaterblock, new heating element, new teflon guide tube and new nozzle. At the same time I ordered from eBay I order a new aluminium extruder assembly, as I also noticed the makerbot one wasn’t grabbing the filament very well, likely due to the XYZ filament I have being undersized.
A good run of prints
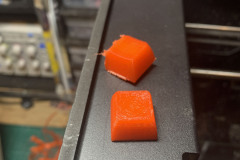
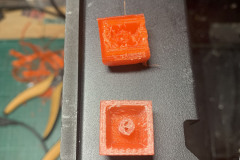
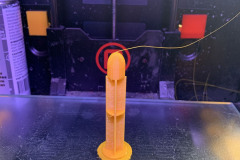
I had a really good run of prints a used all of the rest of my clear filament, with the only issues being some random clogging and the larger prints still lifting even though I was now using contact adhesive on the glass bed as it was un heated.
Jump skips start appearing
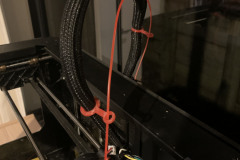
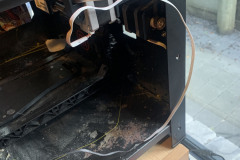
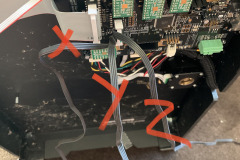
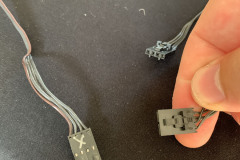
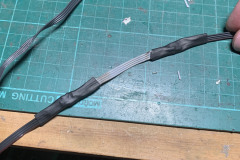
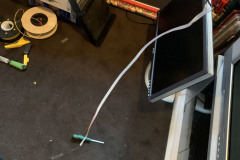
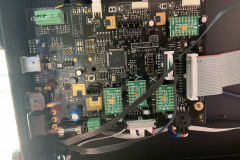
Just when I thought I was clear of all the issues, I started getting X-axis jumps mid way through prints and then they would carry on. So it was either the stepper motors or the cables. After cycling the motors forward and backward manually, I didn’t see the issue so I decided to strip the machine down and check the cables. I immediately found the issue, a pinched cable in a bolt for the x-axis. I chopped that section out and retested the cables, only to find it still wasn’t good. It turns out the wires fatigue on the x-axis after hours of use, a known fault of the printer. So I chopped the whole section out and replaced it with new ribbon cable. Problem solved!
Not out of the woods yet
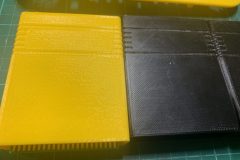
Turns out the printer wasn’t finished being a pain in the ass yet. When I put on the new roll out yellow I was still getting inconsistent prints, specifically it was not extruding well. I knew it wasn’t the motor or the new aluminium head or the filament ( brand new sealed roll ).
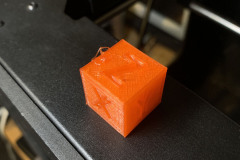
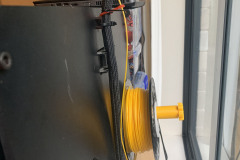
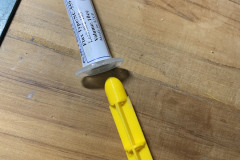
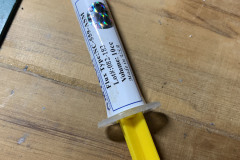
I tried a print and manually turned the roll on the filament holder to take the weight off the motor, bingo! the problem went away. Turns out this printer was designed for lighter rolls. So a bit of digging on Thingiverse and I found a filament holder that has a sliding barrel, which with a little lithium grease solved my issues and I got a big bunch of prints out.
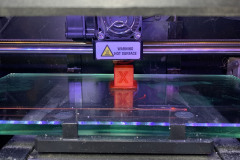
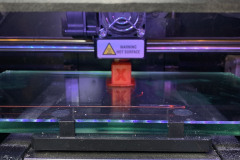
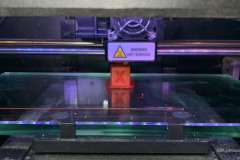
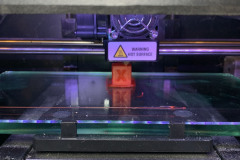
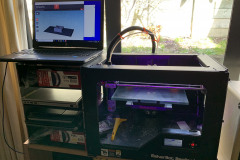
Its Final Form
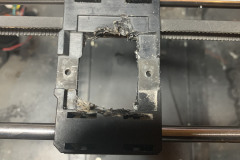
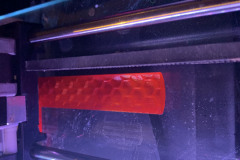
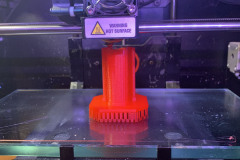
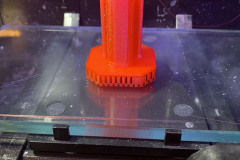
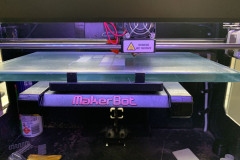
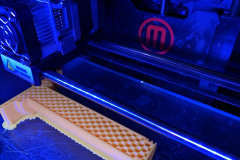
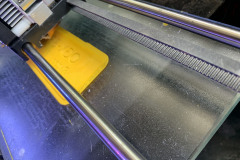
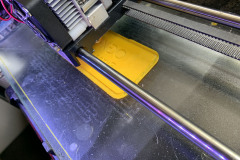
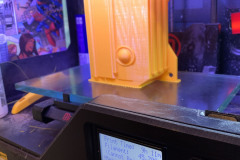
Now i was successfully printing with no issues my last problem to solve was the warping and adhesion issues on the glass bed. To date, I had always printed with a raft to get good adhesion and to stop the warping of the part. This makes print times considerably longer and you use a lot more filament or each print, and a lot of waste plastic. After some trolling of eBay and the power of YouShop by New Zealand post I had a new heated bed from the Makerbot Replicator 2X.
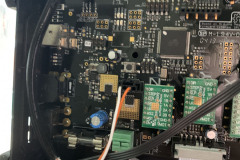
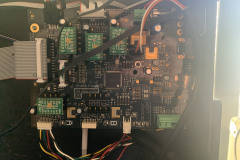
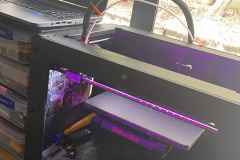
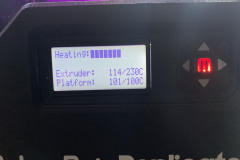
The install was very easy and actually just dropped in, something that never happens, even all the cables just plugged in. It was all and all a 30min job. The issue came to when I went to use it. The Makerbot Desktop software does not support a heated bed for a Replicator 2, only the 2X. To try the new bed out, I flashed the latest Sailfish firmware and exported my files using the 2X profile to the SD card and printed from that, not USB. This actually worked, mostly. If I had the parts cooler and LED’s off it seemed to print fine and the heated bed worked. What I soon realised is that I that the lower current power supply, as soon as I turned on the parts cooler and/or LED’s the whole printer would shut off.
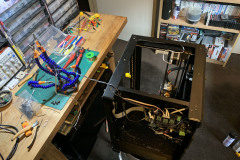
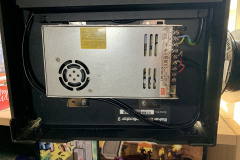
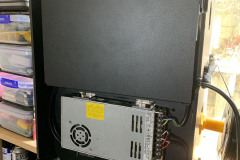
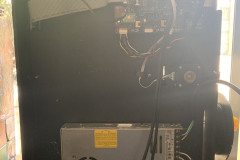
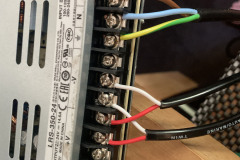
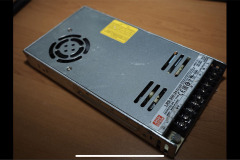
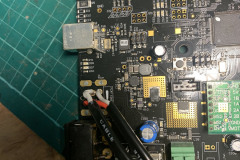
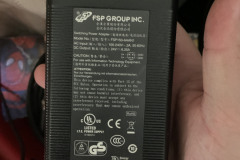
I did some googling around and realised this was a common but not well documented issue. Luckily, there was a 24V 14A Meanwell Power supply on Trademe ( New Zealands eBay ). I ordered it for $50NZD and hard wired it into the printer, removing the 4 pin DIN socket and direct soldering it to the board and mounting it under the printer. Final touch is to print a cap for the terminals but the problem went away.
A final note, if you want to use this process, you need to flash the latest BETA sailfish firmware to be able to adjust the parts cooling fan speed/power. Although the beta version seems to have reversed the on/off toggle. So “off” = “on” etc.
STL Files and Parts
Makerbot parts
aluminium extruder assembly
Fargo 3D
by bassybeats | May 17, 2020 | FX Pedals
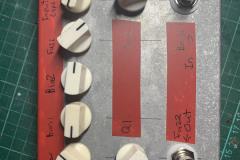
As with a lot of my projects they seem to be long running and never get done. Well with the 2020 lockdown I had plenty of time to get through some projects, probably obvious by the volume of things I have been posting lately. Well this one was an idea I have had for a long time, it was based on the high volume of germanium transistors I ended up with from all my builds. Lots that were uncommon, out of ‘spec’ or not usually used in fuzz pedals.
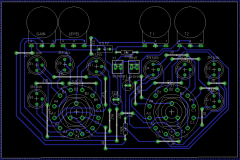
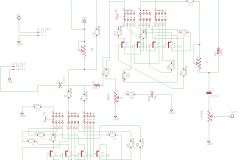
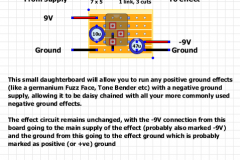
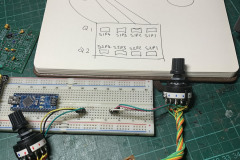
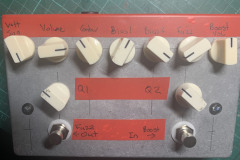
What I wanted was a way to load up 4 different options for Q1 and Q2 and be able switch between them all and bias them up externally by ear. The base of the project was a Fulltone 69 fuzz circuit as it sounded good and was easy to wire up. Initially, I wanted to have it negative ground so it can be used with normal power supplies from other pedals. I had a good crack at doing it in Eagle and making a PCB and never made progress or got it right, this was the part that delayed the project the most, holding onto the idea of a custom PCB.
The alternative plan
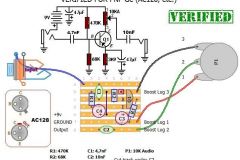
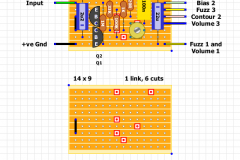
I eventually gave in hand wired a unit using 3 layouts from Tagboardeffects.com. The Fulltone 69 Fuzz, The Dallas Rangemaster and the Negative Voltage Inverter. These 3 circuits gave the options to wire it all by hand during the lockdown and get a working prototype working. If it works out and my friends want one as well I can then look at a PCB, but there was no point if it sounded like crap.
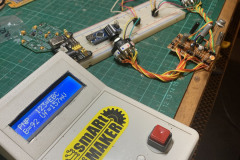
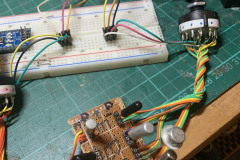
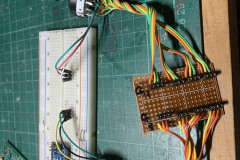
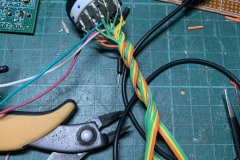
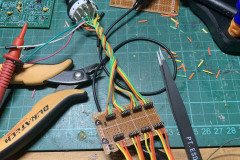
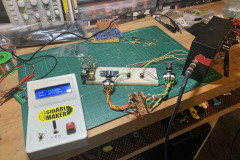
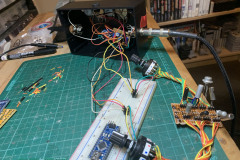
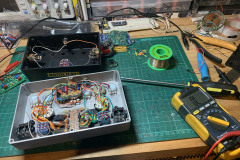
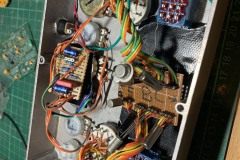
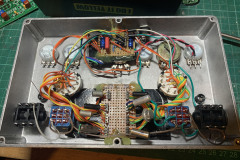
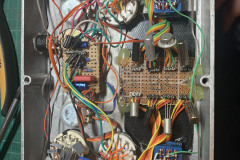
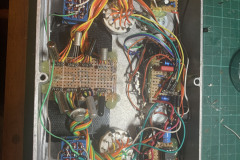
I actually already had a 69 Fuzz so it was just a matter of breaking out the trim pots and transistors onto a daughter board and the wire up some 4P3T rotary switches to change between each transistor for both Q1 and Q2. To test it out, I had to find a selection of PNP transistors that were roughly the right values to put in each spot, which I used my handmade transistor tester ( arduino based ). I actually left the sockets and patch wires on the fuzz board which meant I could still put transistors directly into it to verify issues if something didn’t work or stopped working.
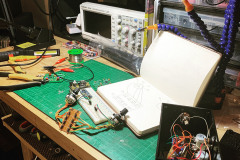
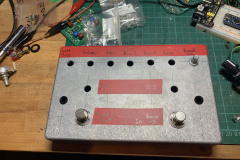
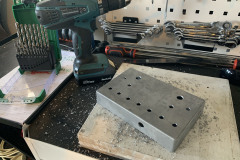
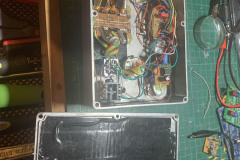
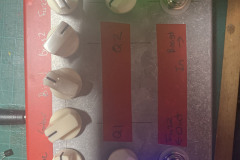
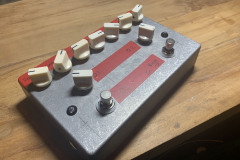
Next came figuring out how to box this whole thing up. It was going to be big, but I did have some old 1590DD cases that needed to be used, they aren’t good for foot pedals but are perfect for these testing units. Originally, I was going to do a voltage sag knob but after testing it out I instead changed to an input cap selector for the rangemaster.
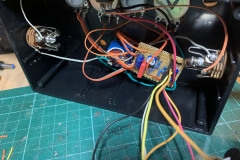
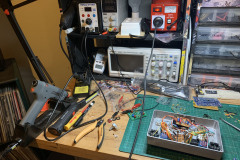
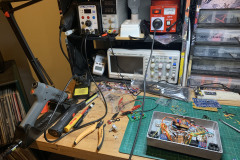
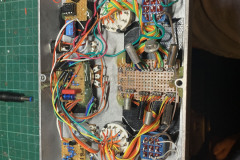
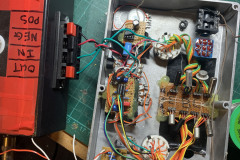
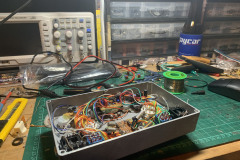
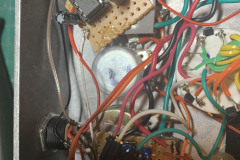
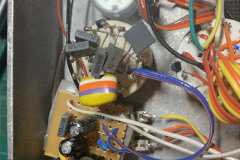
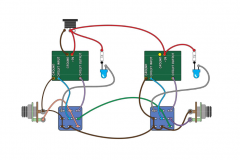
When it came to wiring it all together, it was a nightmare. The worst part of was getting the grounds all working fine and it is easy to get the LED’s and case grounds wrong. In the end I dropped my own versions and found the dual effect wiring diagram from MadBeanPedals.com. Once I got the switching working I only had some minor issues which ended up being a dead 7660S voltage inverter. Once that was solved it was just a matter of getting it all in the case together.
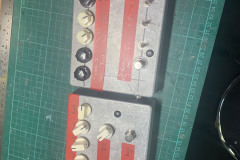
It all turned out pretty well and i’m surprised it actually works. I don’t think it will be worth making a PCB but I guess thats what vero/tagboard is for. It matches up well next to my other fuzz experiment box that has 3 different fuzzes + an LBP1 in it.
by bassybeats | May 17, 2020 | Computing
After needing getting to a point of upgrading my main rigs to a ultrawide screen and going between PC and Mac I came into the strange need to have a way to switch the 3.5mm audio out to run into my desktop speakers. I tried using the speaker/audio out from my monitor as the displayport signal carries audio as well but it was incredibly noisy and introduced a lot of hum.
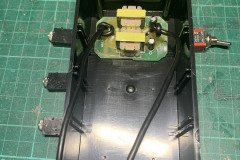
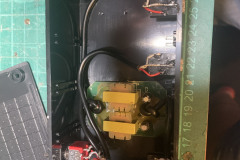
So this is just a short post on how I made a small box to handle the switching. It’s just housed in a small black plastic box from Jaycar with a ground loop isolation unit inside, a couple of 3.5mm jacks and a DPDT toggle switch. The isolation box helps remove any hum introduced by the power of each device in the chain as the MacbookPro power supply tends to introduce ground loops for some reason. For wiring, I just used the cable from the isolator itself as there was plenty left over.
Materials
by bassybeats | May 16, 2020 | Computing
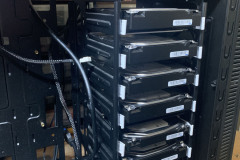
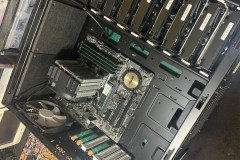
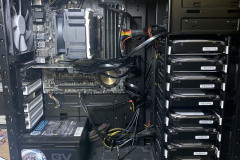
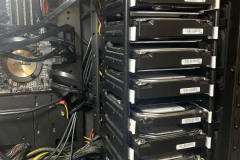
This was one of the longest running projects that I have had running. Since forever I have tried to get a proper media storage solution working. It first started with when I had the 4 bay DroboProFS. It was good for years but always had some gotcha’s. It was tethered to my MacbookPro permanently and my mac was running Plex Media center, so to watch anything from around the house my laptop had to be on and connected. This worked for years but slowly the drives started getting very full and then started dying.
I actually managed to pickup a much bigger Drobo 12 bay rack mount unit, but the networking was too slow and I couldn’t install plex to it, meaning I would have to run plex off it over the network from my laptop still, so not ideal. I sold the Drobo and made some money, which was enough to look at building a proper home media server. I got a good deal on a 6th Gen i5 rig with 16gb ram and an empty case. At the same time, I picked up a bunch of 1tb drives from my old work for $10ea and loaded the machine with drives.
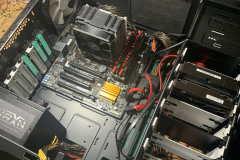
The basic idea was simple, build a machine that could run plex, store all my media and project files, act as a download server, FTP server and have built in redundancy. Due to my machine not having enough sata ports or raid capability, I opted for getting a couple of 4 port SATA cards and running a software raid on Linux Mint using MDADM. For over a year this worked great, but then as usual I had drive failures.
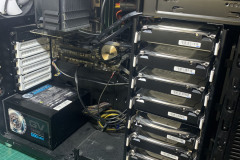
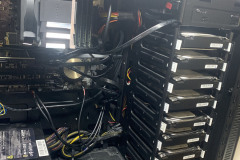
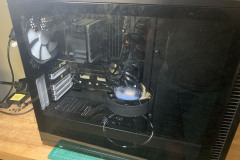
The Final Form
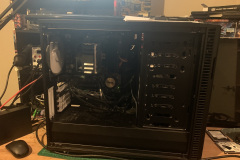
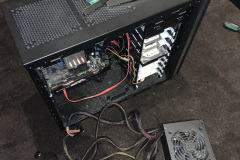
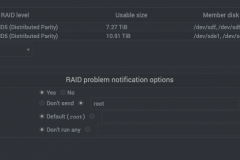
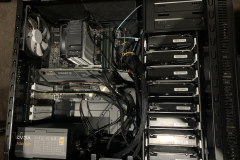
I finally got sick of space limits and drive issues, so I did a case swap and a full re-build. I ended up with 4x2tb drives + 3x4tb drives with two MDADM arrays in RAID5 giving my two arrays with 2 drive failures, surely I would be fine from here on out right? Wrong. I persisted to have issues with drives dropping out of the arrays seemingly at random, and not always the same drives or the same sata ports. After a lot of debugging ( including getting a new 8 port sata board ), it became obvious that the drive failure noise was actually a Seagate HDD “feature”. The little chirping/clicking was actually the drive telling me there was an issue with the power. I so a quick power supply swap with a project that I wasn’t using and it came alive. All drives rebuilt their raid arrays and not drives dropped out anymore.
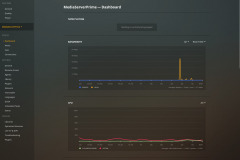
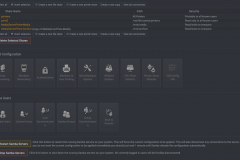
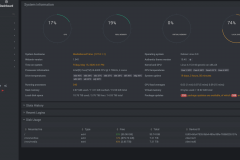
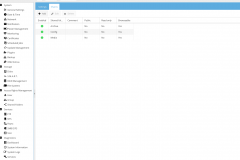
I still had some minor performance issues with the software arrays and I think it is down to using a 8 port sata controller instead of a proper raid card. But because this is mostly a read-only system the write performance wasn’t too much of any issue. I opted for Webmin for my remote management solution as it then meant I could run my server headless downstairs plugged into the network. It gives you all the control to monitor the system, manage the file shares and FTP servers as well as other stuff.
Something to look at doing is upgrading MDADM to 4.1 by source as it is much better at detecting broken arrays and rebuilding them. Some useful MDADM commands and fstab lines are below. You need to force build broken arrays and mount the filesystem with the correct parameters on boot to be able to write to it. If you have a failed array on boot, you will need to comment out that fstab line to be able to boot and rebuild the array, a process I was very familiar with by this point.
- sudo mdadm –verbose –assemble –force –run /dev/md0 /dev/sdf /dev/sdg /dev/sdh /dev/sdi /dev/sdj
- /dev/md1 /mnt/archive ext4 rw,user,exec,x-gvfs-show,x-gvfs-name=Archive 0 0
The final build has the following setup on it:
- i5 6500 CPU
- 16GB DDR4 ram
- 4x 2TB Seagate Drives
- 3x 4TB Seagate Drives
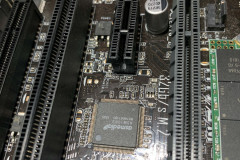
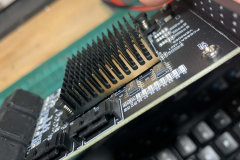
- 1x 8 port PCI-E Sata expansion board
- Fractal Design R2 case
- 3x Fractal design case fans
- CryoRig CPU cooler
- Zalman GV Series 600w Power Supply ( this will get replaced with a quieter unit one day
A slight update
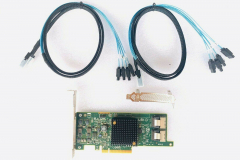
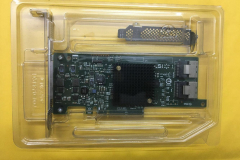
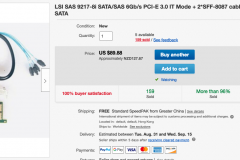
So I got sick of drives falling out of the raid and the cheap SATA controllers dying so I finally invested in a good LSI card to get it sorted once and for all. Its an LSI SAS 9217-8i controller custom flashed to IT mode. This is a PCIe 4x card as well so I know I wont run into issues with bottle necks ( not that my raid5 would bottle neck ).
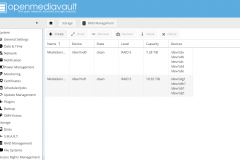
Open Media Vault 5
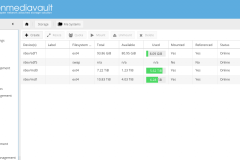
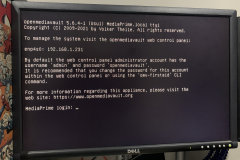
As well as the new LSI card I also was getting sick of managing the MDADM array manually through Webmin and its Linux Raid interface. I did some digging and noticed that Open Media Vault also using MDADM for its raid arrays and flashed a USB with it and saw that it recognised the array. So it was time to abandon Linux Mint and move over to a proper NAS distro. It wasn’t without its learning curve though as there is no desktop at all, so its all command line and web based. I had an issue getting it to display the IPv4 address on first boot and had to change over its network interface as well as set a reserved IP on the router to get to it.
For most of the setup I just followed DB Tech’s tutorials to get it setup. I ended up with the following setup:
- Open Media Vault 5
- 2x Raid 5 arrays
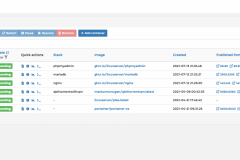
- Docker and Portainer installed
- QBitTorrent + PIA VPN
- Plex
- Nginx + MariaDB + PHPMyAdmin
Transcoding
My last hurdle was getting hardware transcoding working. AMD has no hardware acceleration under Linux for Plex so you are stuck with Nvidia. I opted for the GTX1050ti as it supports 3 streams at 1080p at the same time, needs no PCIe power and was affordable. Getting the Nvidia driver installed under Open Media Vault 5 was no easy task and involved getting the driver loaded into Docker to be able to use it in Plex. I also loaded up NVTop in the command line so I could verify that it was using the GPU for transcoding when I was streaming and that it was indeed allowing it to do multiple streams at the same time.
by bassybeats | Apr 5, 2020 | Computing
This was one of the most frustrating projects that I have done do date. It took me right back to those painful days of installing drivers, blue screens, crashes, hardware incompatibilities and re-installs. I don’t think I have installed any OS more than Windows 98. On top of all of that, I had numerous hardware failures due to the age of most of the components I started out with.
The plan
This project started from a youtube video from PhilsComputerLab where he was building some Windows 98 PC’s with somewhat modern hardware, from Socket 370, socket 478 and even socket 775 motherboards. After building my “Ultimate XP/10” rig I wanted to do the same but with Windows 98SE. The plan was to get as much compatibility, speed, and modern creature comforts as I could. That meant USB, AGP, PCI, ISA, SSD, Sata, DVI output, Good sound, reliable parts and a modern case. Not all of those were easy to find.
Revision 1
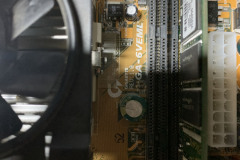
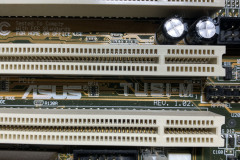
The first revision of this build was using an Asus TUSI-M Socket 370 motherboard with a Pentium III in it. This motherboard seemed to perform well but was lacking some of the features I was after, namely AGP, Sata II and USB 2. After that another socket 370 board came up on Trademe, a Gigabyte GA-6VEML which was pretty much the same except it had an ISA slot which would take my nice vintage Sound Blaster card. But alas, it wasn’t meant to be. After numerous re-installs and issues I just gave up. The Gigabyte board was having issues where it wouldn’t turn on half the time for no reason and the CPU coolers were crazy loud, so I had to change course.
Revision 2 (short lived)
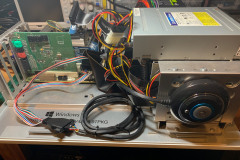
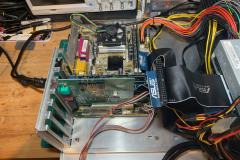
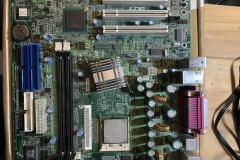
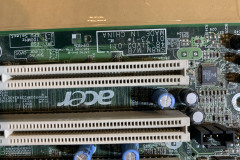
Well the second revision wasn’t any better, same core parts but different motherboard, ram and CPU. this time it was an Acer S88M Socket 478 board with a Pentium 4. It appeared to be going good but the voltages were all over the place and the CPU just wouldn’t report the correct clock speed. The bios was impossible to flash on this thing as it came from a prebuild from back in the day. So I was stuck once again.
Revision 3 – it’s final form
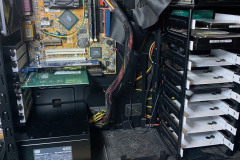
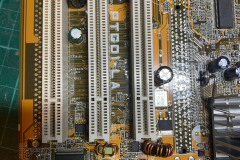
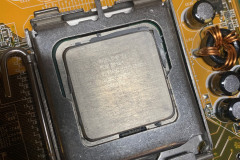
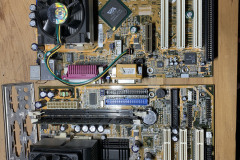
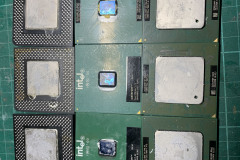
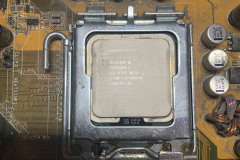
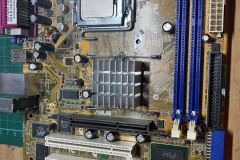
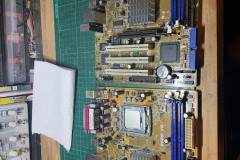
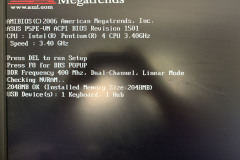
Well after a lot of headaches with this build I came across a bundle of motherboards on trademe that happened to have some early socket 775 eta motherboards. There were 3 Asus P5PE boards that could take DDR400 ram and a Pentium 4 3.40ghz processor! This was the golden moment for me, not only would I have more modern hardware that was less likely to fail, but gained AGP, and USB 2.0. This board was the perfect candidate for this build and I now even had 2 spare setups of ram, motherboard and CPU’s.
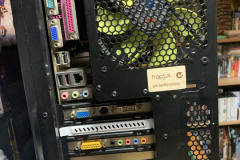
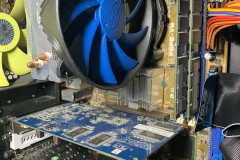
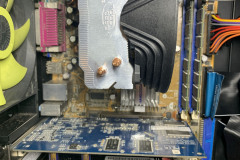
The final stack of parts I went with was:
- Asus P5PE socket 775 motherboard
- Intel Pentium 4 3.40ghz
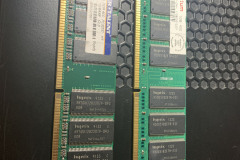
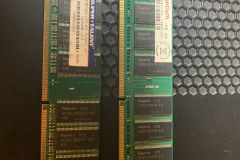
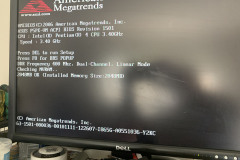
- 2GB of DDR400 ram ( i’ll share the trick I used to get this to work )
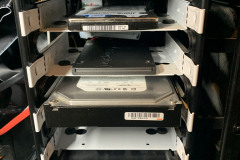
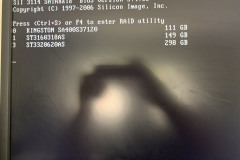
- 128GB Kingston SSD
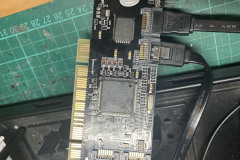
- PCI to Sata II card
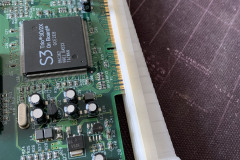
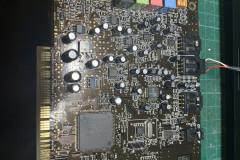
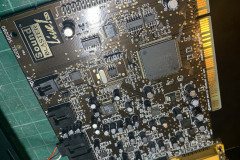
- Sound Blaster Live PCI card
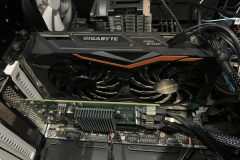
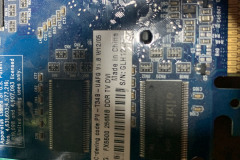
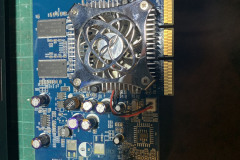
- 256MB FX5500 AMD AGP graphics card
- Floppy Drive
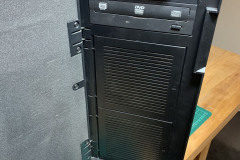
- DVD Drive
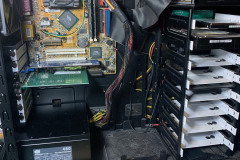
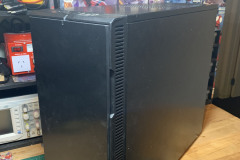
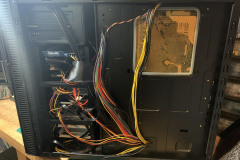
- Fractal Design R2 case
- a few old HDD’s for storage
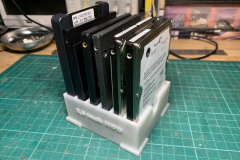
Getting software onto this rig was no easy task, annoyingly I didn’t have any easy way to transfer files onto this machine without burning disks all the time. So I opted to pull one of the drives out and dock it into my main Windows 10 rig and downloaded all the files.
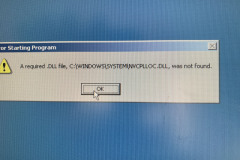
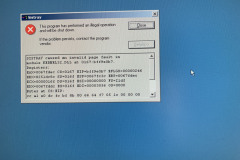
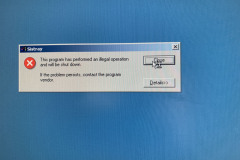
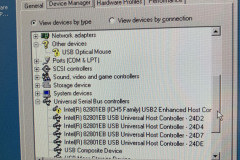
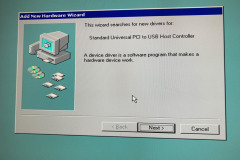
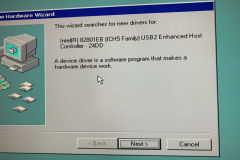
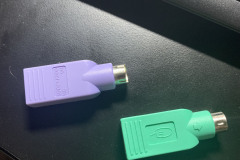
The drivers I needed were mostly all here on Asus’s website ( somehow still hosted ) or here on Phil’s Computer Lab site. The biggest pain in the butt that I had with this build was getting drivers installed. I had a lot of issues getting the USB drivers to work, mostly because I didn’t have any PS/2 mice or keyboards around which made it incredibly difficult to install things and made going into safe mode a constant occurrence when I got the wrong ones installed ( even tried PS2/usb adapters ). But once I found a PS/2 mouse I finally got all the drivers and software installed and managed to even gets some games installed.
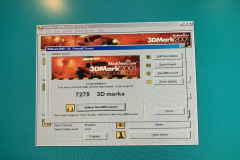
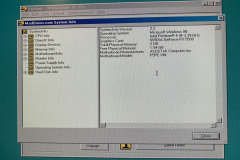
After all that was sorted out, I ran some benchmarks using 3D Mark 2001 and got some impressive scores for Windows 98 of 7275. Due to the FX5500 having DVI I can even run 98 on the 24″ screen over HDMI/DVI cables and I can even use my USB/HDMI KVM full supported! This was a pretty hard project and still has some room to improvement.






Recent Comments