by bassybeats | Mar 27, 2020 | Others
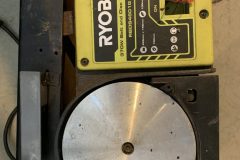
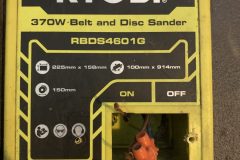
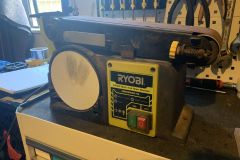
For a while I frequented the local tip shop/refuse centre where I often picked up broken tech that I could repair or give a new lease on life. On this trip I managed to find an old Ryobi belt sander sitting in the corner at a $10 price tag. It looked in pretty good condition other than the switch was completely missing and the wires were hard wired together.
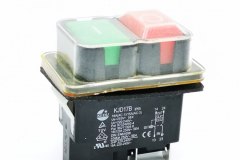
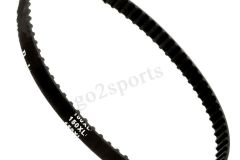
I attempted to get the sander running with the wiring as it was but it was really dodgy, so I cut the connections and re-twisted them together so I could at least verify that it worked before I bothered getting new parts. To my delight it fired into life, but this is when I noticed the next issue, any pressure on the top belt drive caused it to stop moving while the disc sander part kept moving. The belt drive in the back was completely destroyed. After a bit of Googling, ringing Bunnings and trying to find replacement parts, AliExpress and eBay came to the rescue as usual, I honestly don’t know why I bother looking locally sometimes. I opted for a safety switch from AliExpress and found the replacement belts on eBay, which are apparently used for 3D printers as well.
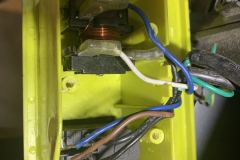
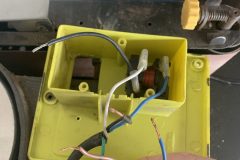
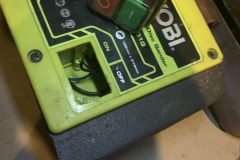
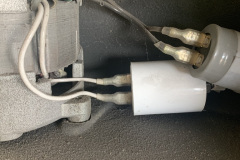
After a few months when the parts eventually arrived, it was a rather quick process of actually getting the belt sander fixed. To fix the belt, you should be taking off the cogs and fitting the belt then putting it back together, but as you can see someone already tried that. I ended up just gently stretching the belt over the lower cog to get it to fit. The switch was a bit harder, it didn’t actually fit the hole where the last one was so I had to file it out a bit to get it to slot in. Once it was physically mounted it was just a matter of wiring it up to the correct terminals. Ideally, I would have used terminal connectors but I didn’t have any in stock and just soldered it together.
Parts/Materials
by bassybeats | Mar 26, 2020 | Wood Working
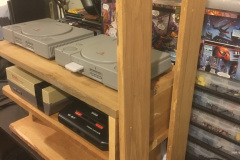
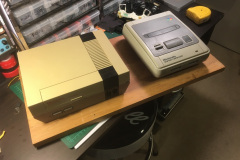
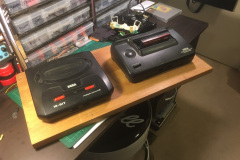
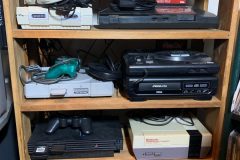
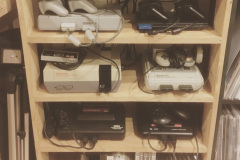
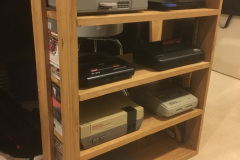
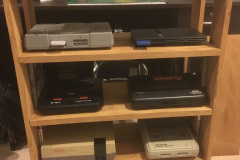
As my console and retro gaming obsession began to take hold and with my tiny room to hold it all I had to come up with a easy setup solution. Luckily I had the chance to grab all the left over rimu timber from my poppa’s old shed from our previous projects.
Sizing it up and assembly
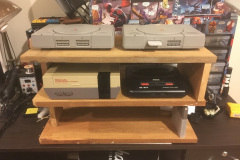
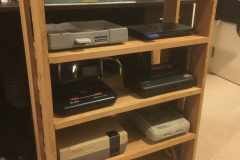
Really the one and only part of the build was to size up each console in height and width and make sure each fit on a shelf. Most of the boards were already cut to size so I had a maximum size I could work to. I ended up stacking CD cases and scrap wood to get the correct heights for each shelf. All put 1 were basically the same size.
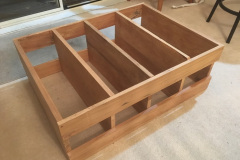
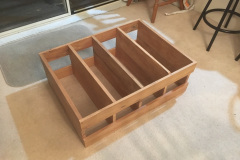
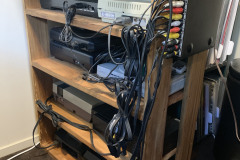
Once I sized it up it was just a matter of putting some screws in the sides of the cabinet. I went for an “oversized crate” look which made it easy to run cables and worked with what I had in scrap wood.
Finished look
The cabinet turned out pretty well and it is fairly light but sturdy. The only thing that is a bit of a bummer is that the height of shelves is a bit lower that i’d hoped but I was limited in the stock of wood I had. Once you had the Sega CD or the Super Nintendo Floppy unit attached they are too tall.
by bassybeats | Mar 26, 2020 | Retro Gaming
I received a few Atari 2600’s as gifts or as part of another bundle I purchased and since I had more than one, I felt fine with keeping one stock and modding the other one for composite video and audio instead of the RF signal out. The RF out was absolutely awful and wasn’t even worth hooking up, not even the old CRT tv would hide its bad signal.
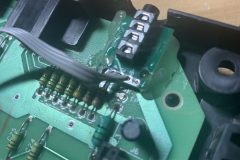
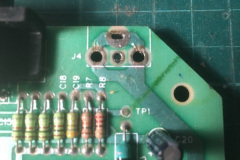
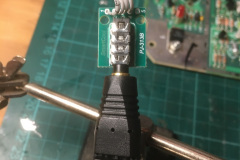
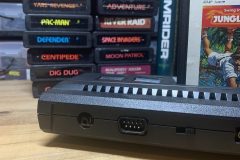
Because I wanted the mod to the reversible ( even though that is unlikely ) I decided not to drill any holes in the case but to find a 4 pin 3.5mm jack socket that could break out to 3 composite plugs. I had seen this same port of a portable SNES I had purchased a while back. A quick look and order on AliExpress and I was most of the way there. Once the order arrived I desoldered the original RF socket, broke out the connector to some hookup wire and hot glued the new plug in place of the old one. You would never know the difference once it was closed back up.
The Mod
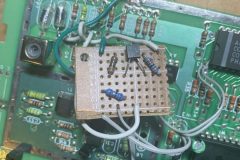
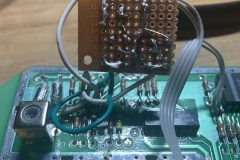
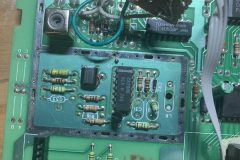
Finding a mod that actually worked was the hardest part for the Jr. I started off with a passive mod that tapped off the video and audio signals, which then went through some caps and resistors and out to the jack. This version produced very sub-par results and was still very fuzzy and had bad colours. I ended up going back to the drawing board.
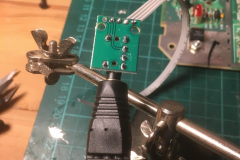
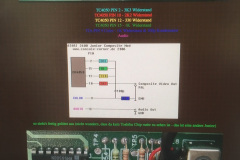
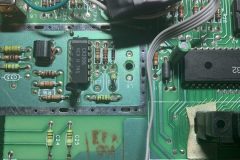
After some hunting around, I found some links to active mods for the larger Atari 2600’s. These used a transistor to boost the signal before outputting it and the audio was pretty much unchanged. A good starting point for the mod would be something like these posts of The Future was 8 Bit and This one as well. I ended up just making up a little stripboard version and hooked it up to the right spots.
The final output from the system was remarkably better than before, you can even see the pixels on the CRT! And from the outside, the mod looks clean and almost factory.
by bassybeats | Mar 22, 2020 | Retro Gaming
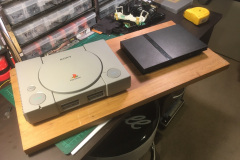
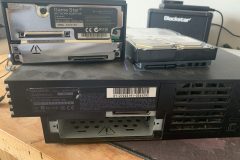
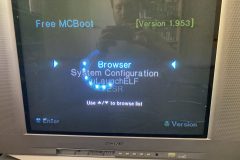
After seeing Mr Mario’s softmodding video I decided to dig out my old PS2’s from the box that had as a kid and put some of the old hardware to use. At the same time I was definitely wanting to make these work with modern TV’s as best as I can.
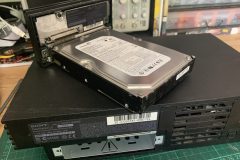
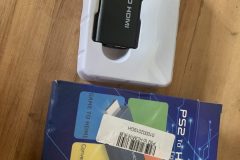
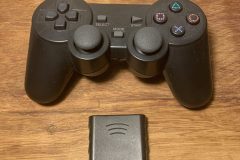
I started with ordering some PS2 hard drive network adapters. Originally intended for use with specific games, the modding community has managed to get it sorted so you can load games and home brew off the hard drive. At the same time of ordering I grab a component cable, hdmi adapter and some wireless controllers. Great tip, the controllers work on PS1 and Raspberry Pi adapters as well!
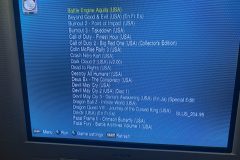
I won’t bother repeating much from the video as it is far better than I could ever put together, but one thing I never got to work was an HDD larger than 1TB. Every tutorial, blog post and app I tried gave me the same results. I even tried a linux tool with no luck. I went back to a 1tb drive and it has been stable ever since. I actually set up a IDE unit with a 300GB drive and a 1TB SATA drive in it since I had the consoles already and one can log in the games room, the other in the lounge.
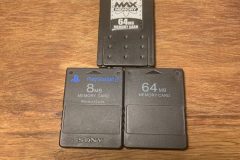
All working great after the hours and hours of transferring games was done. You might find some games don’t work and will need to reload the image there. One last note, as mentioned in the video, make sure you use a Magic Gate memory card otherwise none of this works like it should ( most on AliExpress and eBay aren’t Magic Gate ).
Materials/Parts
by bassybeats | Mar 22, 2020 | Computing
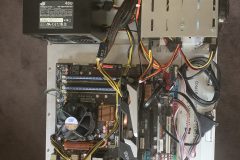
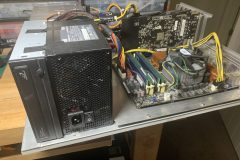
If you ever need a testing rig, rip apart an old PC case and build one. When I was looking at building some “ultimate” rigs based on each era ‘Windows 98, Windows XP, Windows 7’ I had a lot of parts sitting around that I needed to test together, test if they worked at all and make quick builds to see if it was going to serve my needs. I ended up finding a premade rig on Trademe with a motherboard combo I was after.
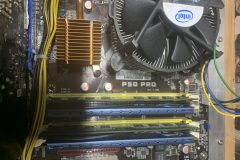
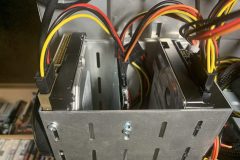
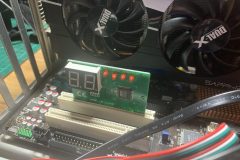
Most of the time, the rig has a Asus P5Q Pro LGA755 board on it with 8gb ram, Xeon 5150 Quad Core CPU, CD Drive, Multiple drives and OSes, A 1GB Sapphire Graphics card, and a Diagnostics Card. This is more than enough to test most equipment I would come across, it covers Sata, USB, PCI, PCI-E, IDE, Floppy, Sound cards, Graphics cards, CD/DVD, LGA 775 CPU’s, XP through to Windows 10 and most things in between. On the odd occasion I have had to swap the motherboard over and put in older 478 or 370 boards to test older stuff. Something that I found in an old box of stuff that came with another project was a remote power, reset, usb and indicator light unit, this saves me shorting motherboard pins out on older boards.
Only things I would be looking to add is, a multi boot hard drive so I can run any OS from ( ideally an SSD ) from a selection menu. But if you have have an old case lying around, drill out the rivets, and mount it all to a piece of plywood!
Materials/Parts
- Old PC case
- plywood board
- IDE/Sata CD/DVD Drive
- Motherboard ideally with as many ports and connectors as possible, I have found 775 era boards are great as they still have IDE and floppy
- Graphics card
- Sound card
- PCI/PCIe motherboard error code reader
- 450w power supply or better
- multiple hard drives with different OSes on them
- Floppy drive ( optional )



Recent Comments